Do cats need houses? Debatable.
Does my wife want her cat to have a house? Well, she suggested I make one repeatedly until I decided to do so.
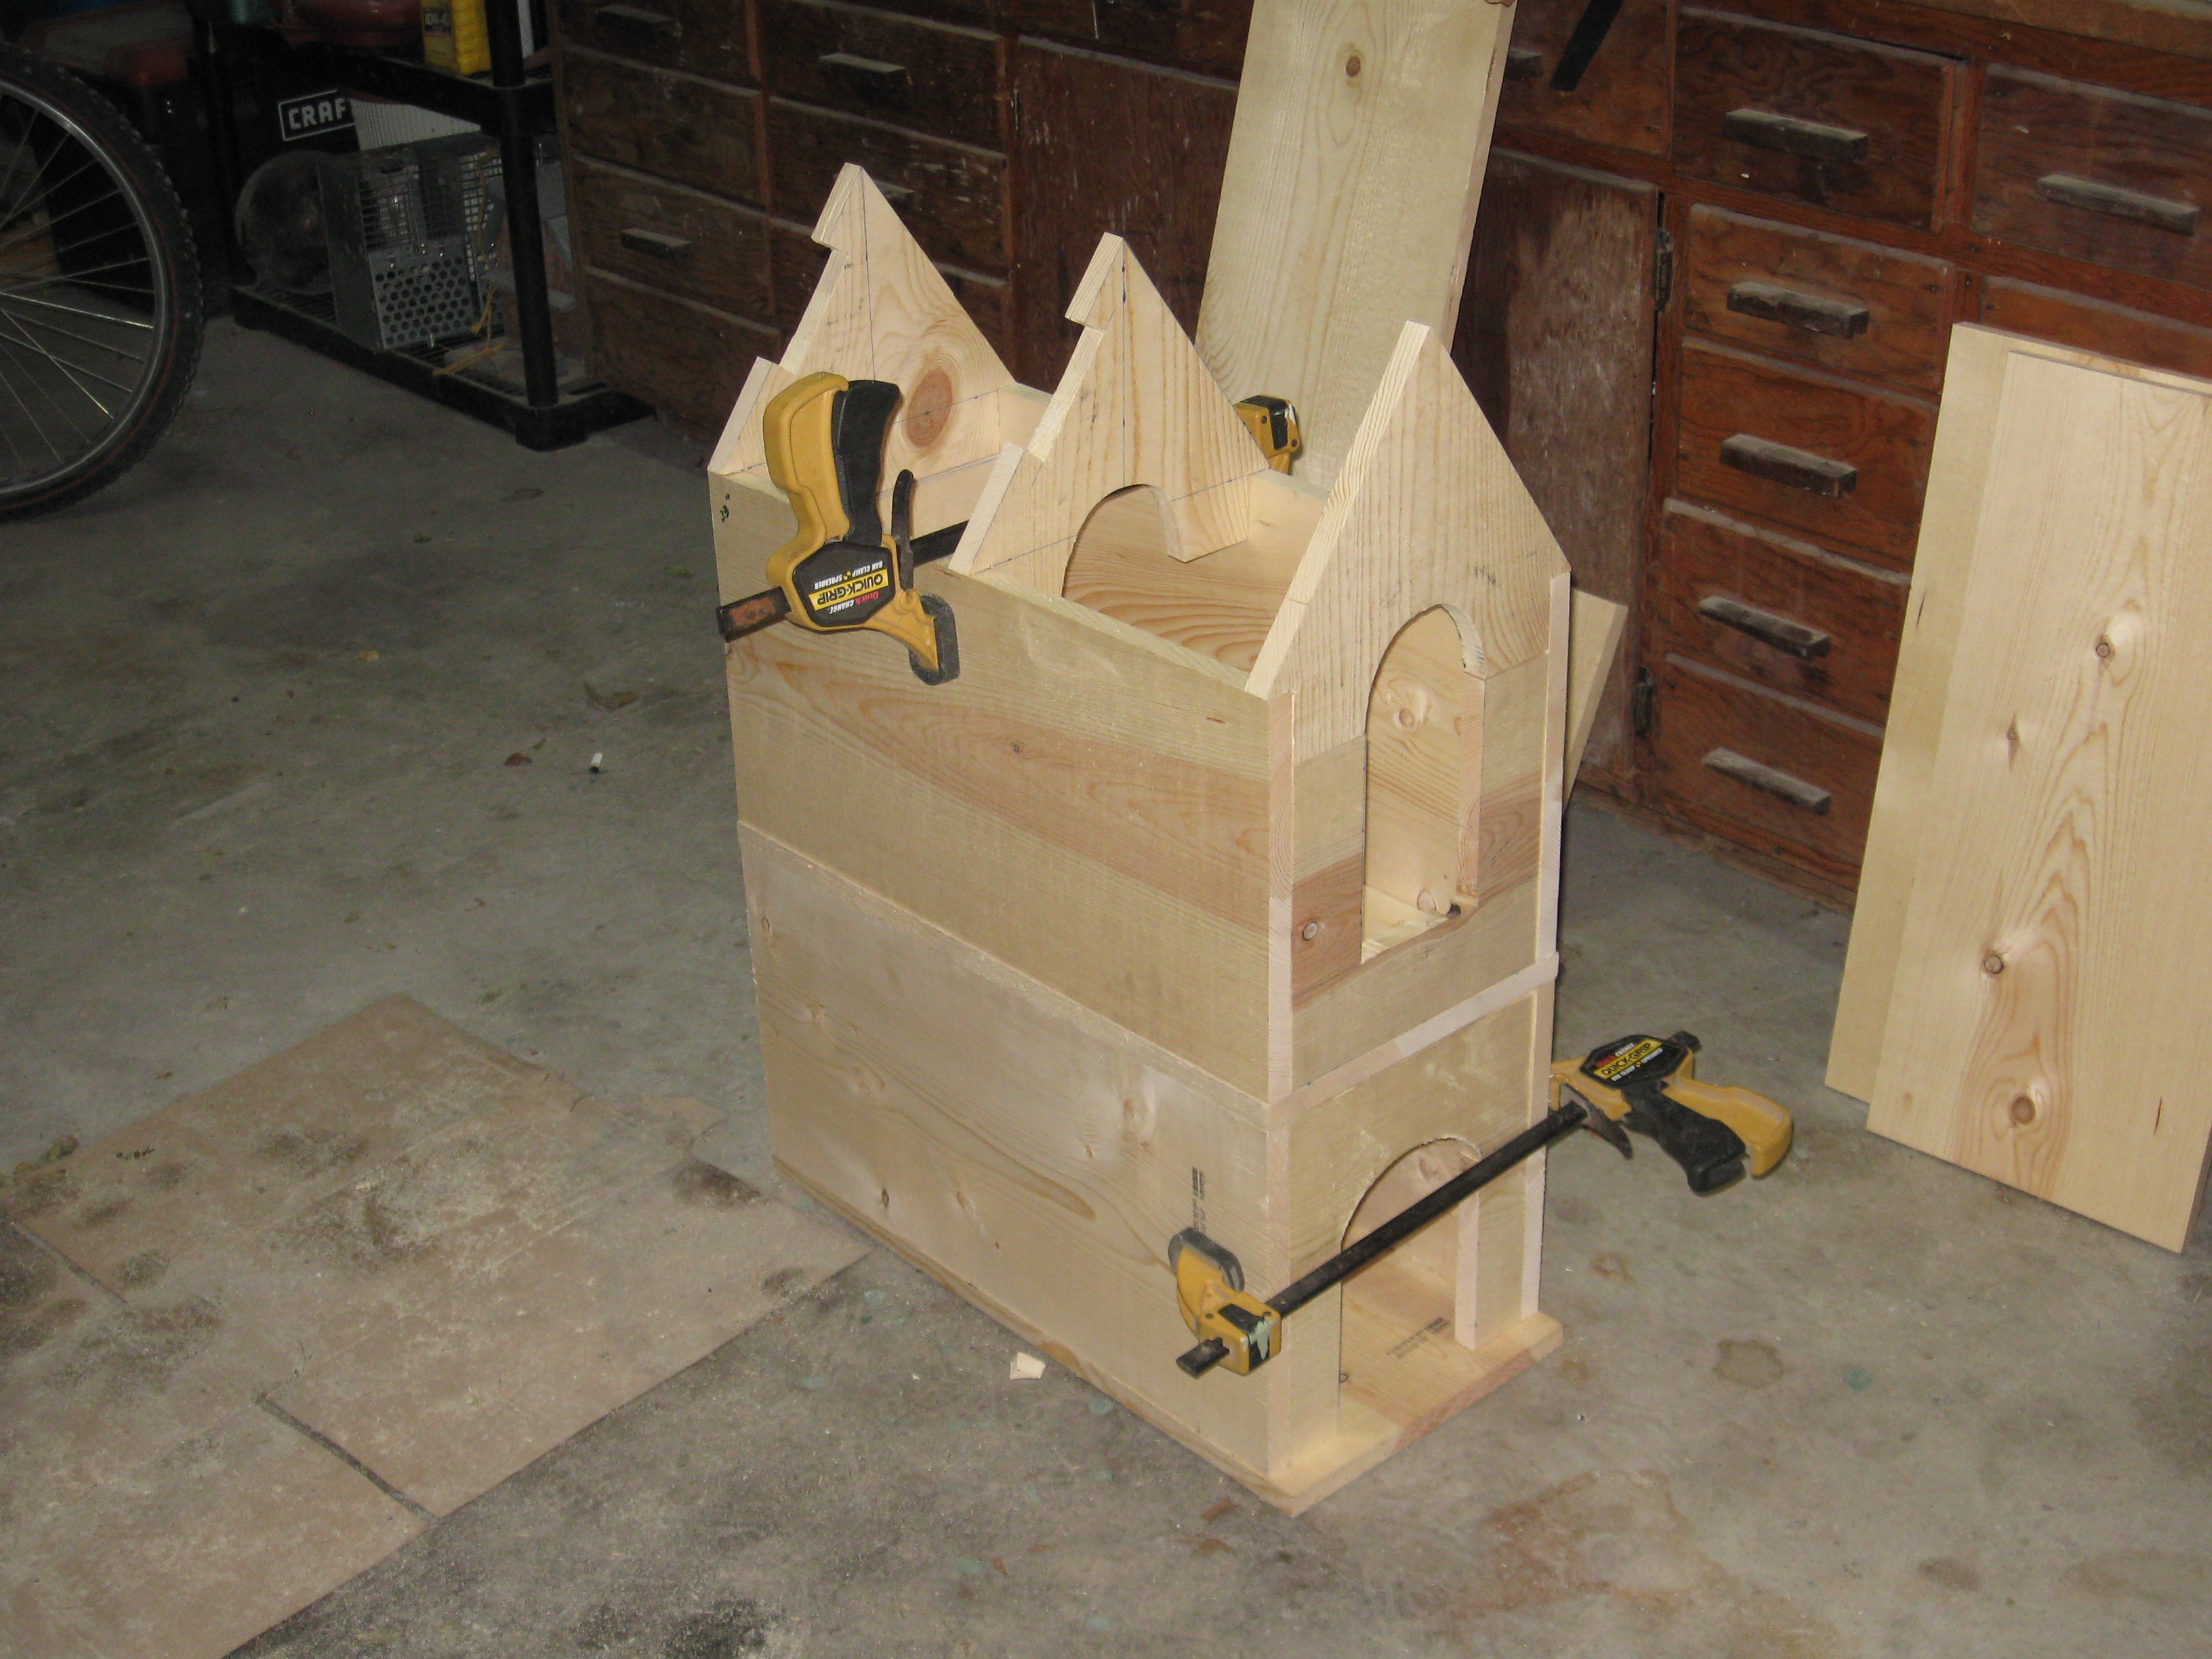
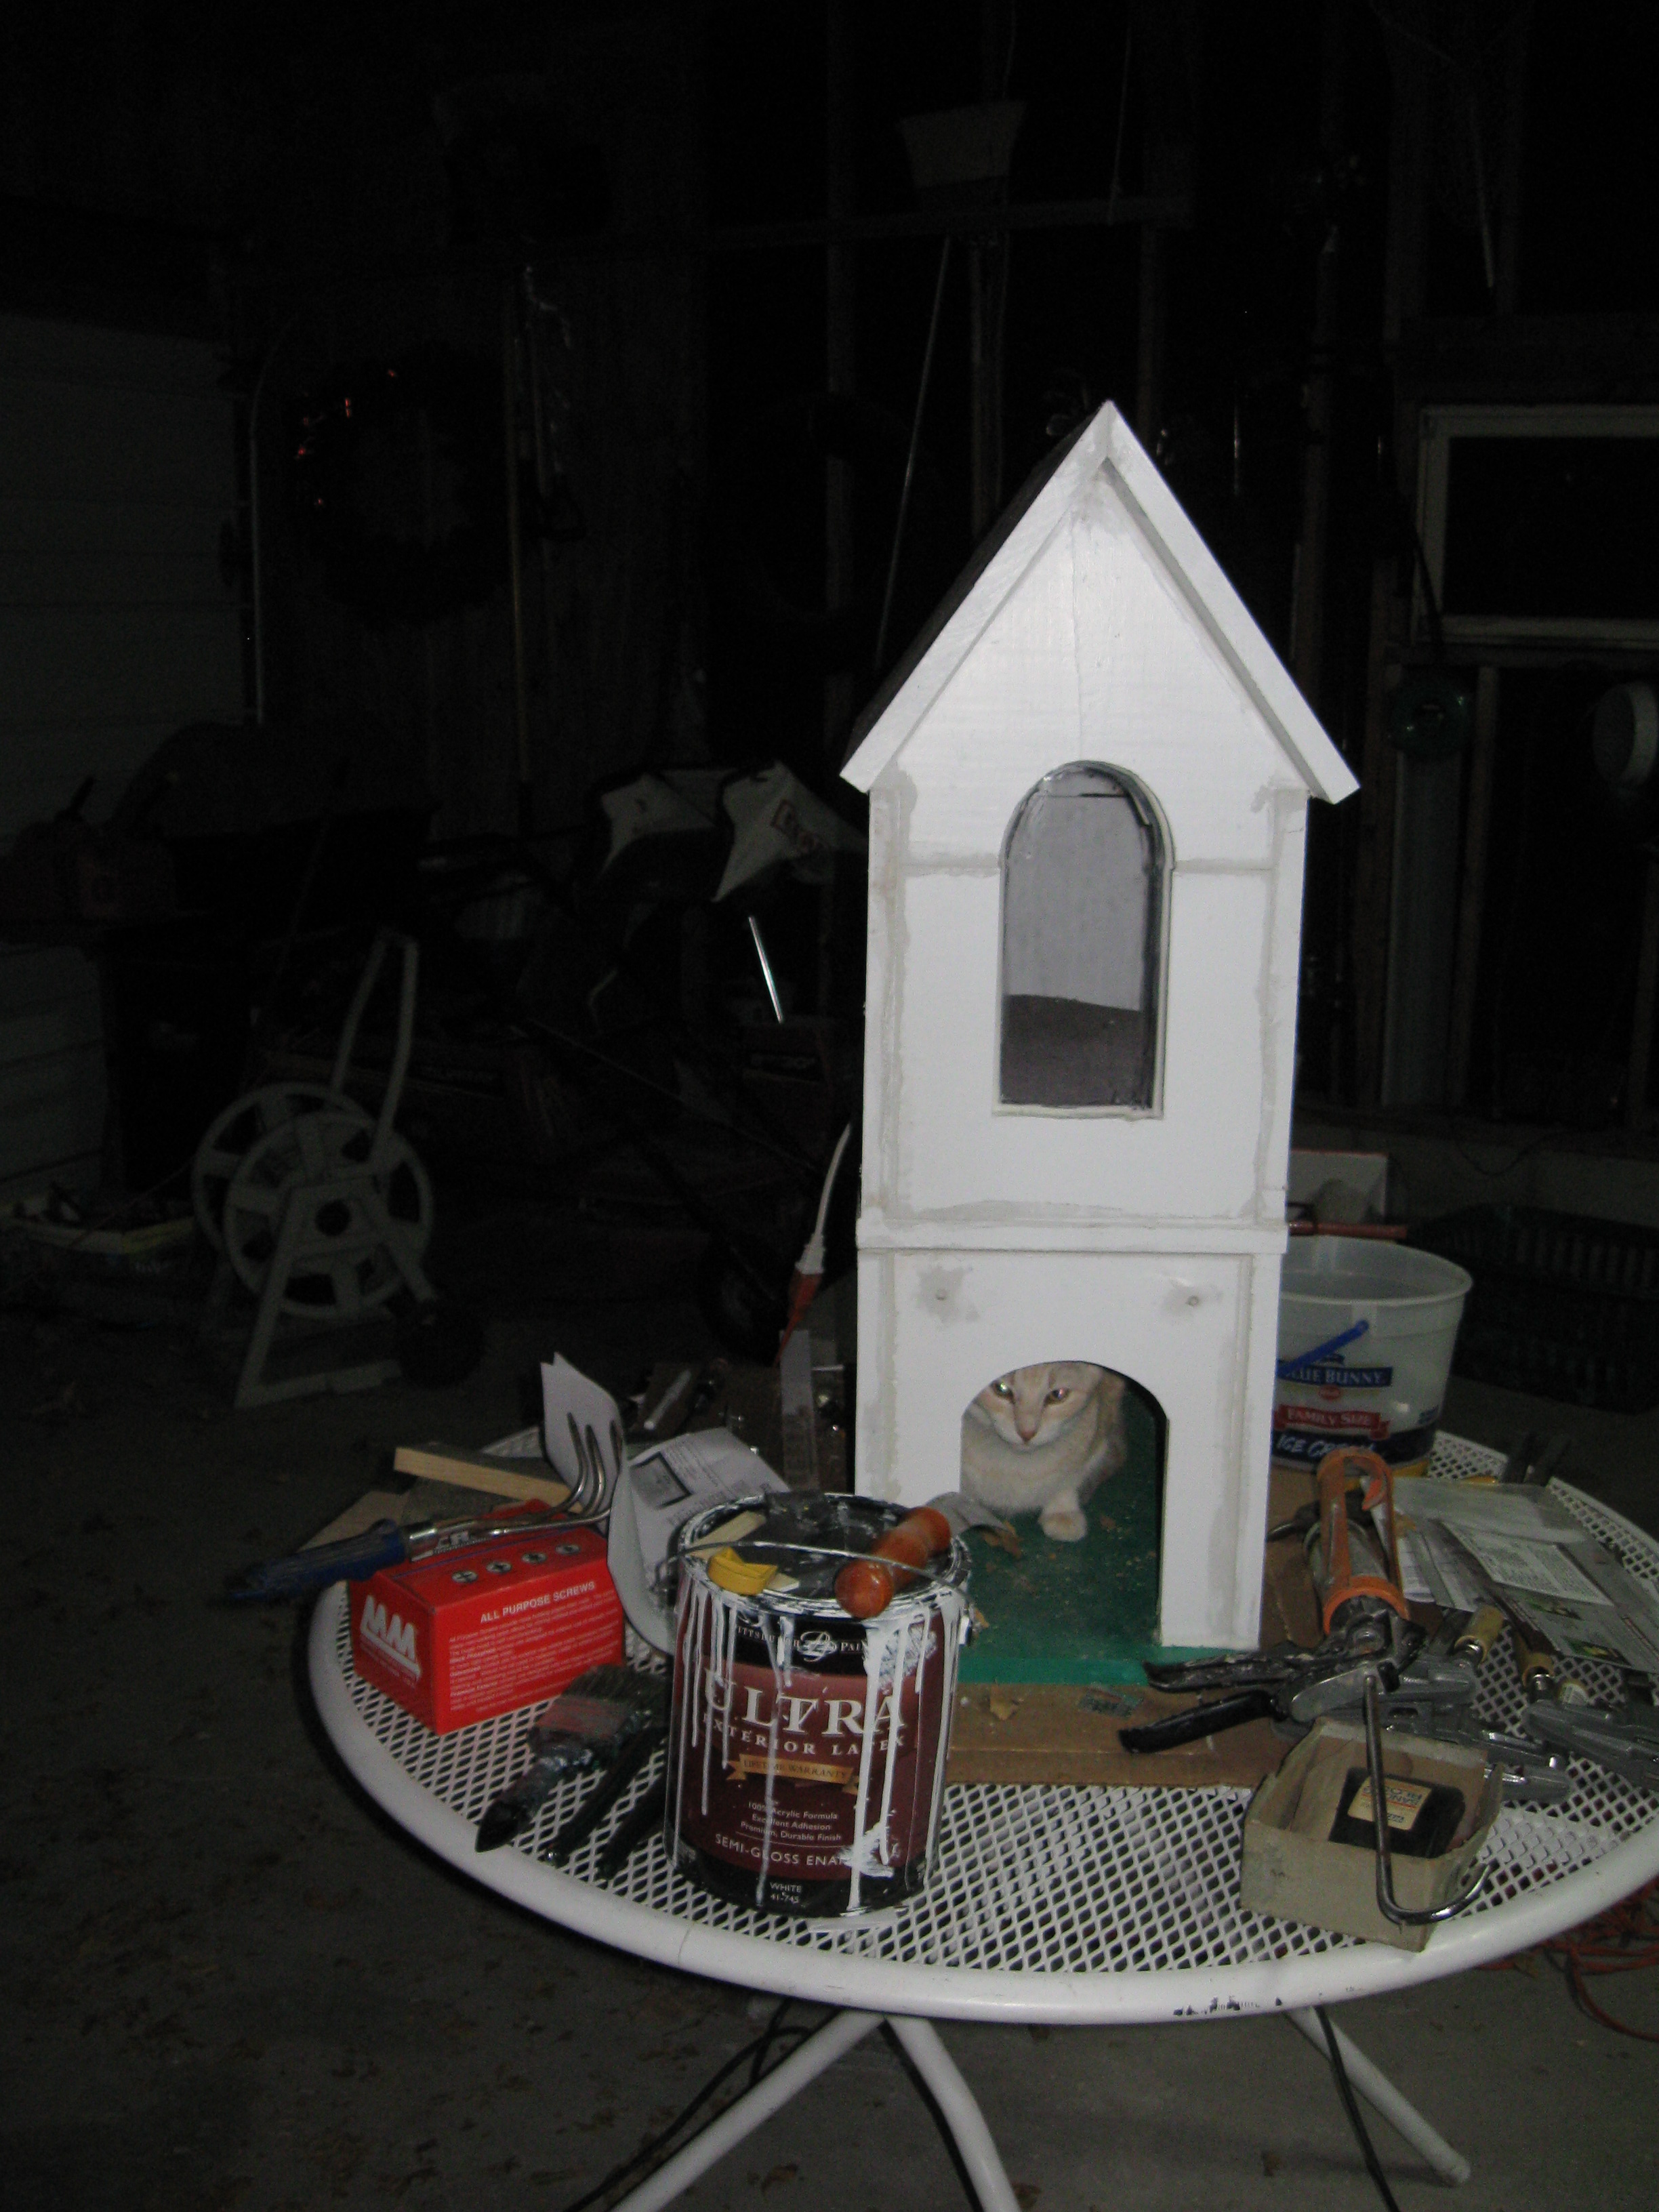
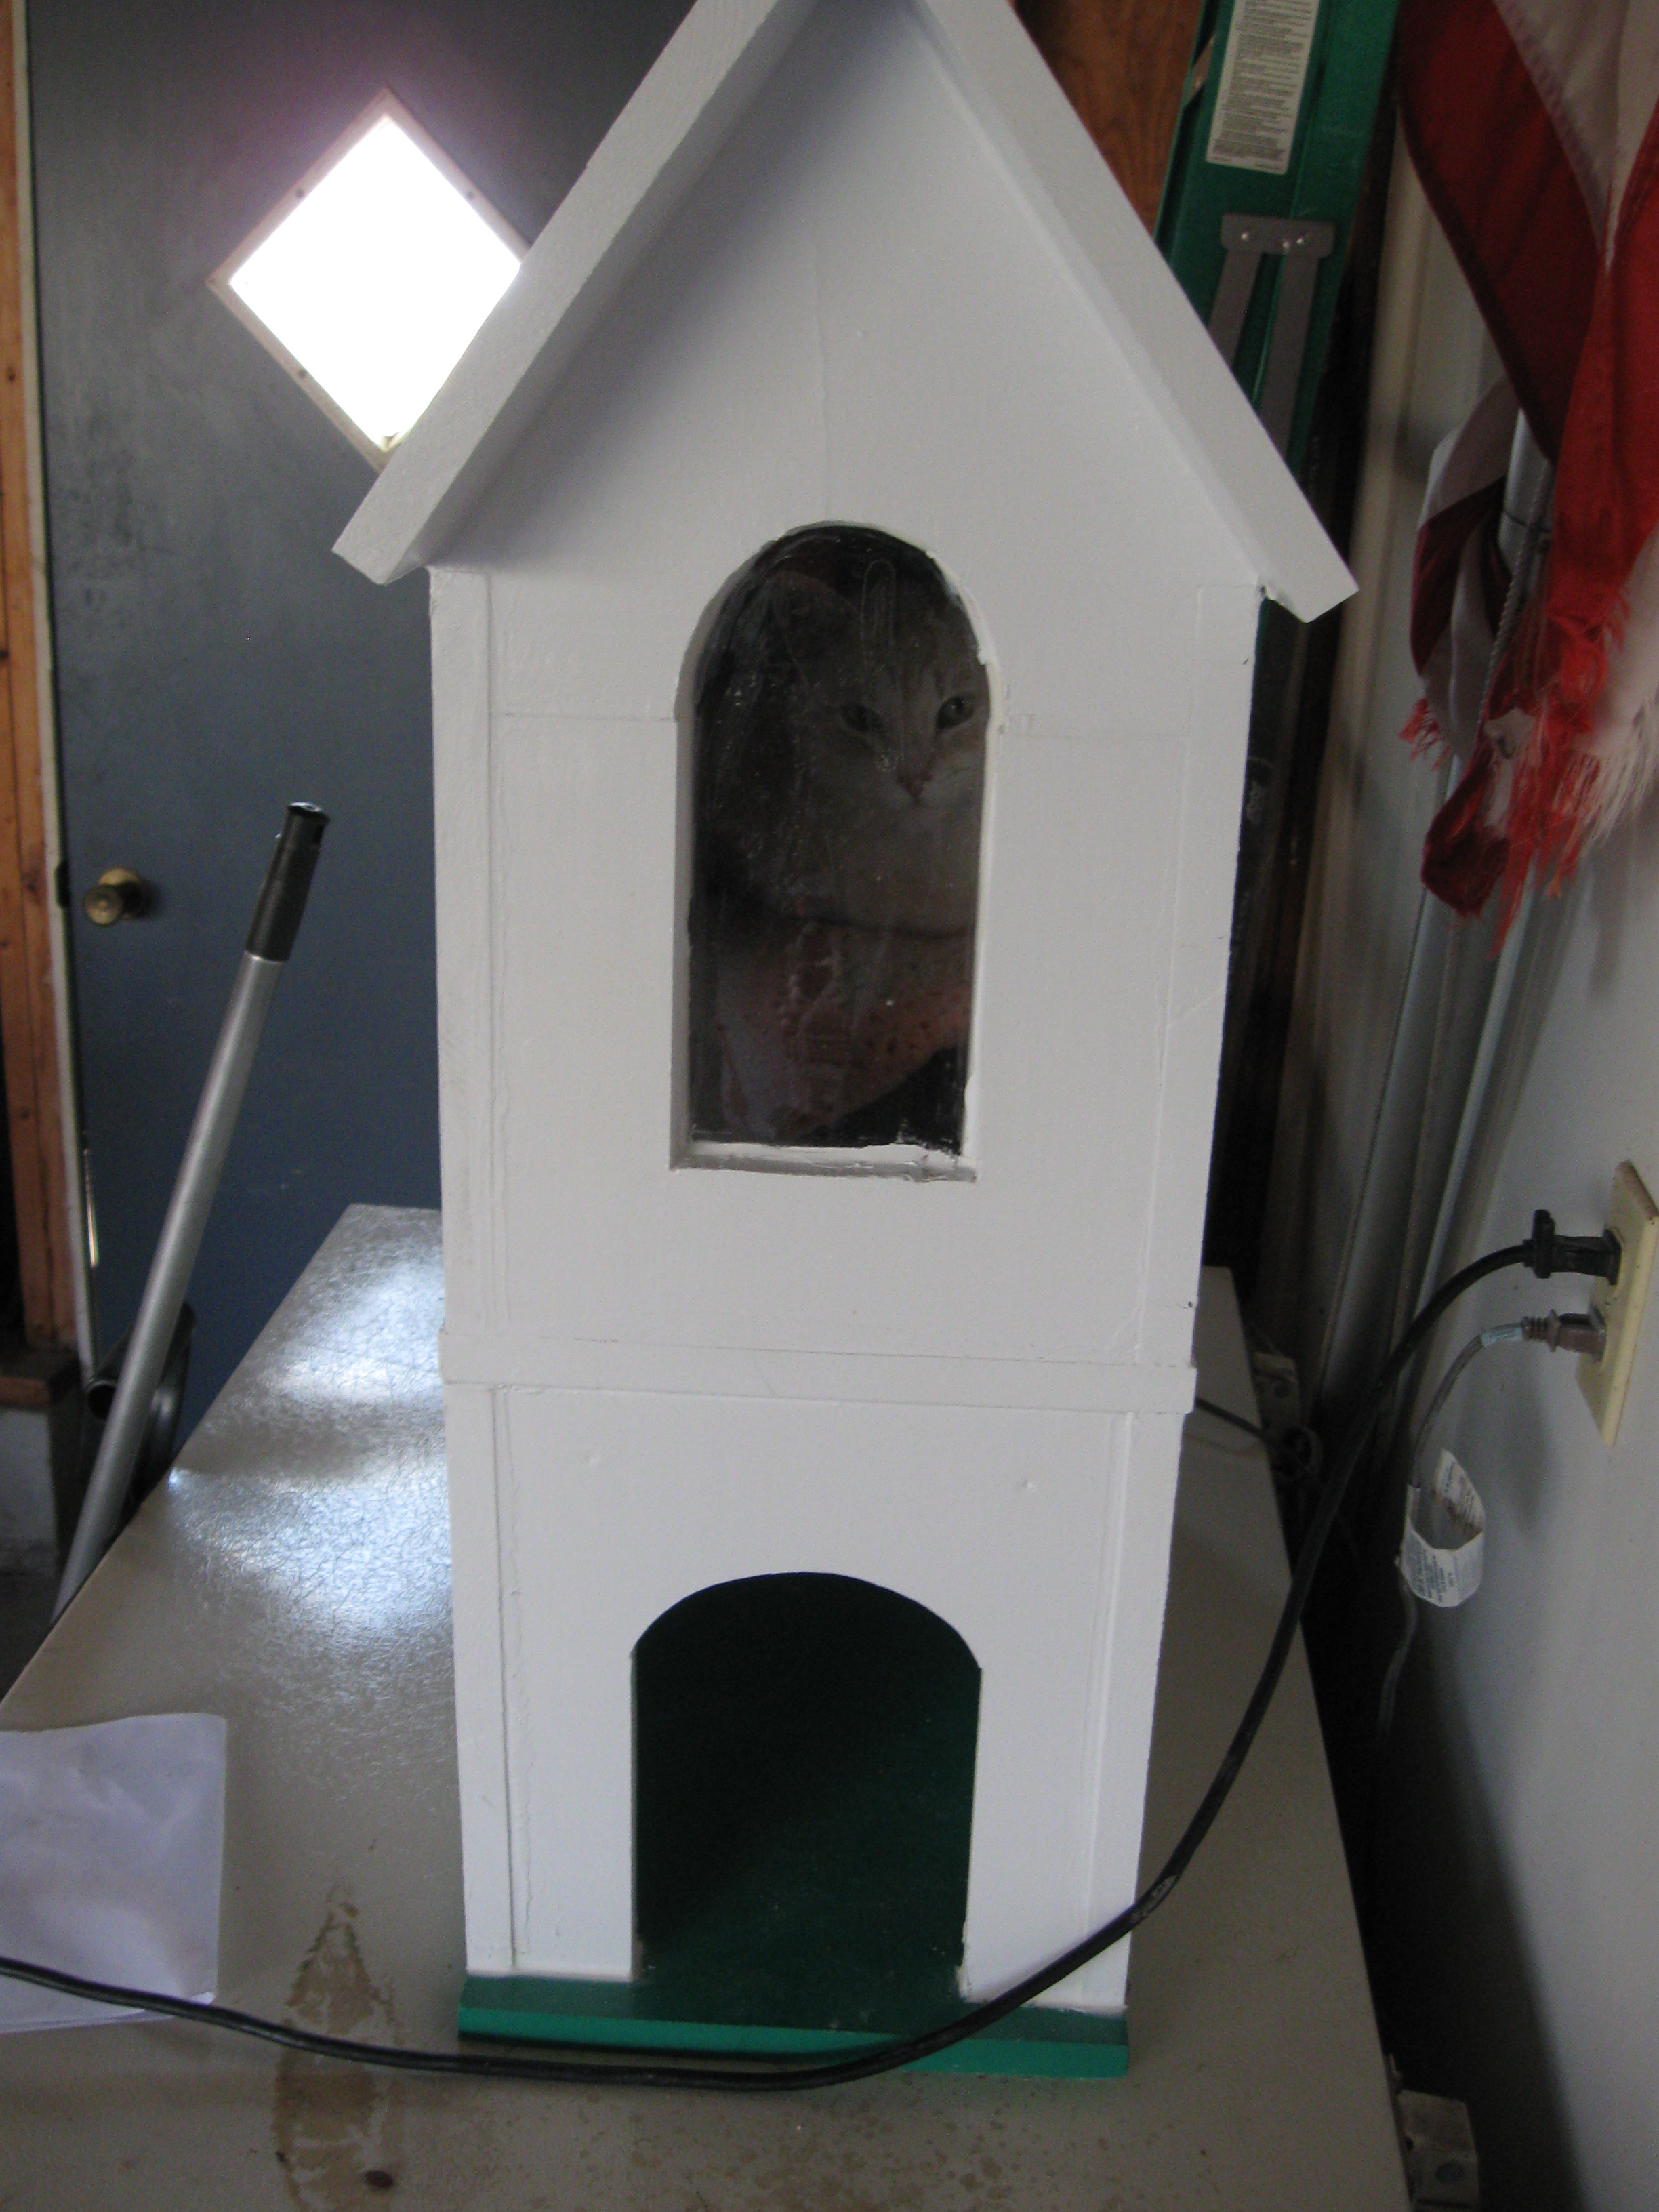
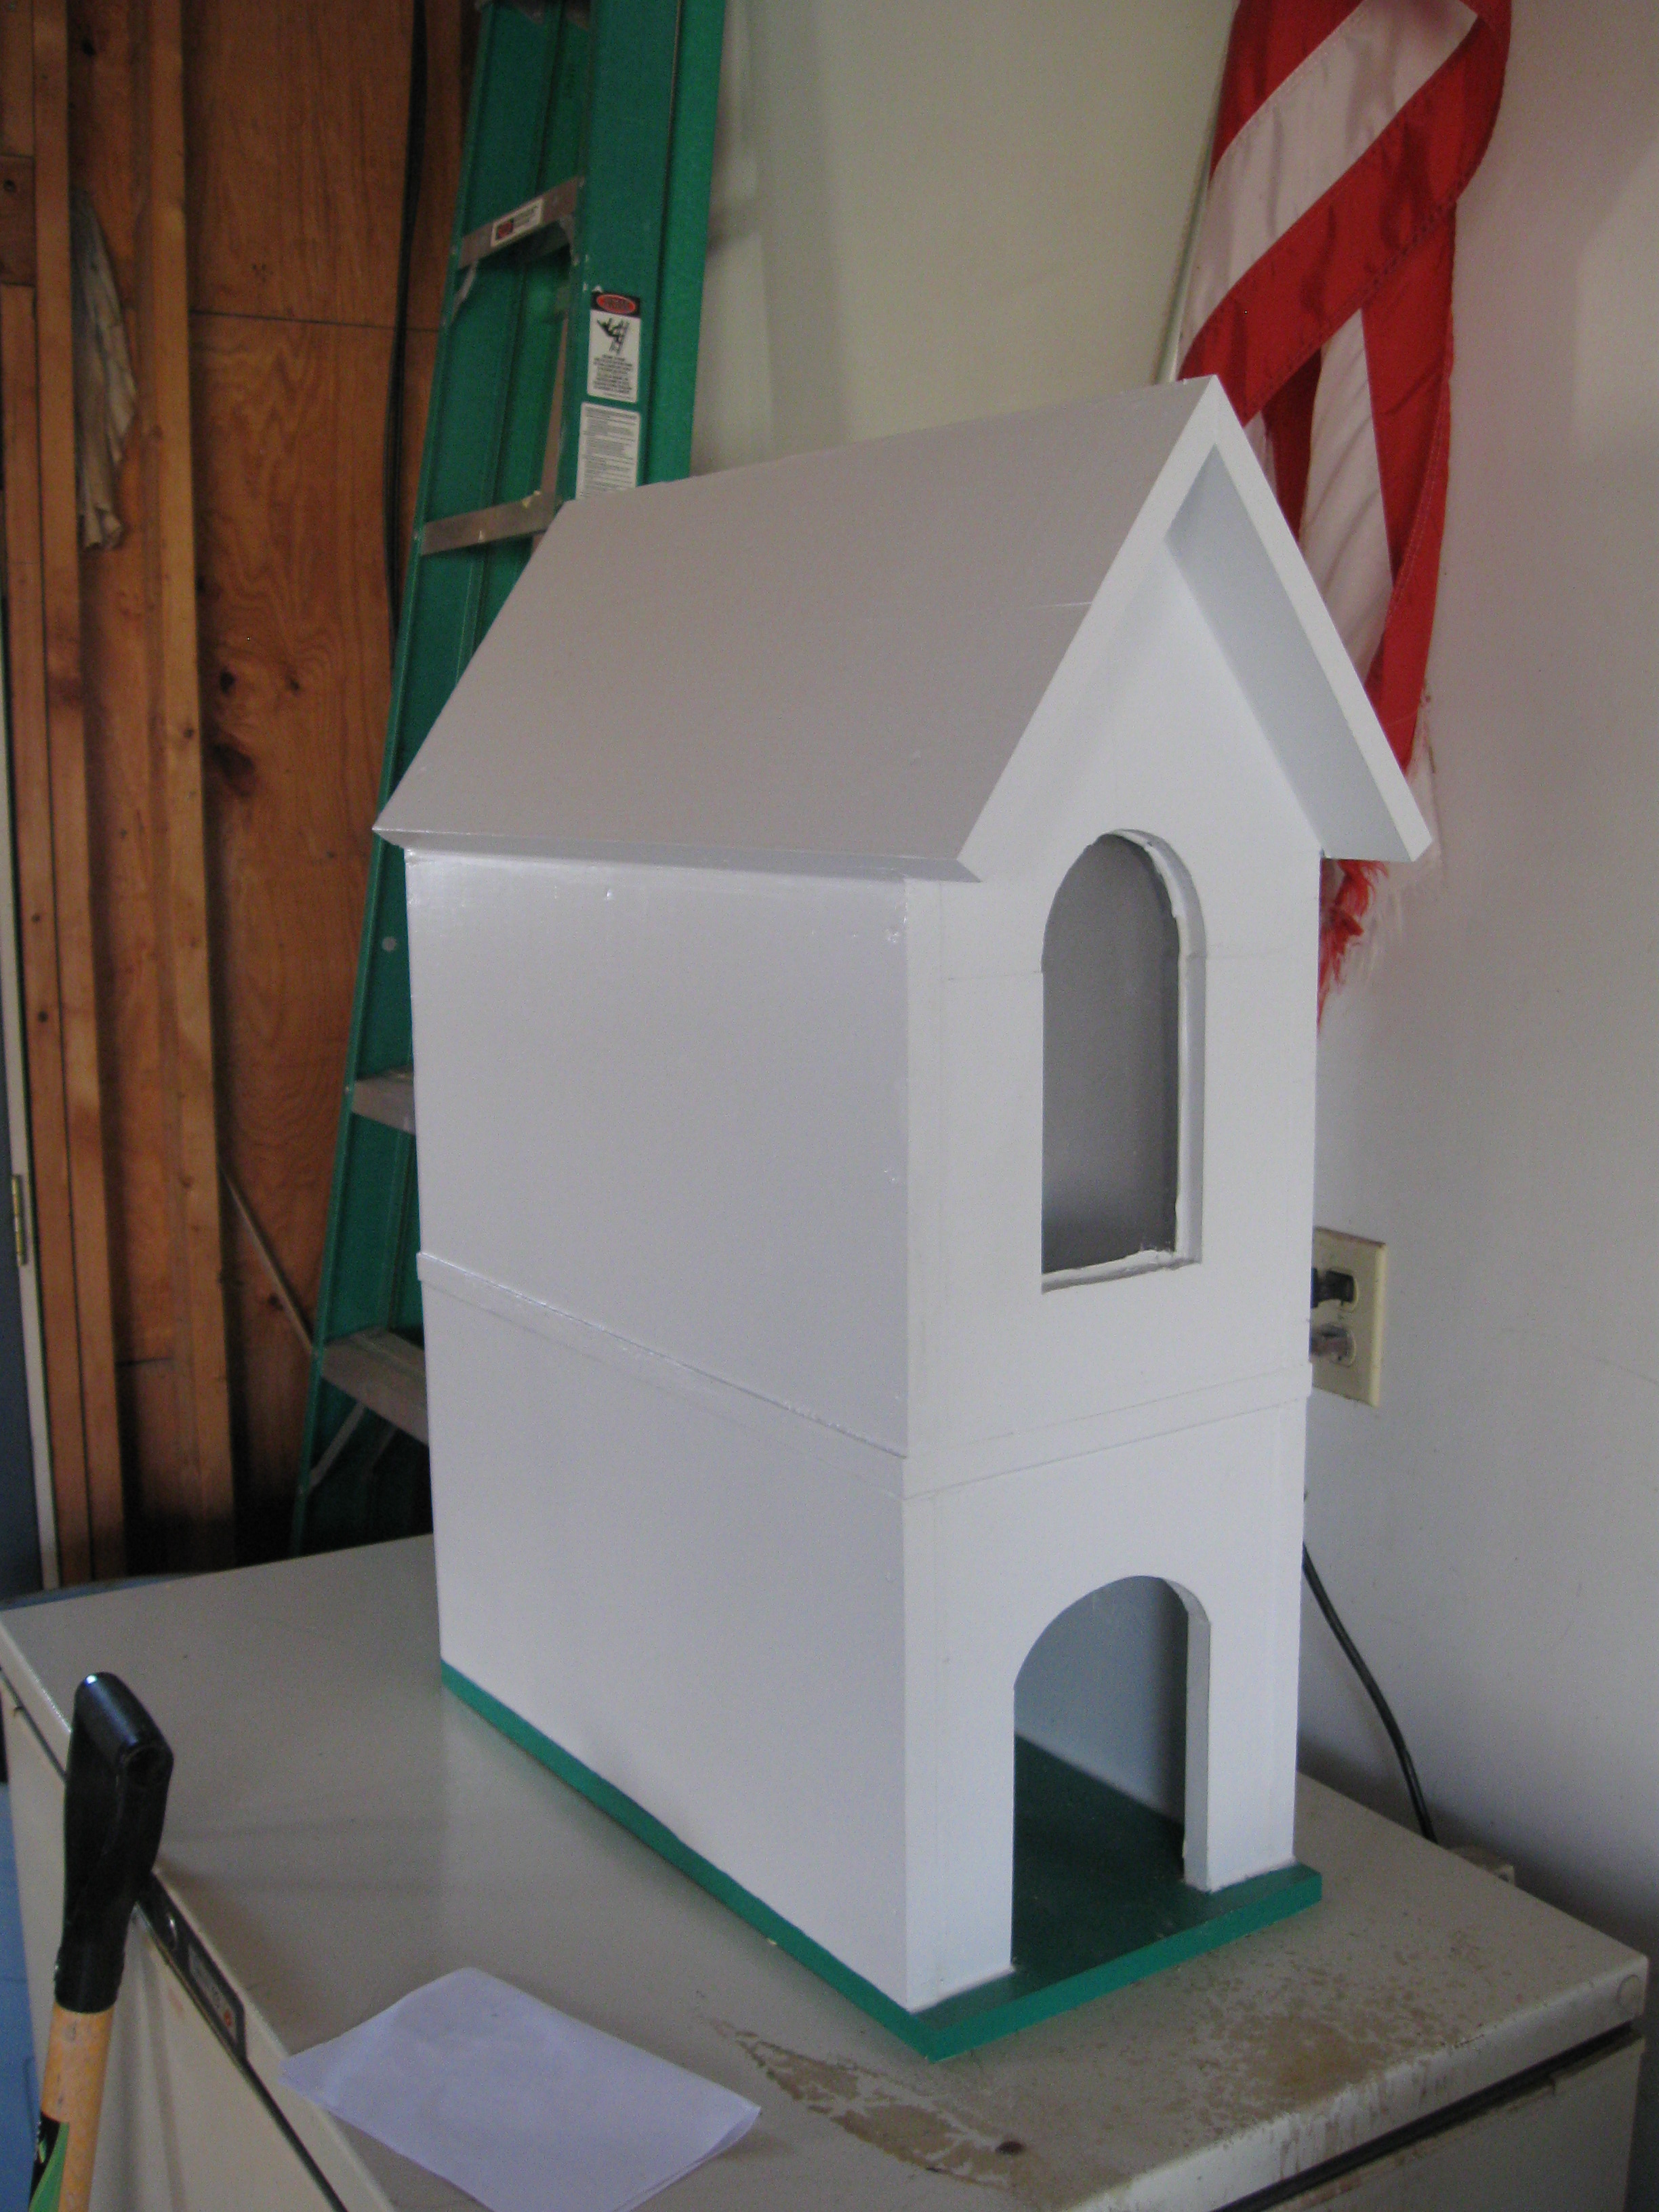
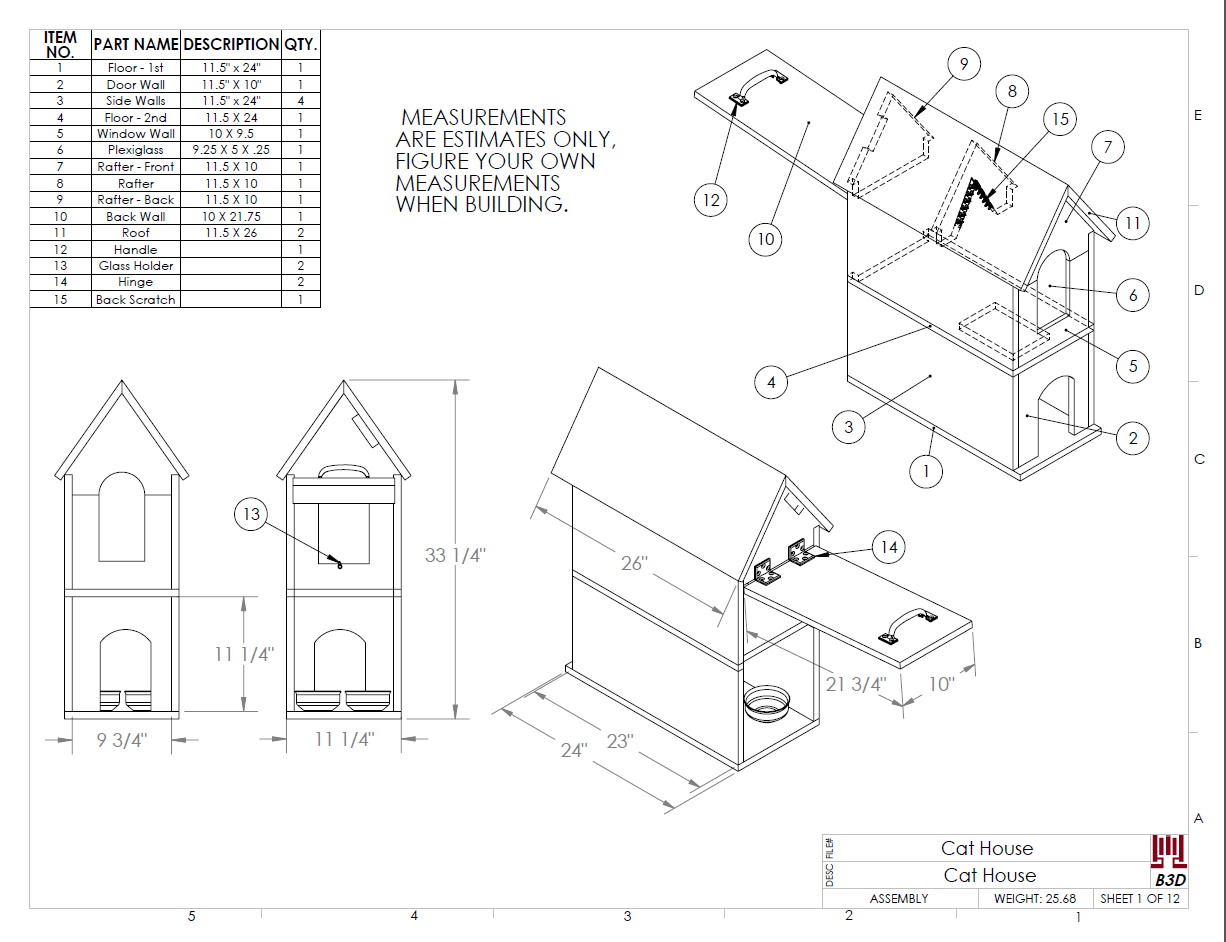
This post will include pictures of the house I made for our kitty, some tips I learned from building the prototype, and technical drawings I created in SolidWorks (available for download). If you’re the least bit handy, you can put one of these together.
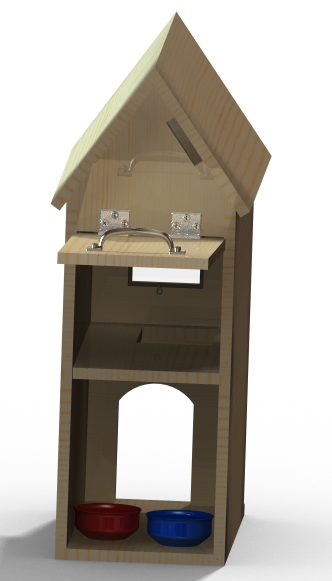
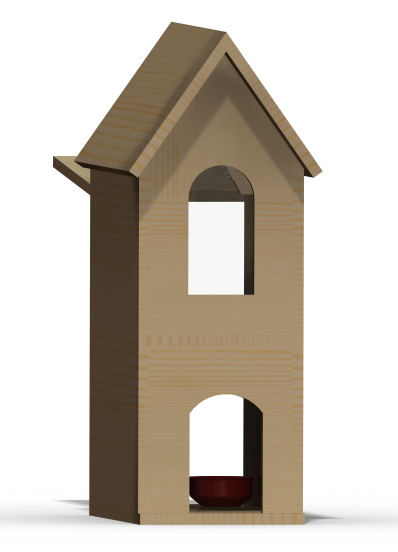
Above are rendered mock-ups of the cat house I designed in SolidWorks, a 3D CAD program.
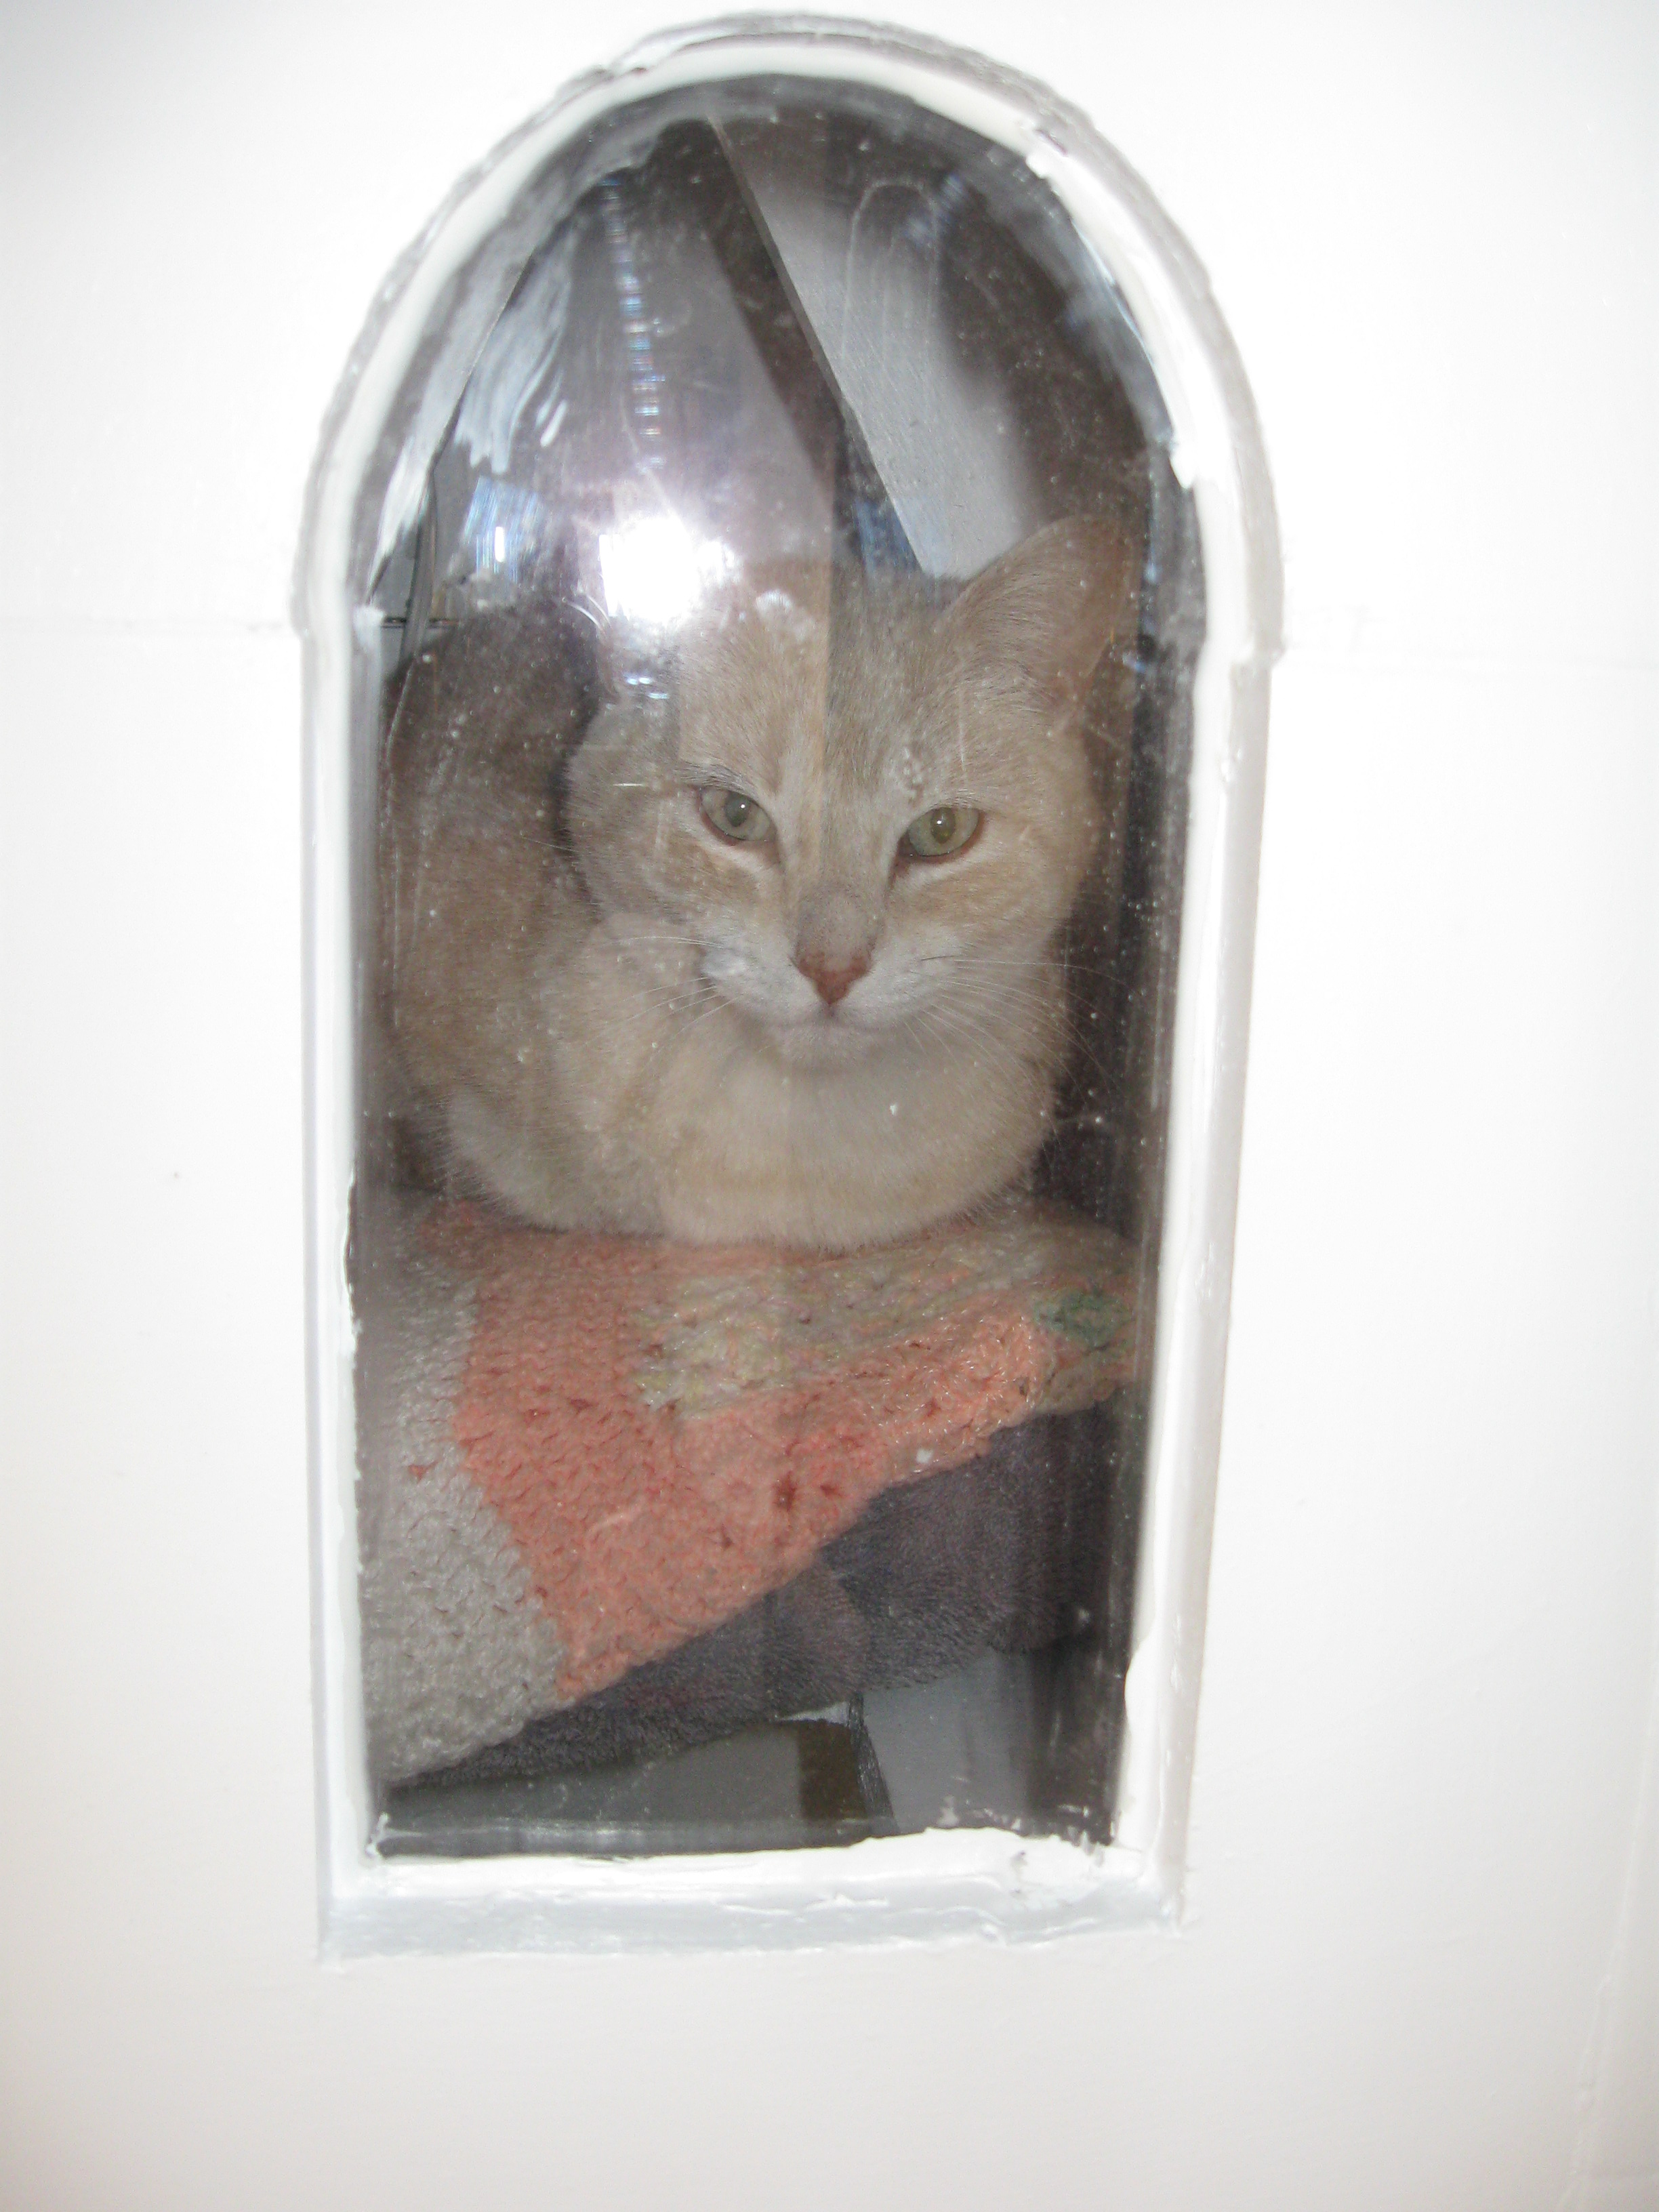
My research for making a CH consisted of Googling “Cat House,” which brings up some interesting links not necessarily related to felines. The main thing I learned is: Cats like “cozy” dwellings. It’s good to have an area big enough for your cat to turn around in, and not much larger. This way the space is small enough for the cat to warm with their body heat.
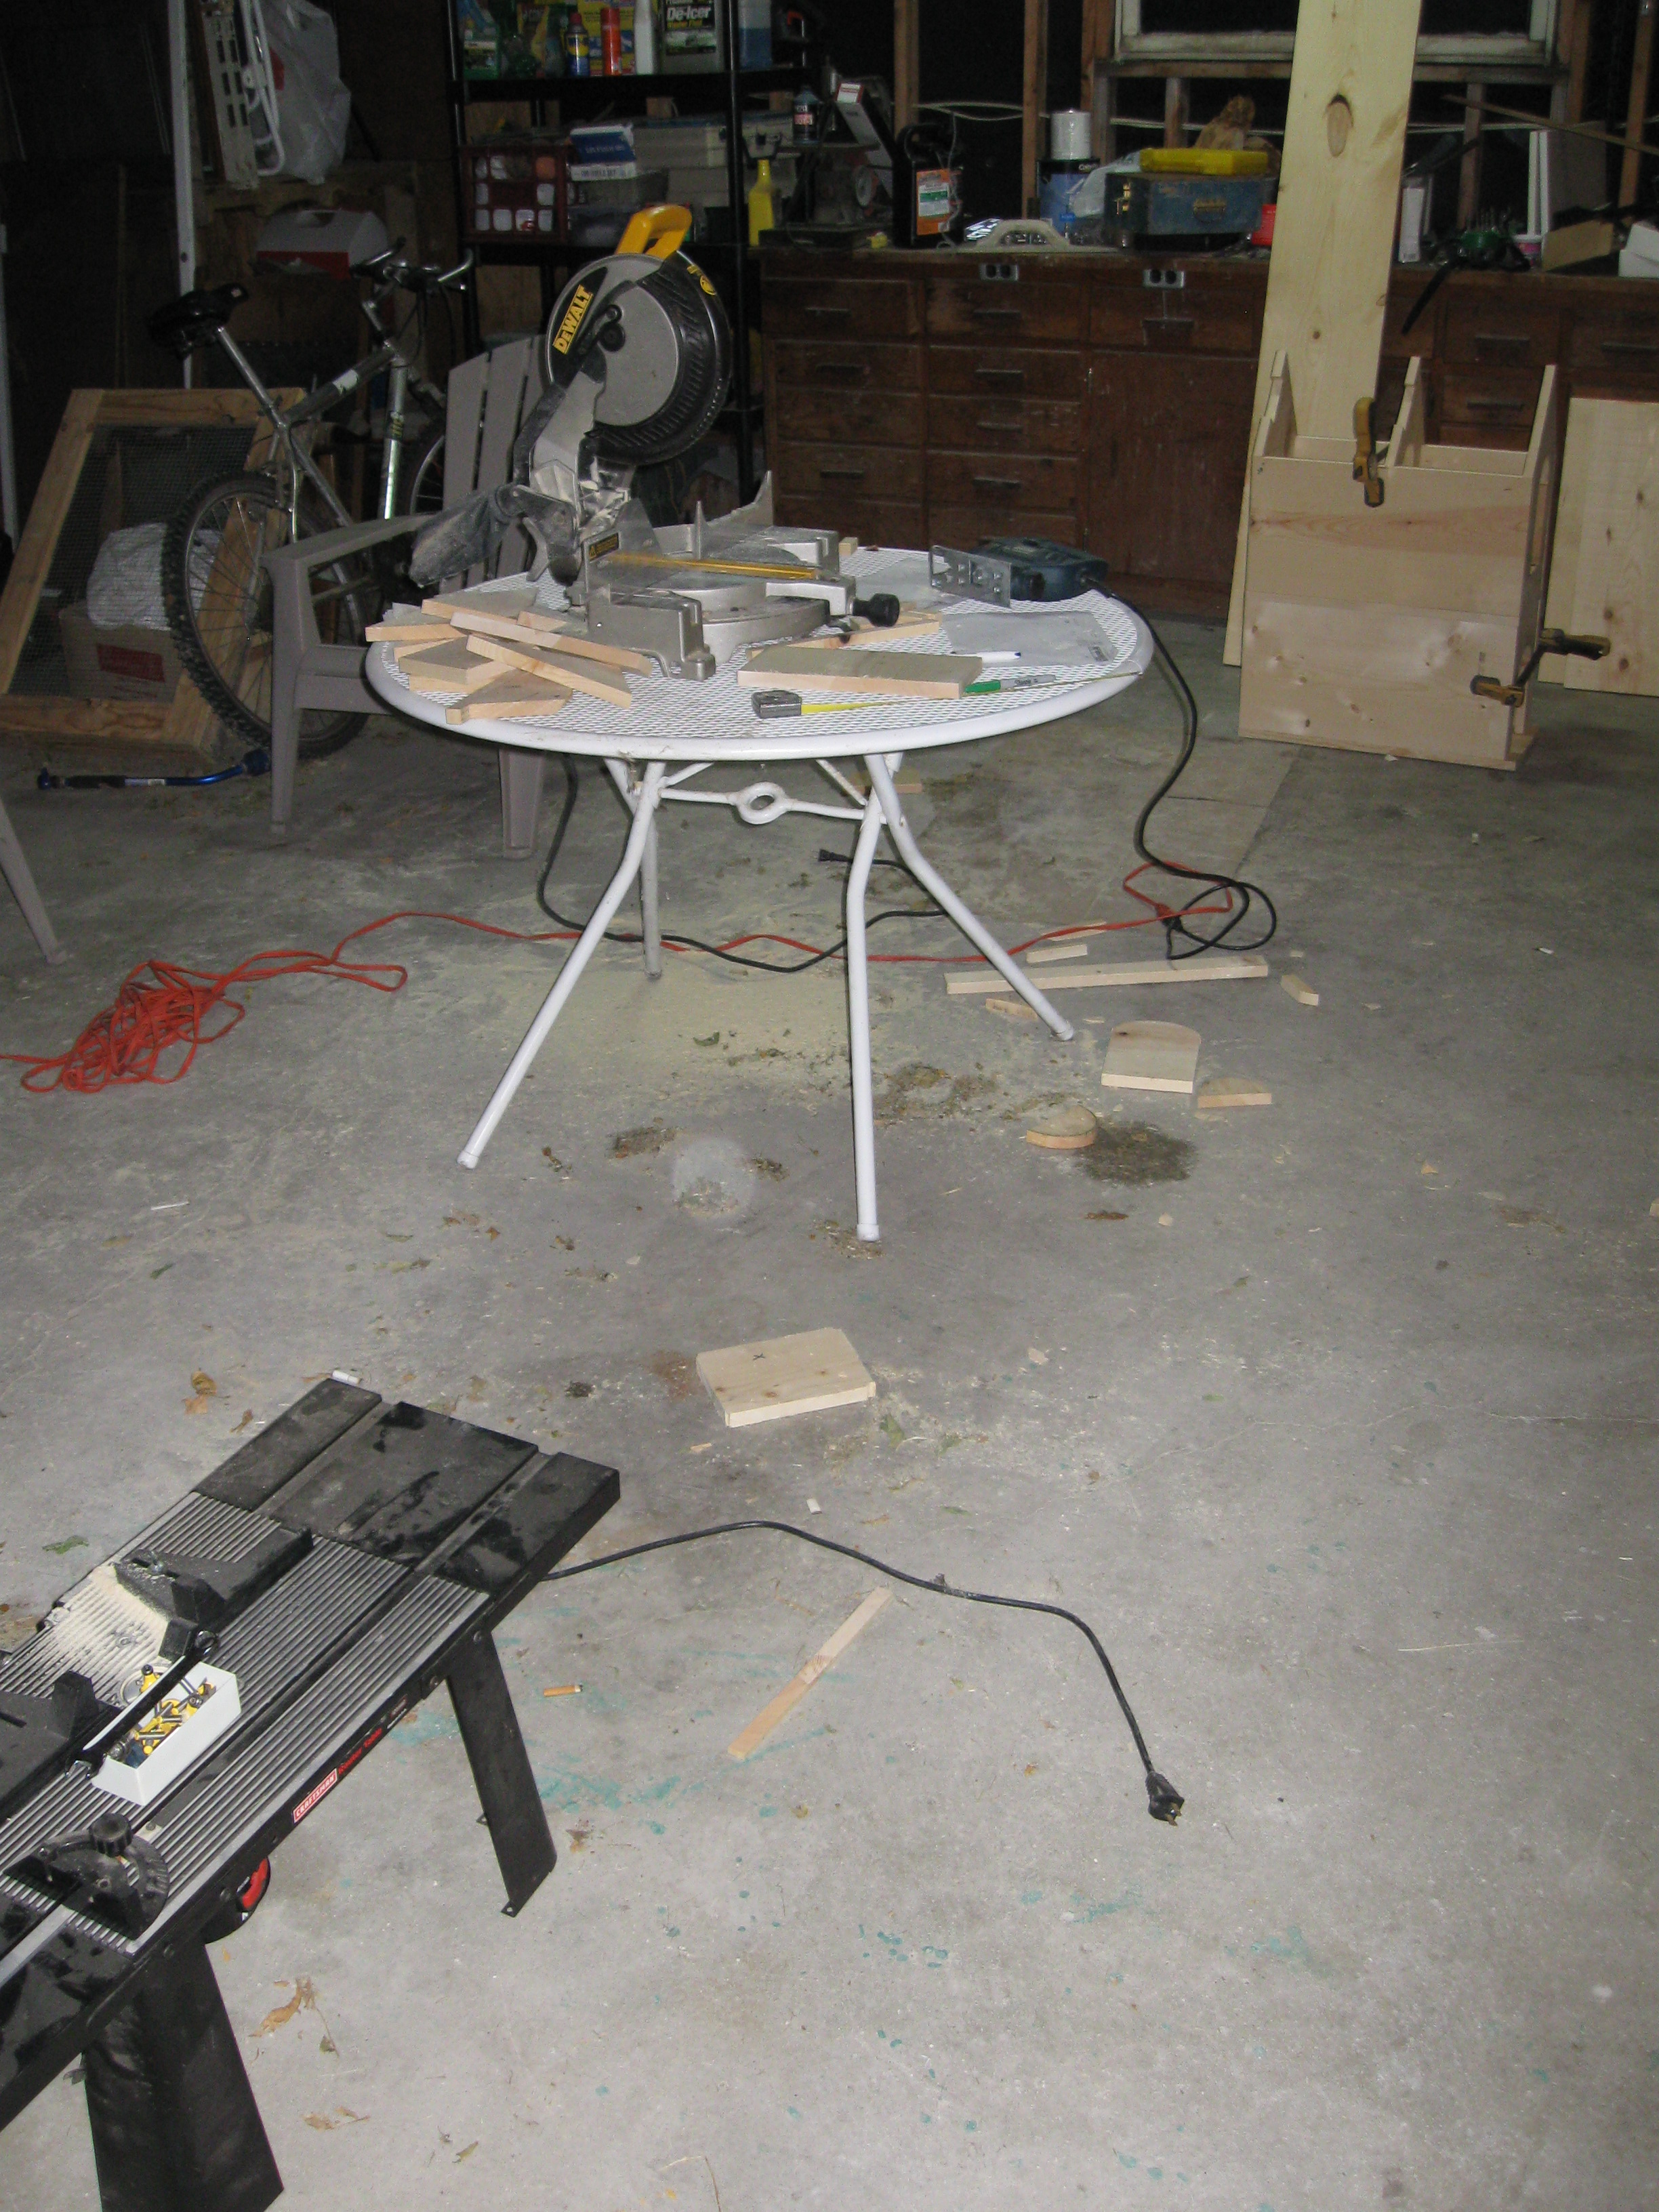
I also wanted to build something that most pieces would be “board width” (usually between 11″ and 11 3/4″) so that I could keep cuts to a minimum. I’m a guy with a compound miter saw, a hand-held jig saw, power drill, circular saw, and little else. To build this, I had to borrow the use of a router table with a “rabbet” bit, a sander, and a table saw. Which leads us to the Tools List.
Tools (that I) needed for this project:
- Table Saw

- Miter Saw (unless you make the rafter cuts w/ a table saw)
- Jig Saw (for the Door and Window arches, and a couple other cuts)
- Drill
- Router with Rabbet bit (for the window arch’s plexiglass inset)
- Wood Chisel (for the hinges I used, which aren’t necessary)
- Caulk gun
- Sander (Random-Orbital or Detail)

 (unless you make the rafter cuts w/ a table saw)
 (for the Door and Window arches, and a couple other cuts)
 with
with  (for the window arch’s
  inset)
 (for the hinges I used, which aren’t necessary)
 (
( or
or  )
)Materials needed for this project:
(Bill Of Materials incl. in Drawings)
- Wood Planks – About 25 board ft.
- Plexiglass – Small piece
- Hinge(s)
- Handle/drawer pull
- Screws – 1 1/4″ deck screws
- Paint – About a half-gallon
- Caulk
- Sand Paper Discs
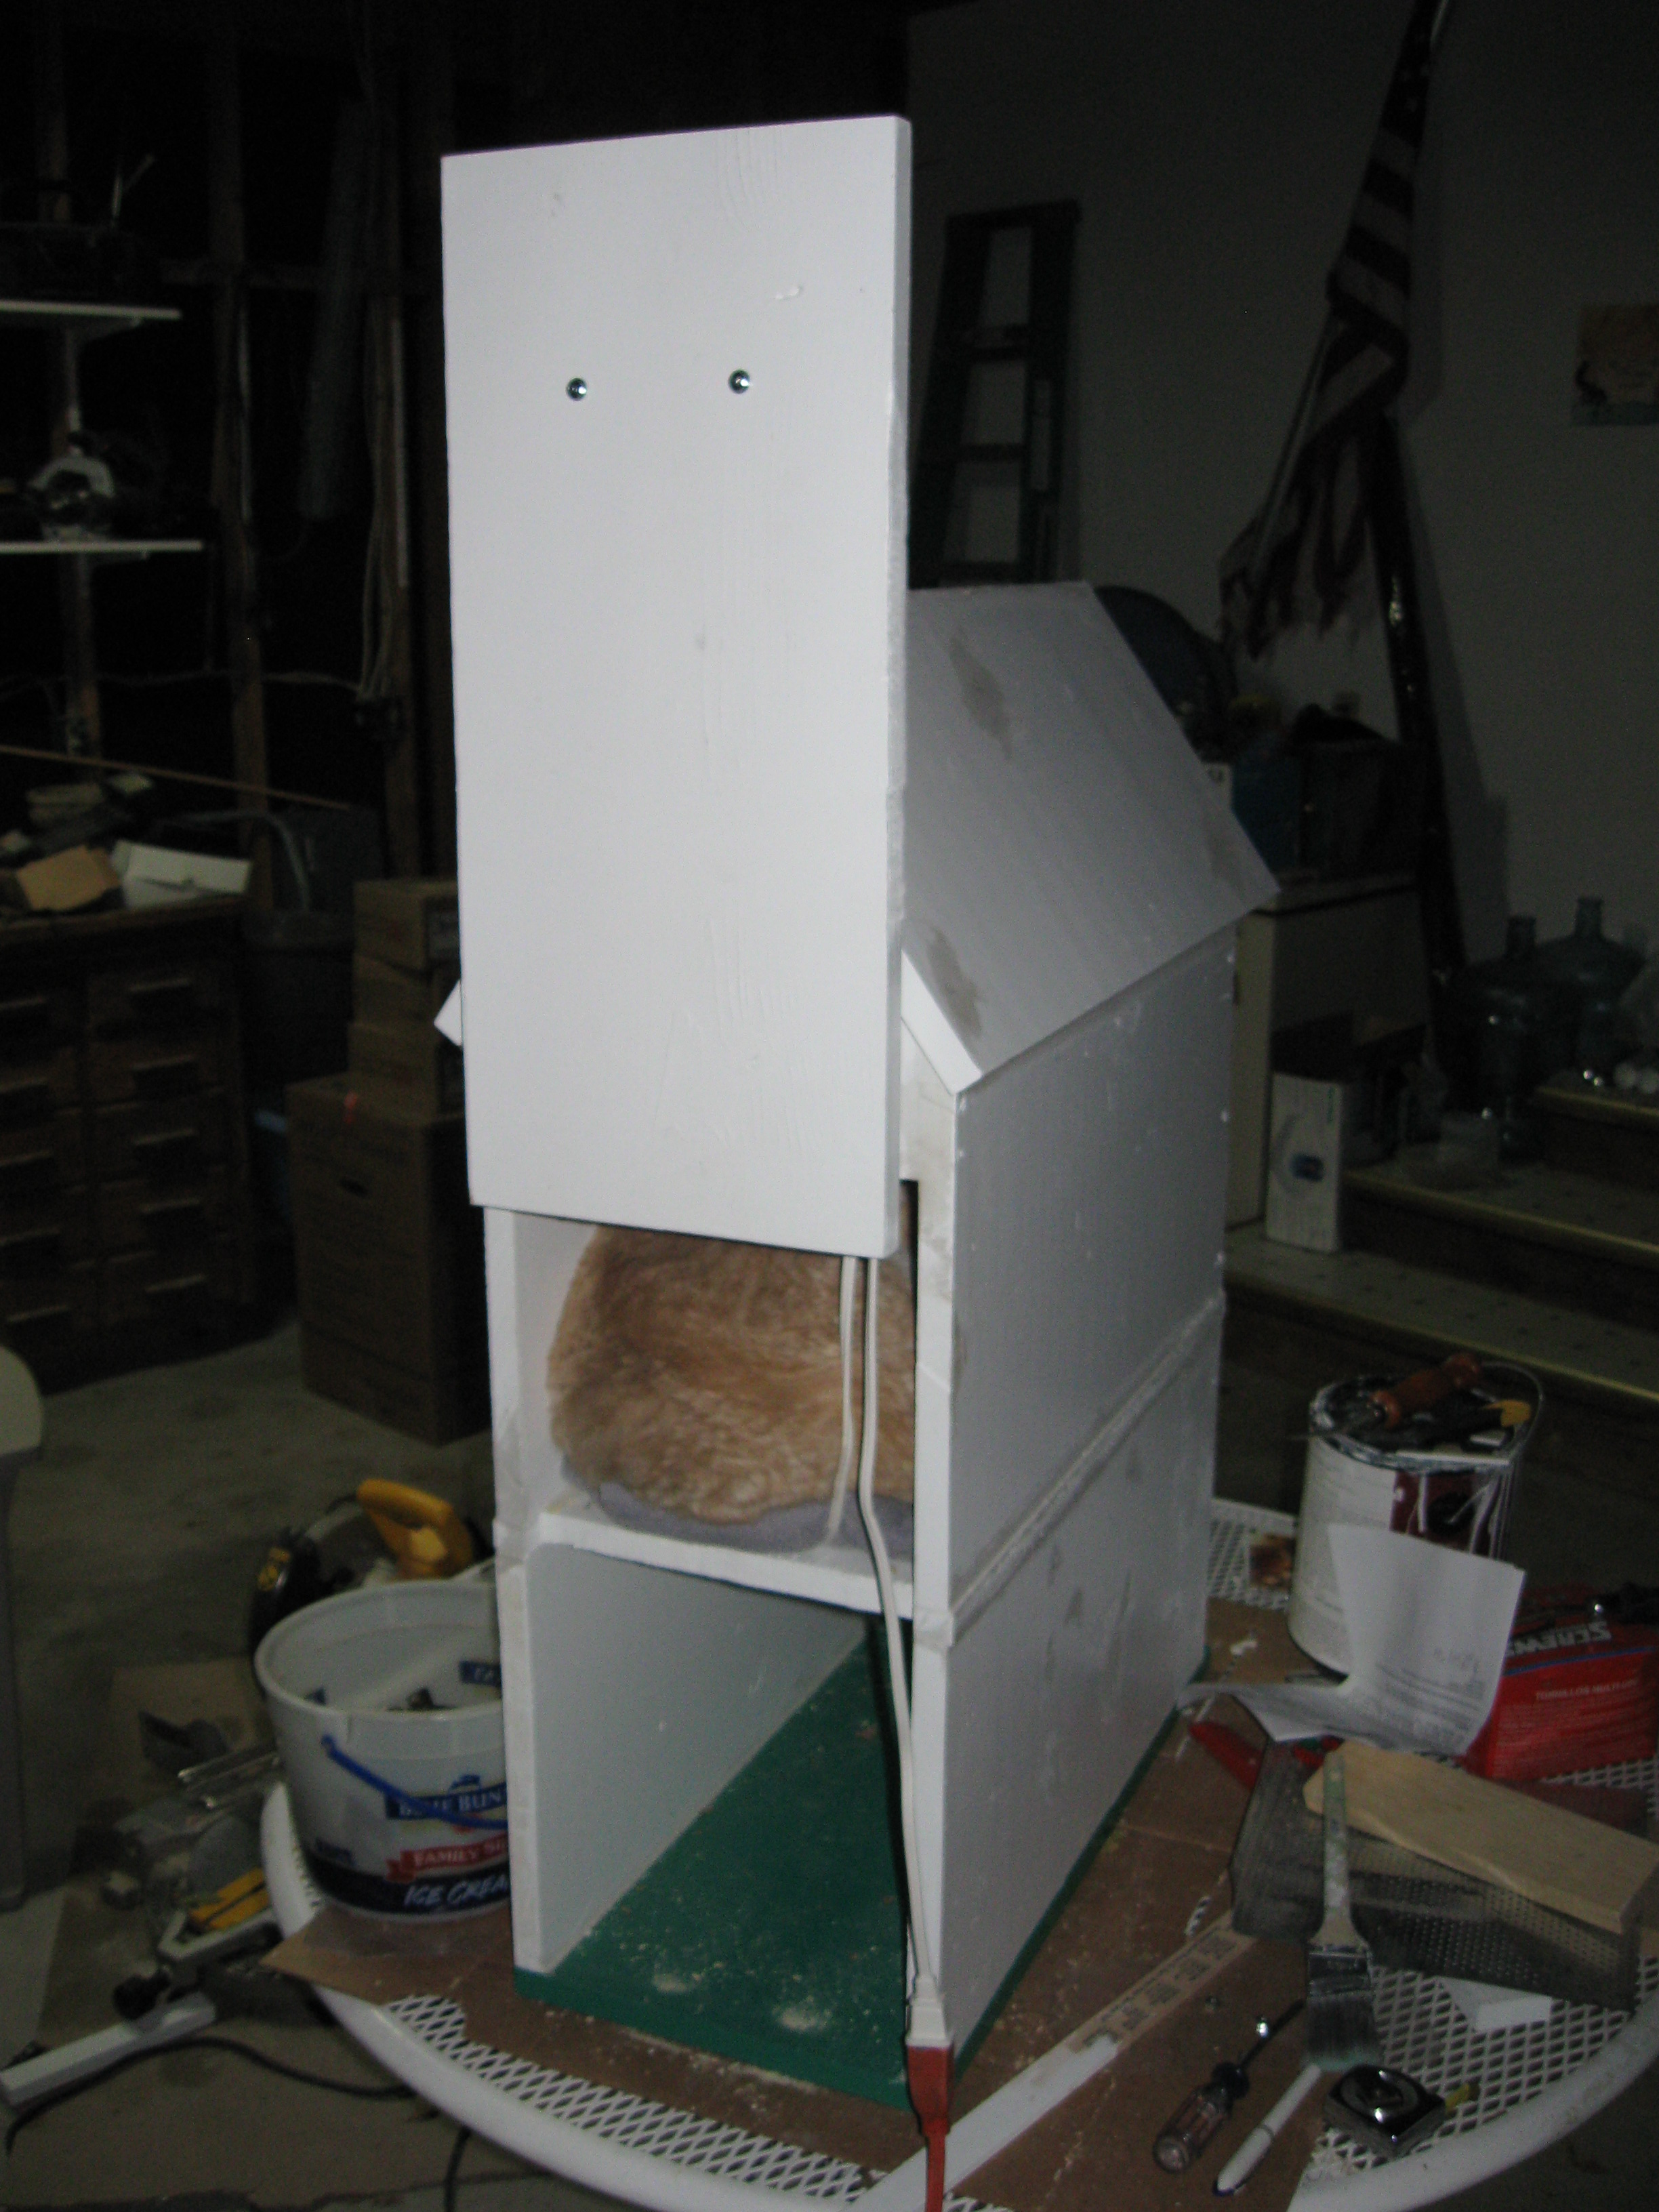
- Pet Heating Pad
 – Small piece


 – About a half-gallon


To download the plans for this project, click this link:
Cat House Drawing

Cat House Building Tips:
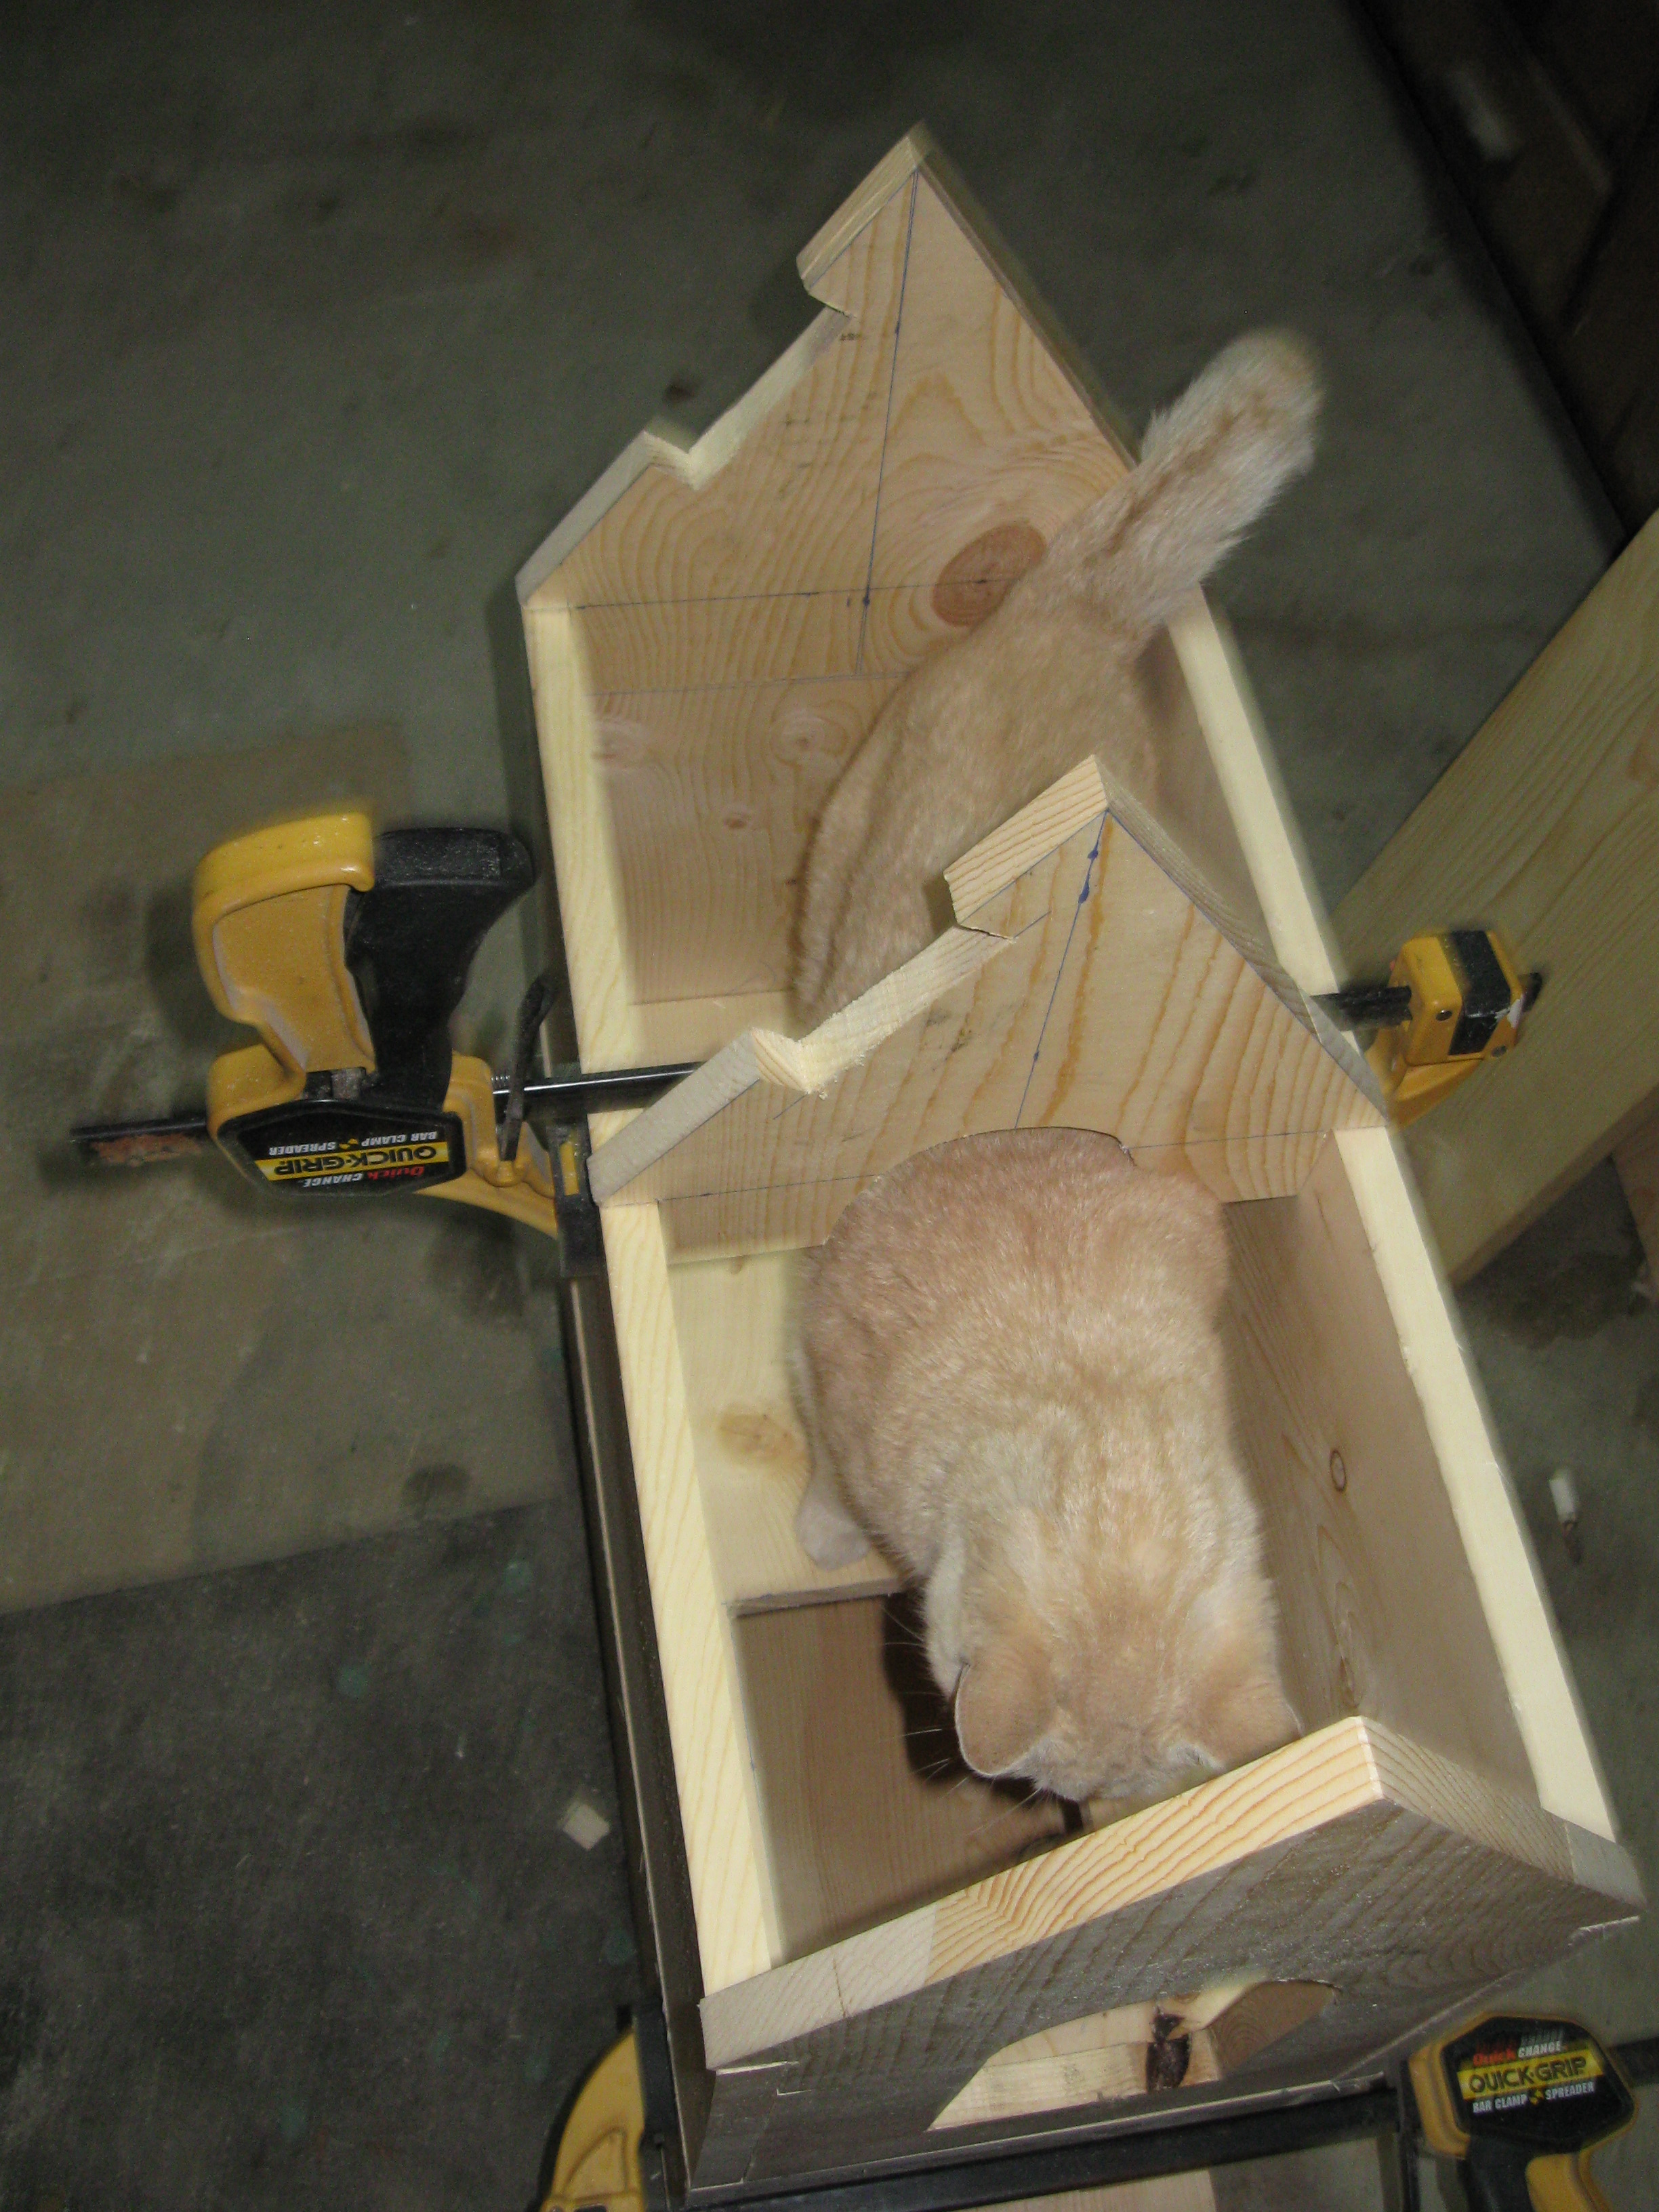
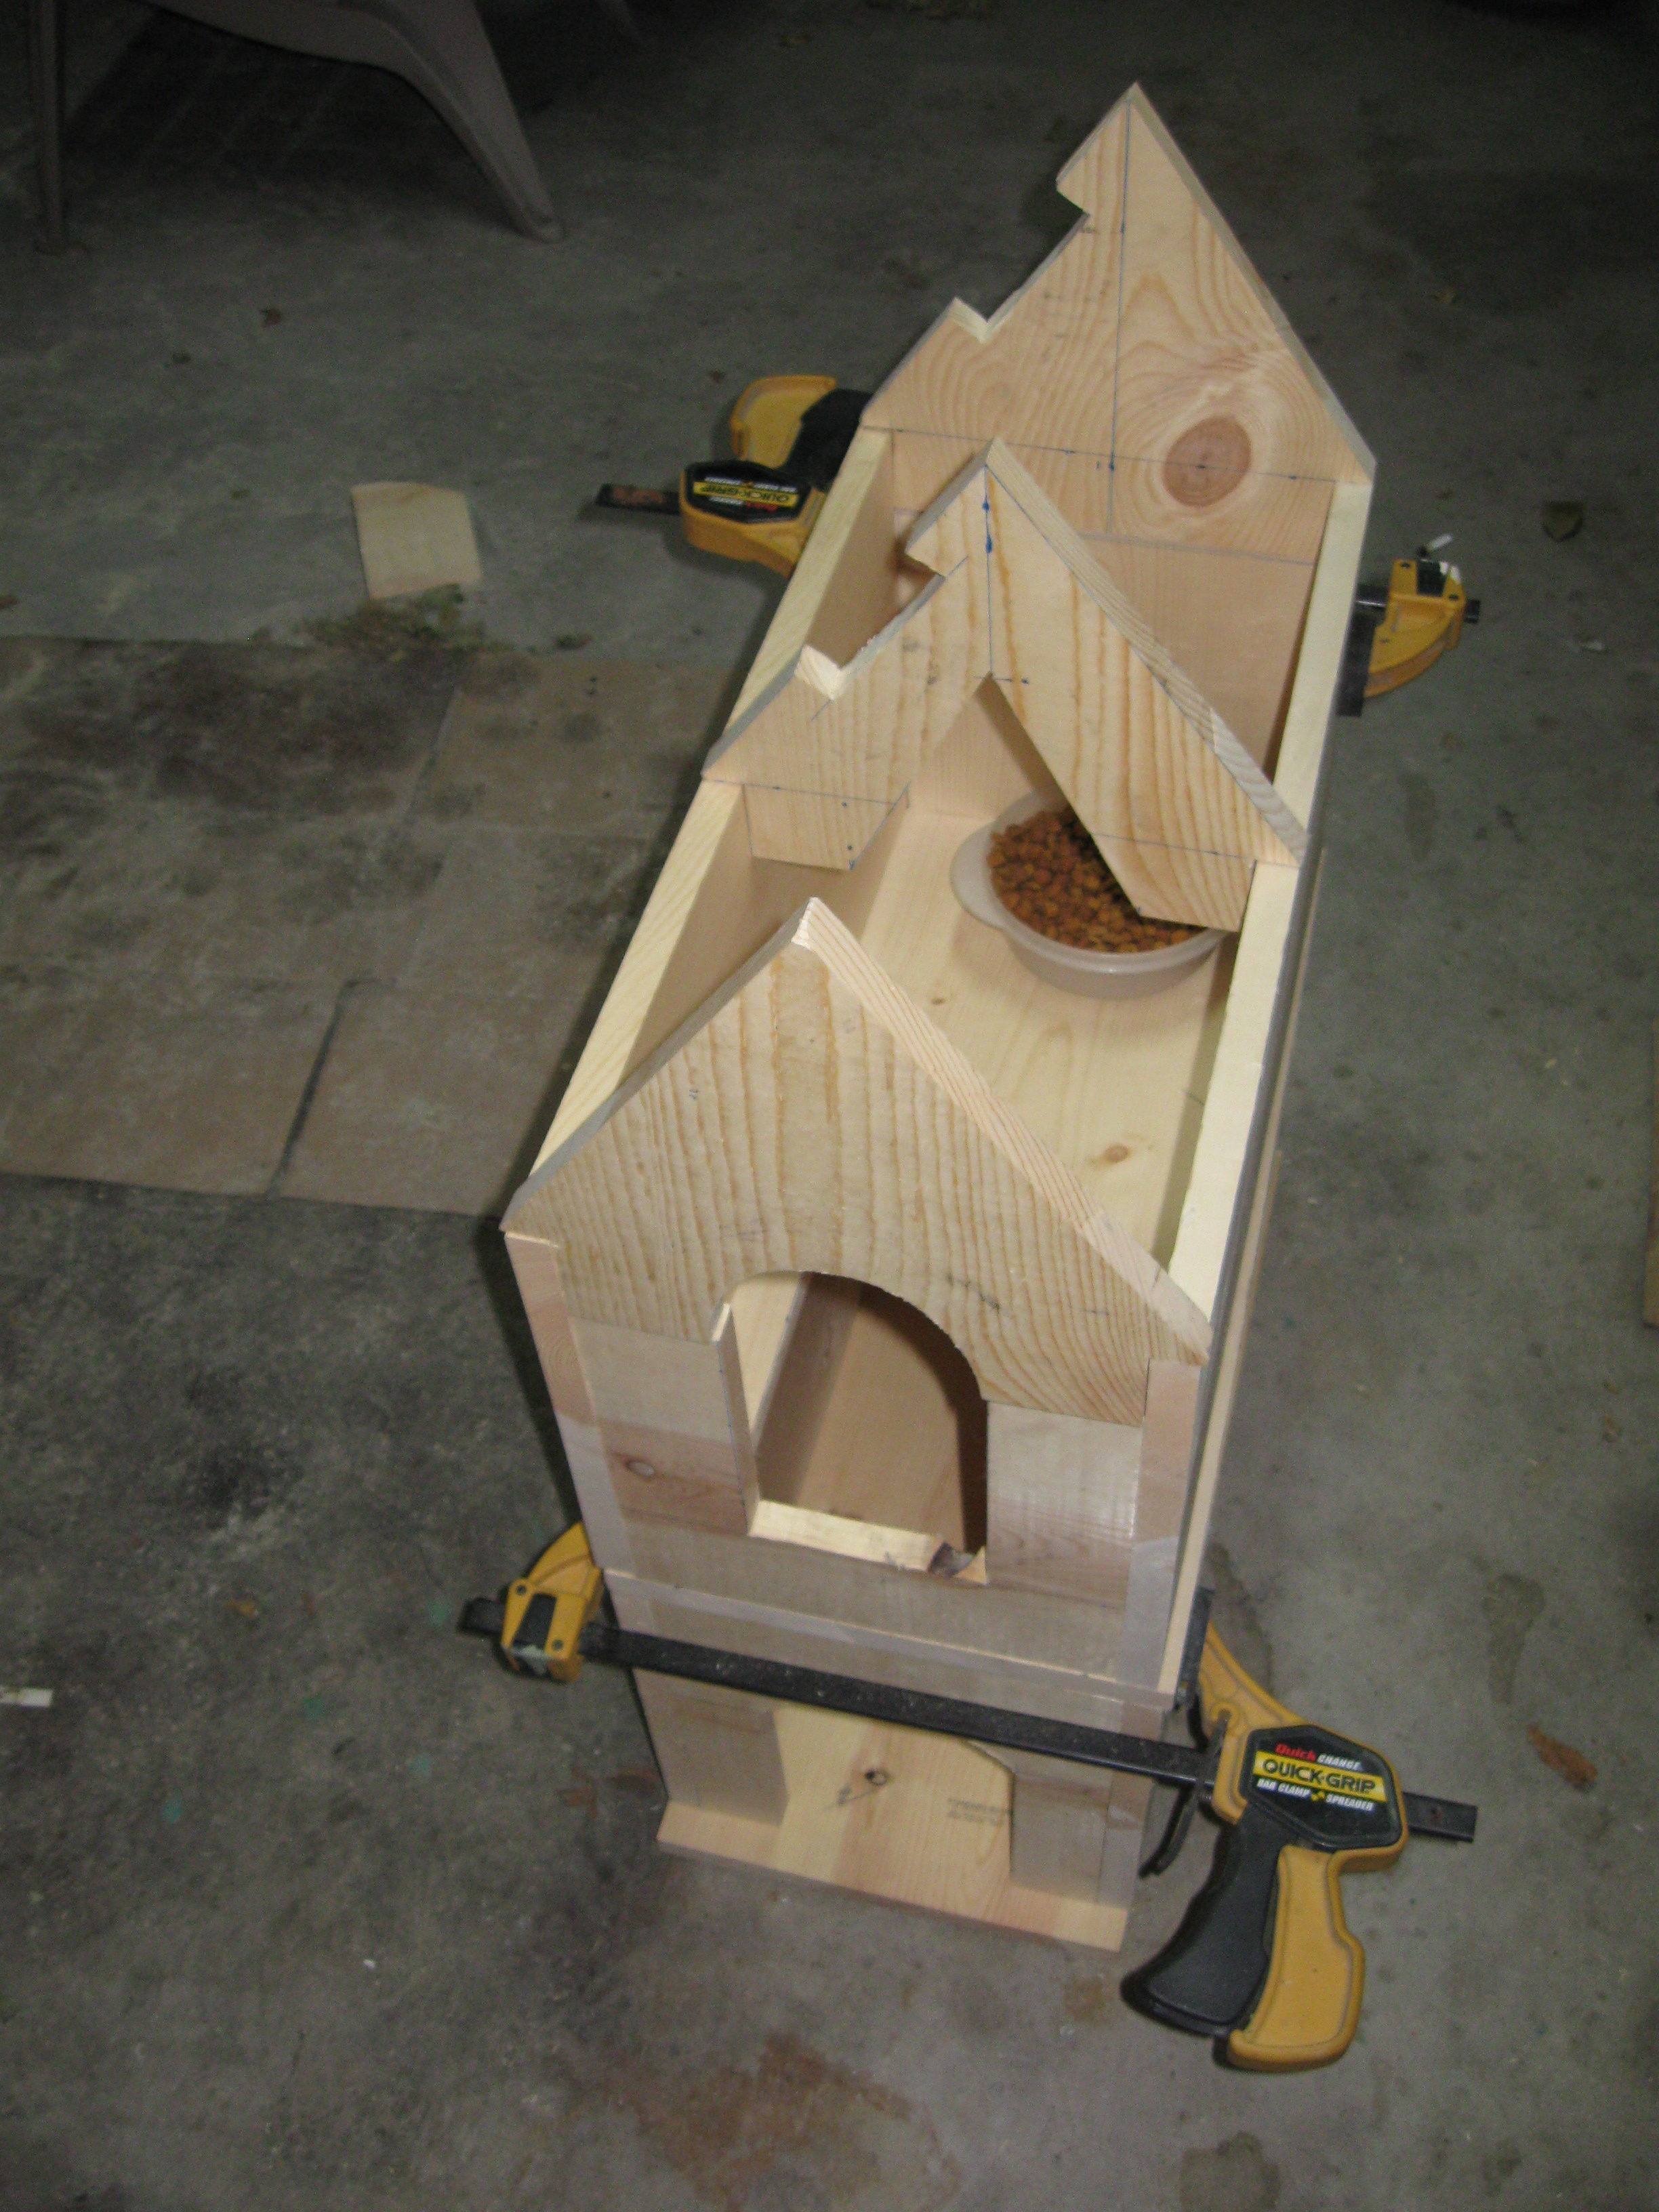
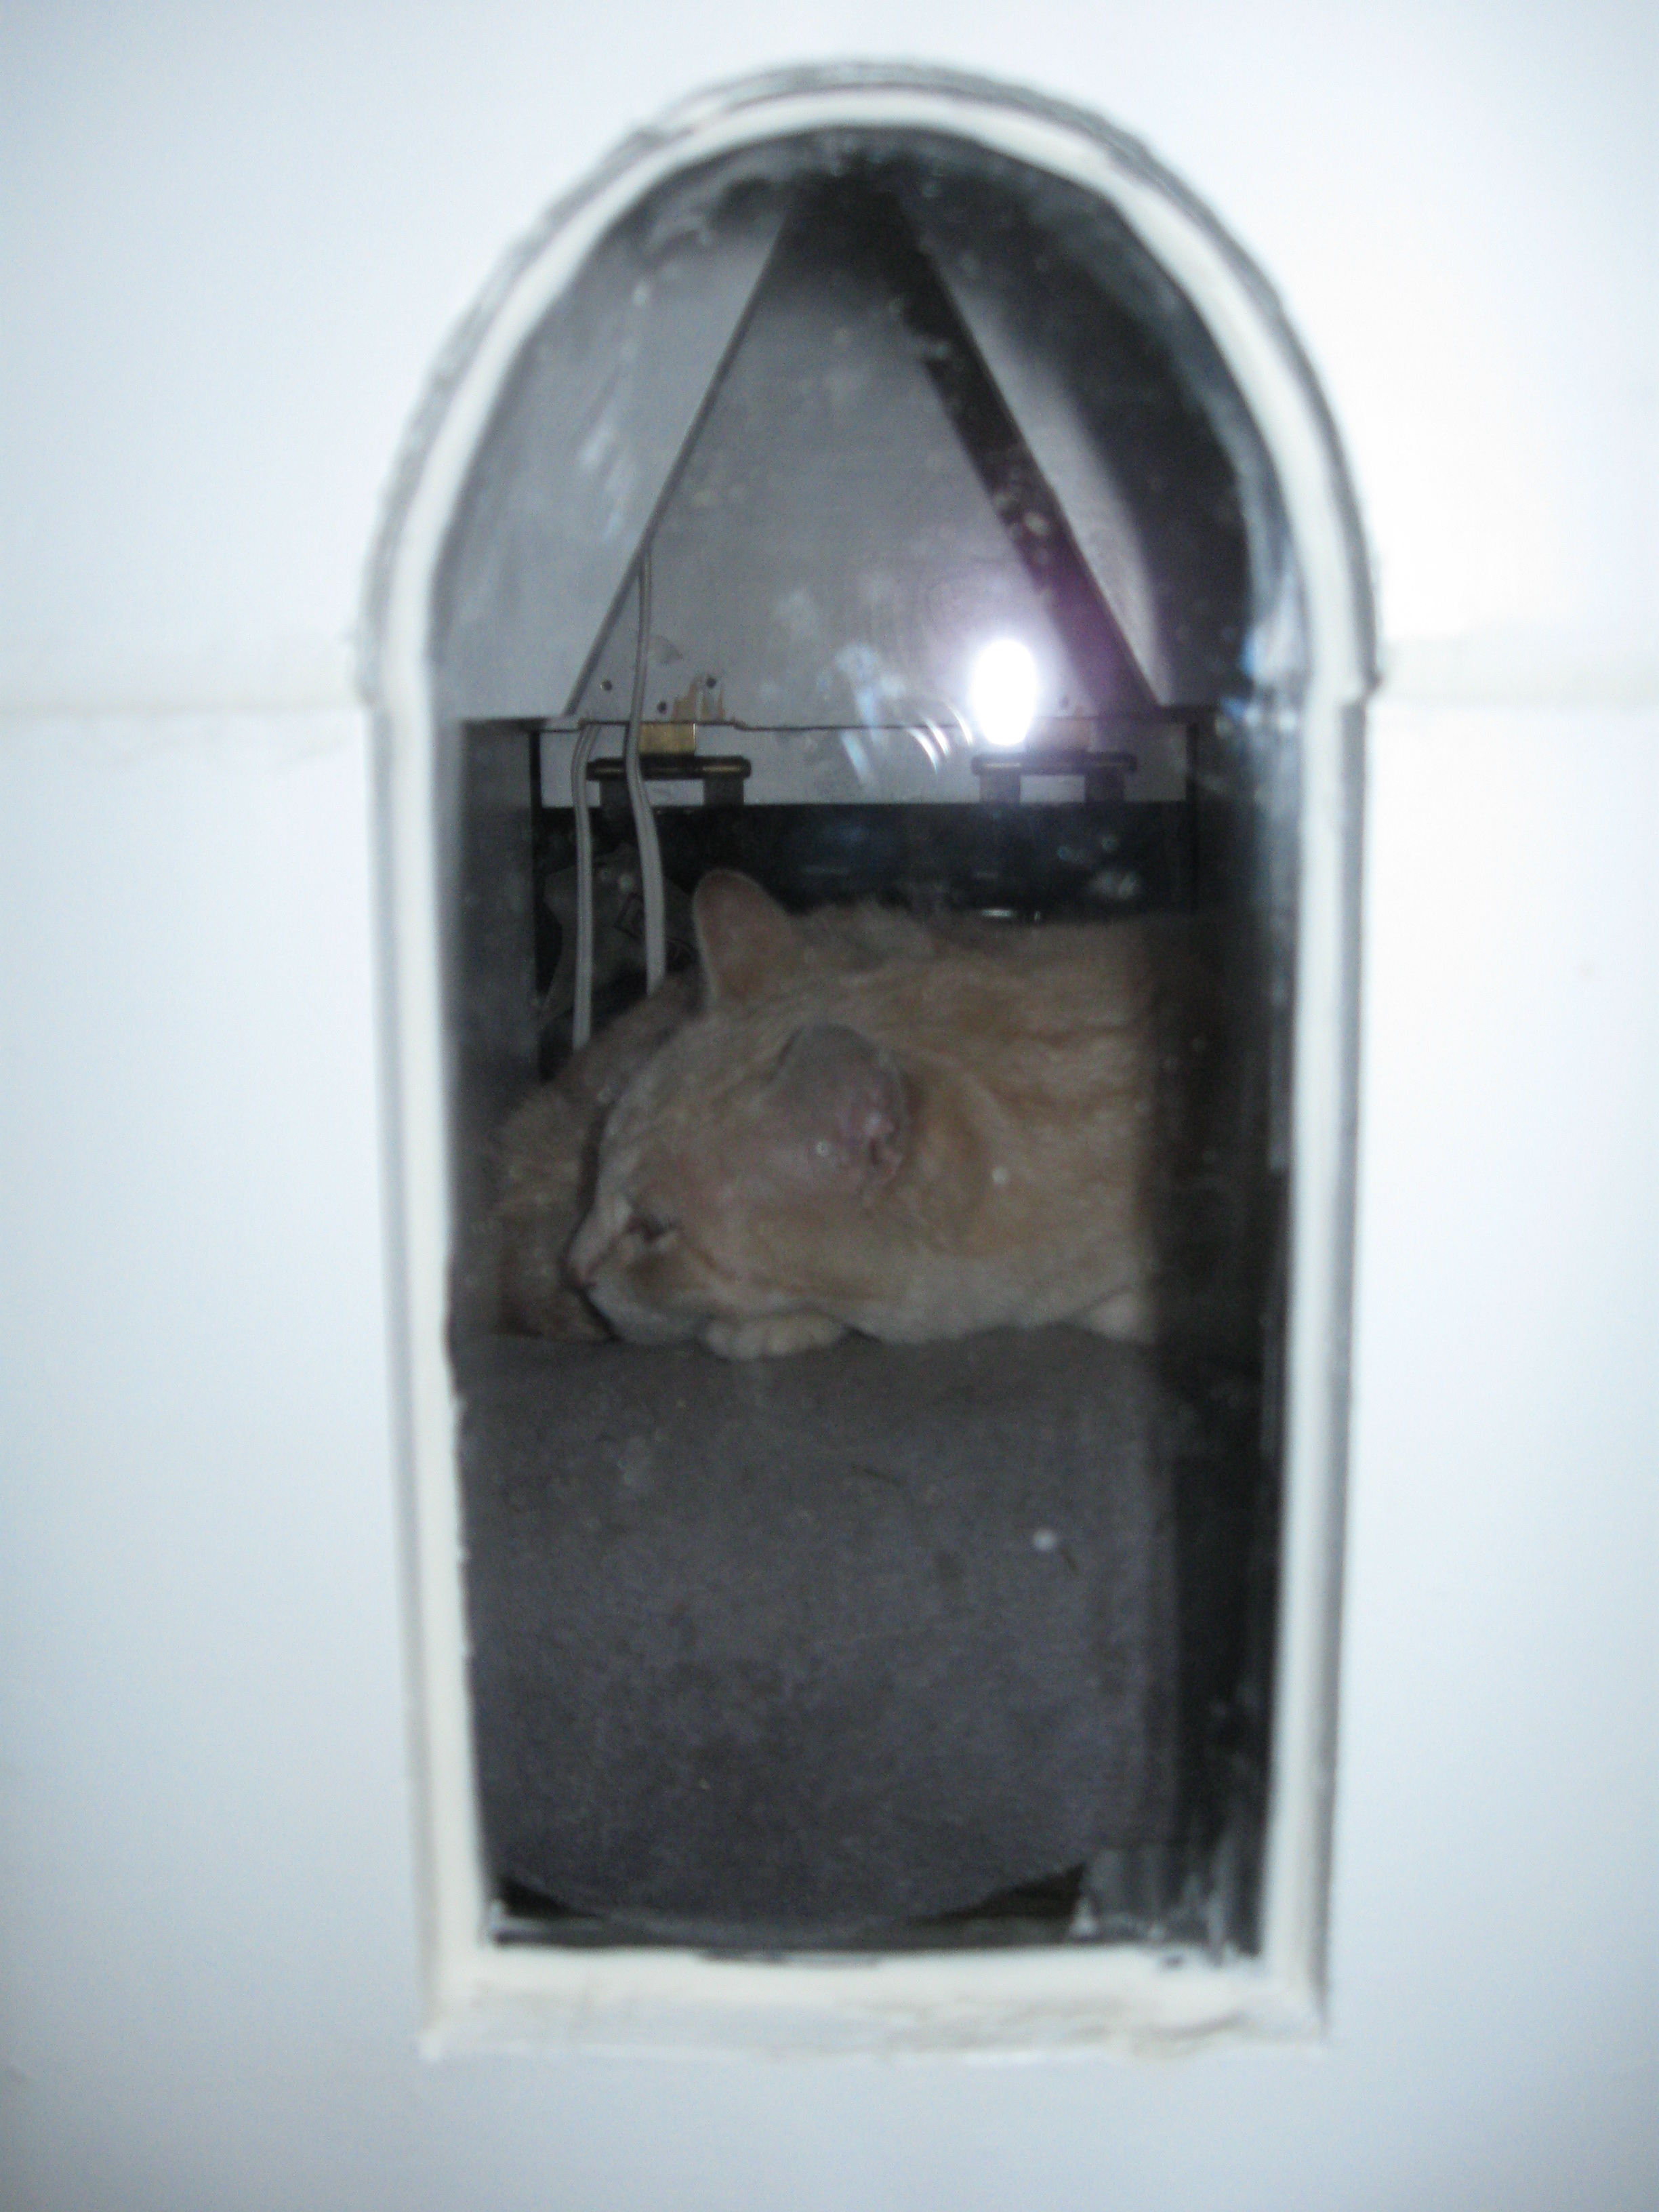
- The middle rafter was found to need a more severe cut-out than originally planned. I cut it with an arc instead of its current “Upside-down-V” shape, but when I tested it with the cat, she was bumping her back on it and clearly felt overly-cramped.
- The vent slot on the back rafter is optional. It is the size of a computer slot fan, and can be wired to 110 voltage via a transformer. Do this at your own risk (and let me know how it turns out if you do it). I ended up shoving a towel in the vent hole during the coldest months so the cat’s body heat would keep it cozy.
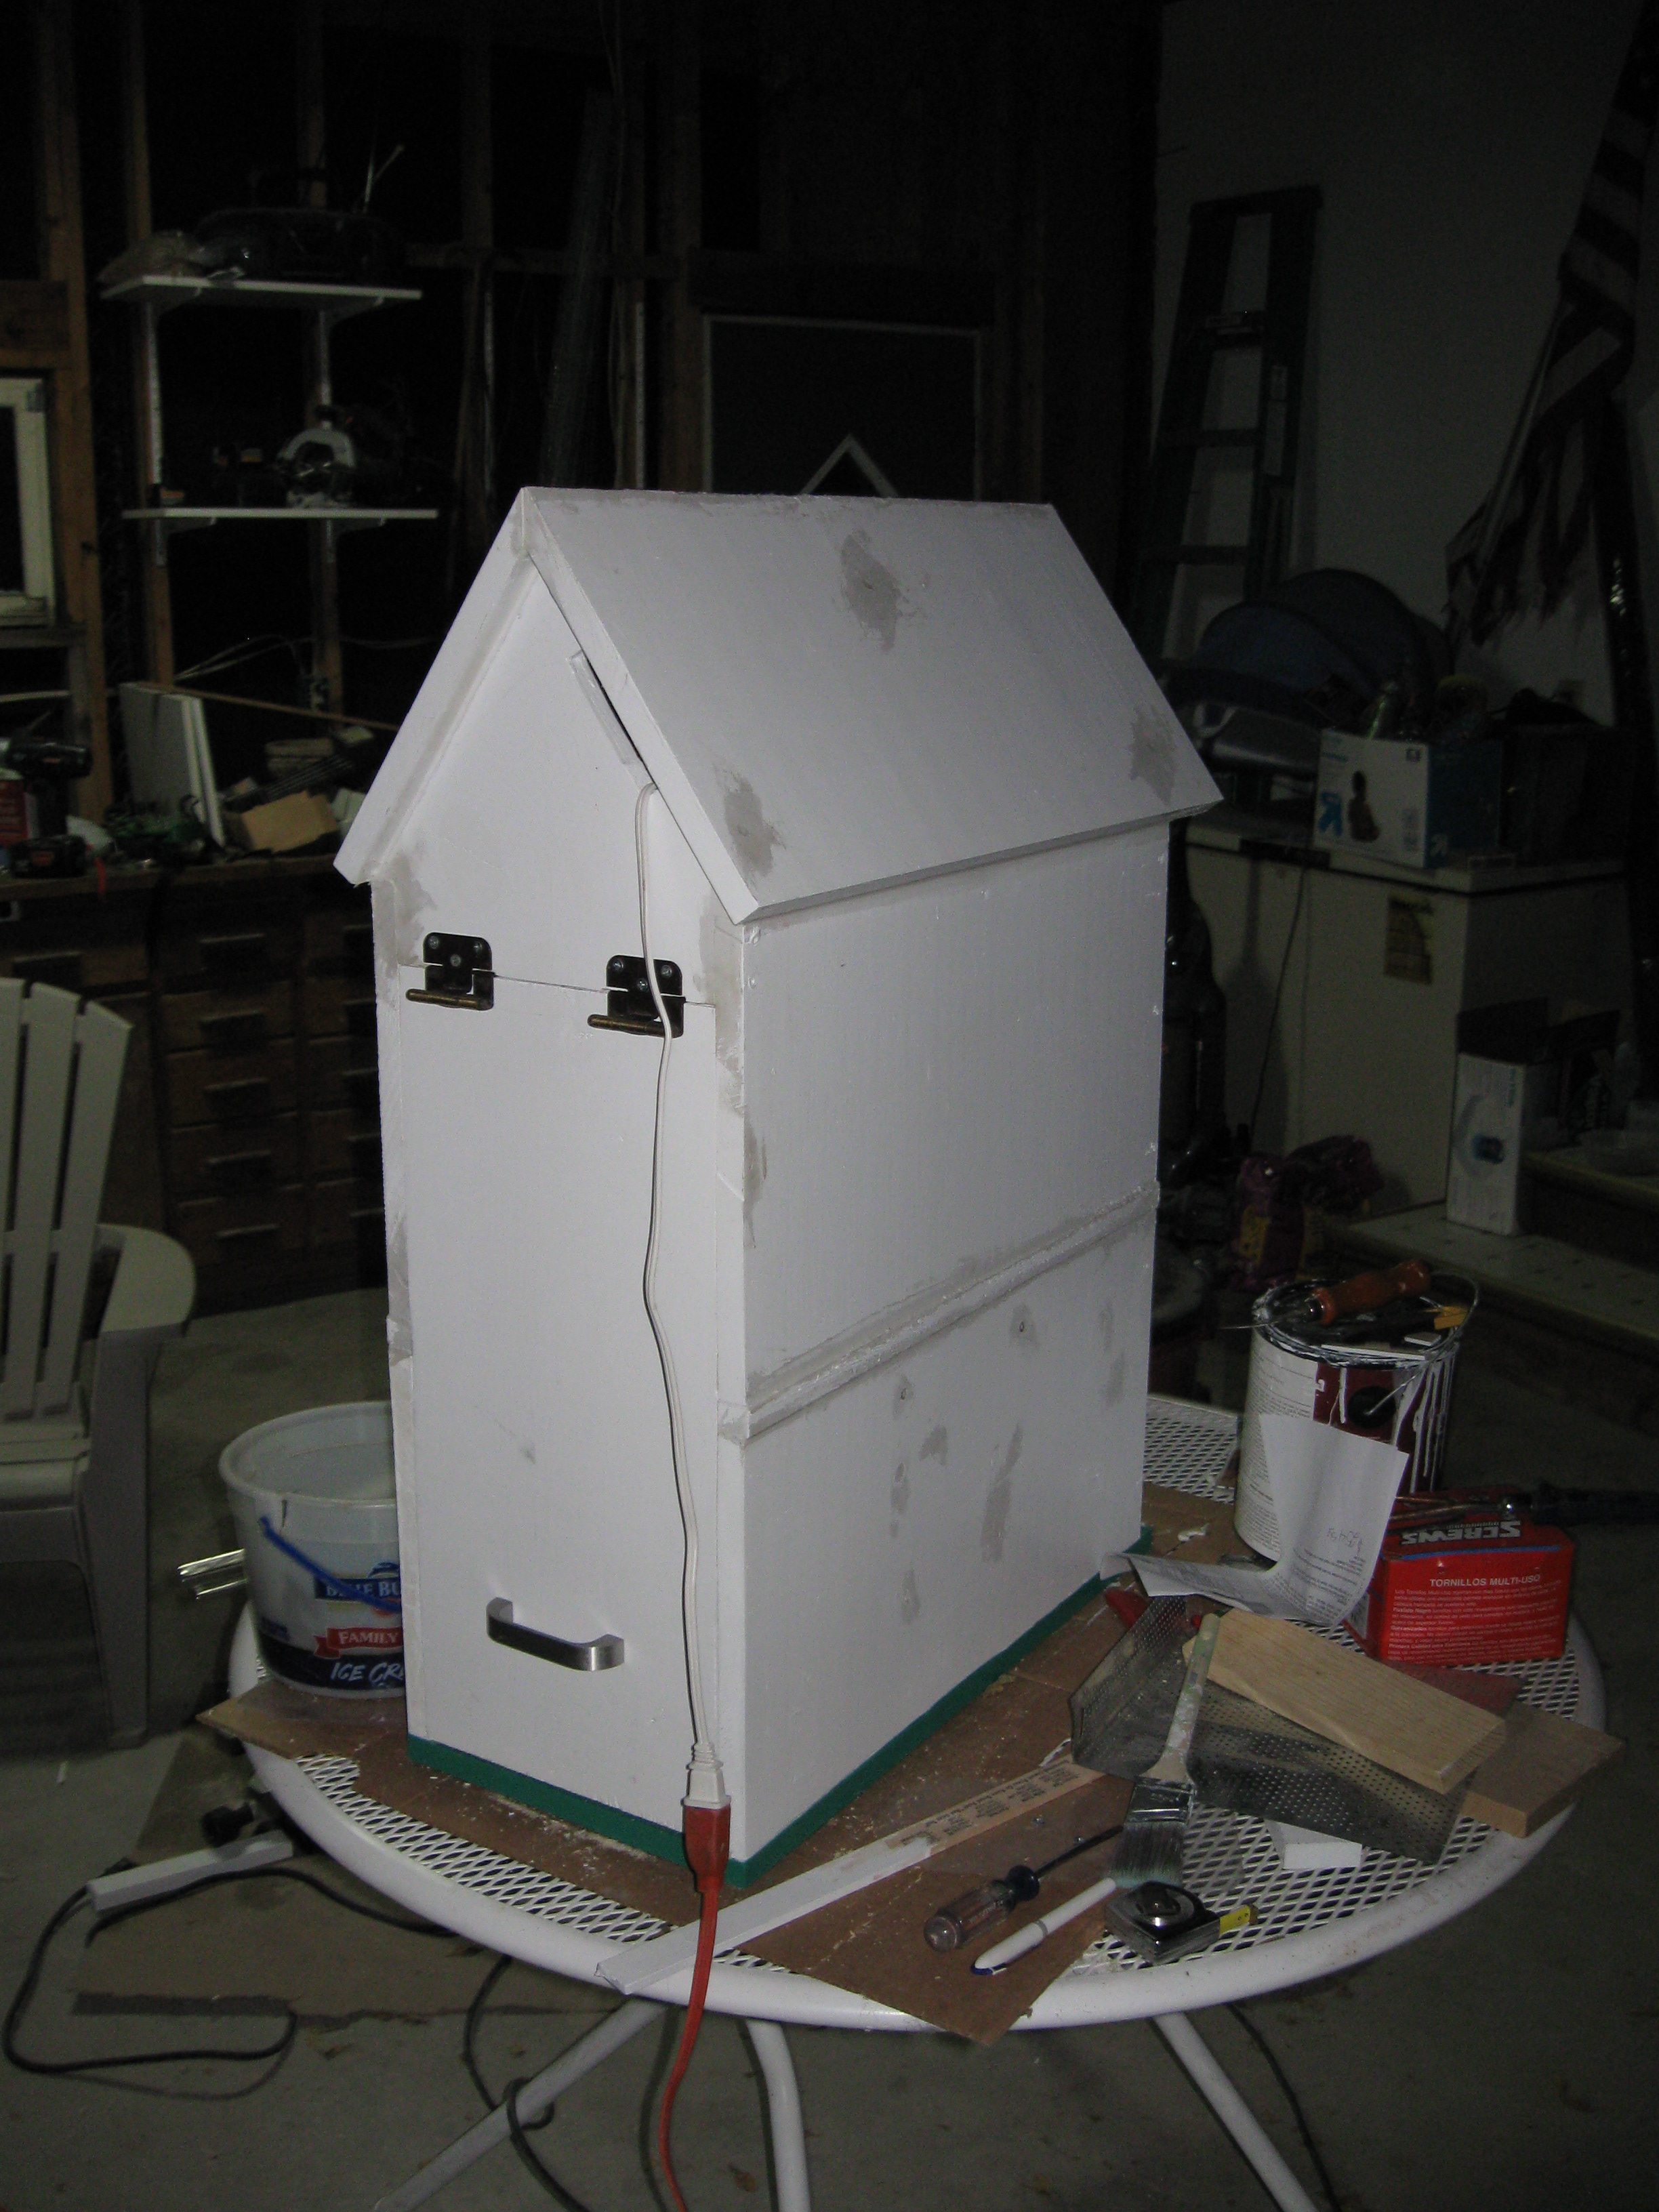
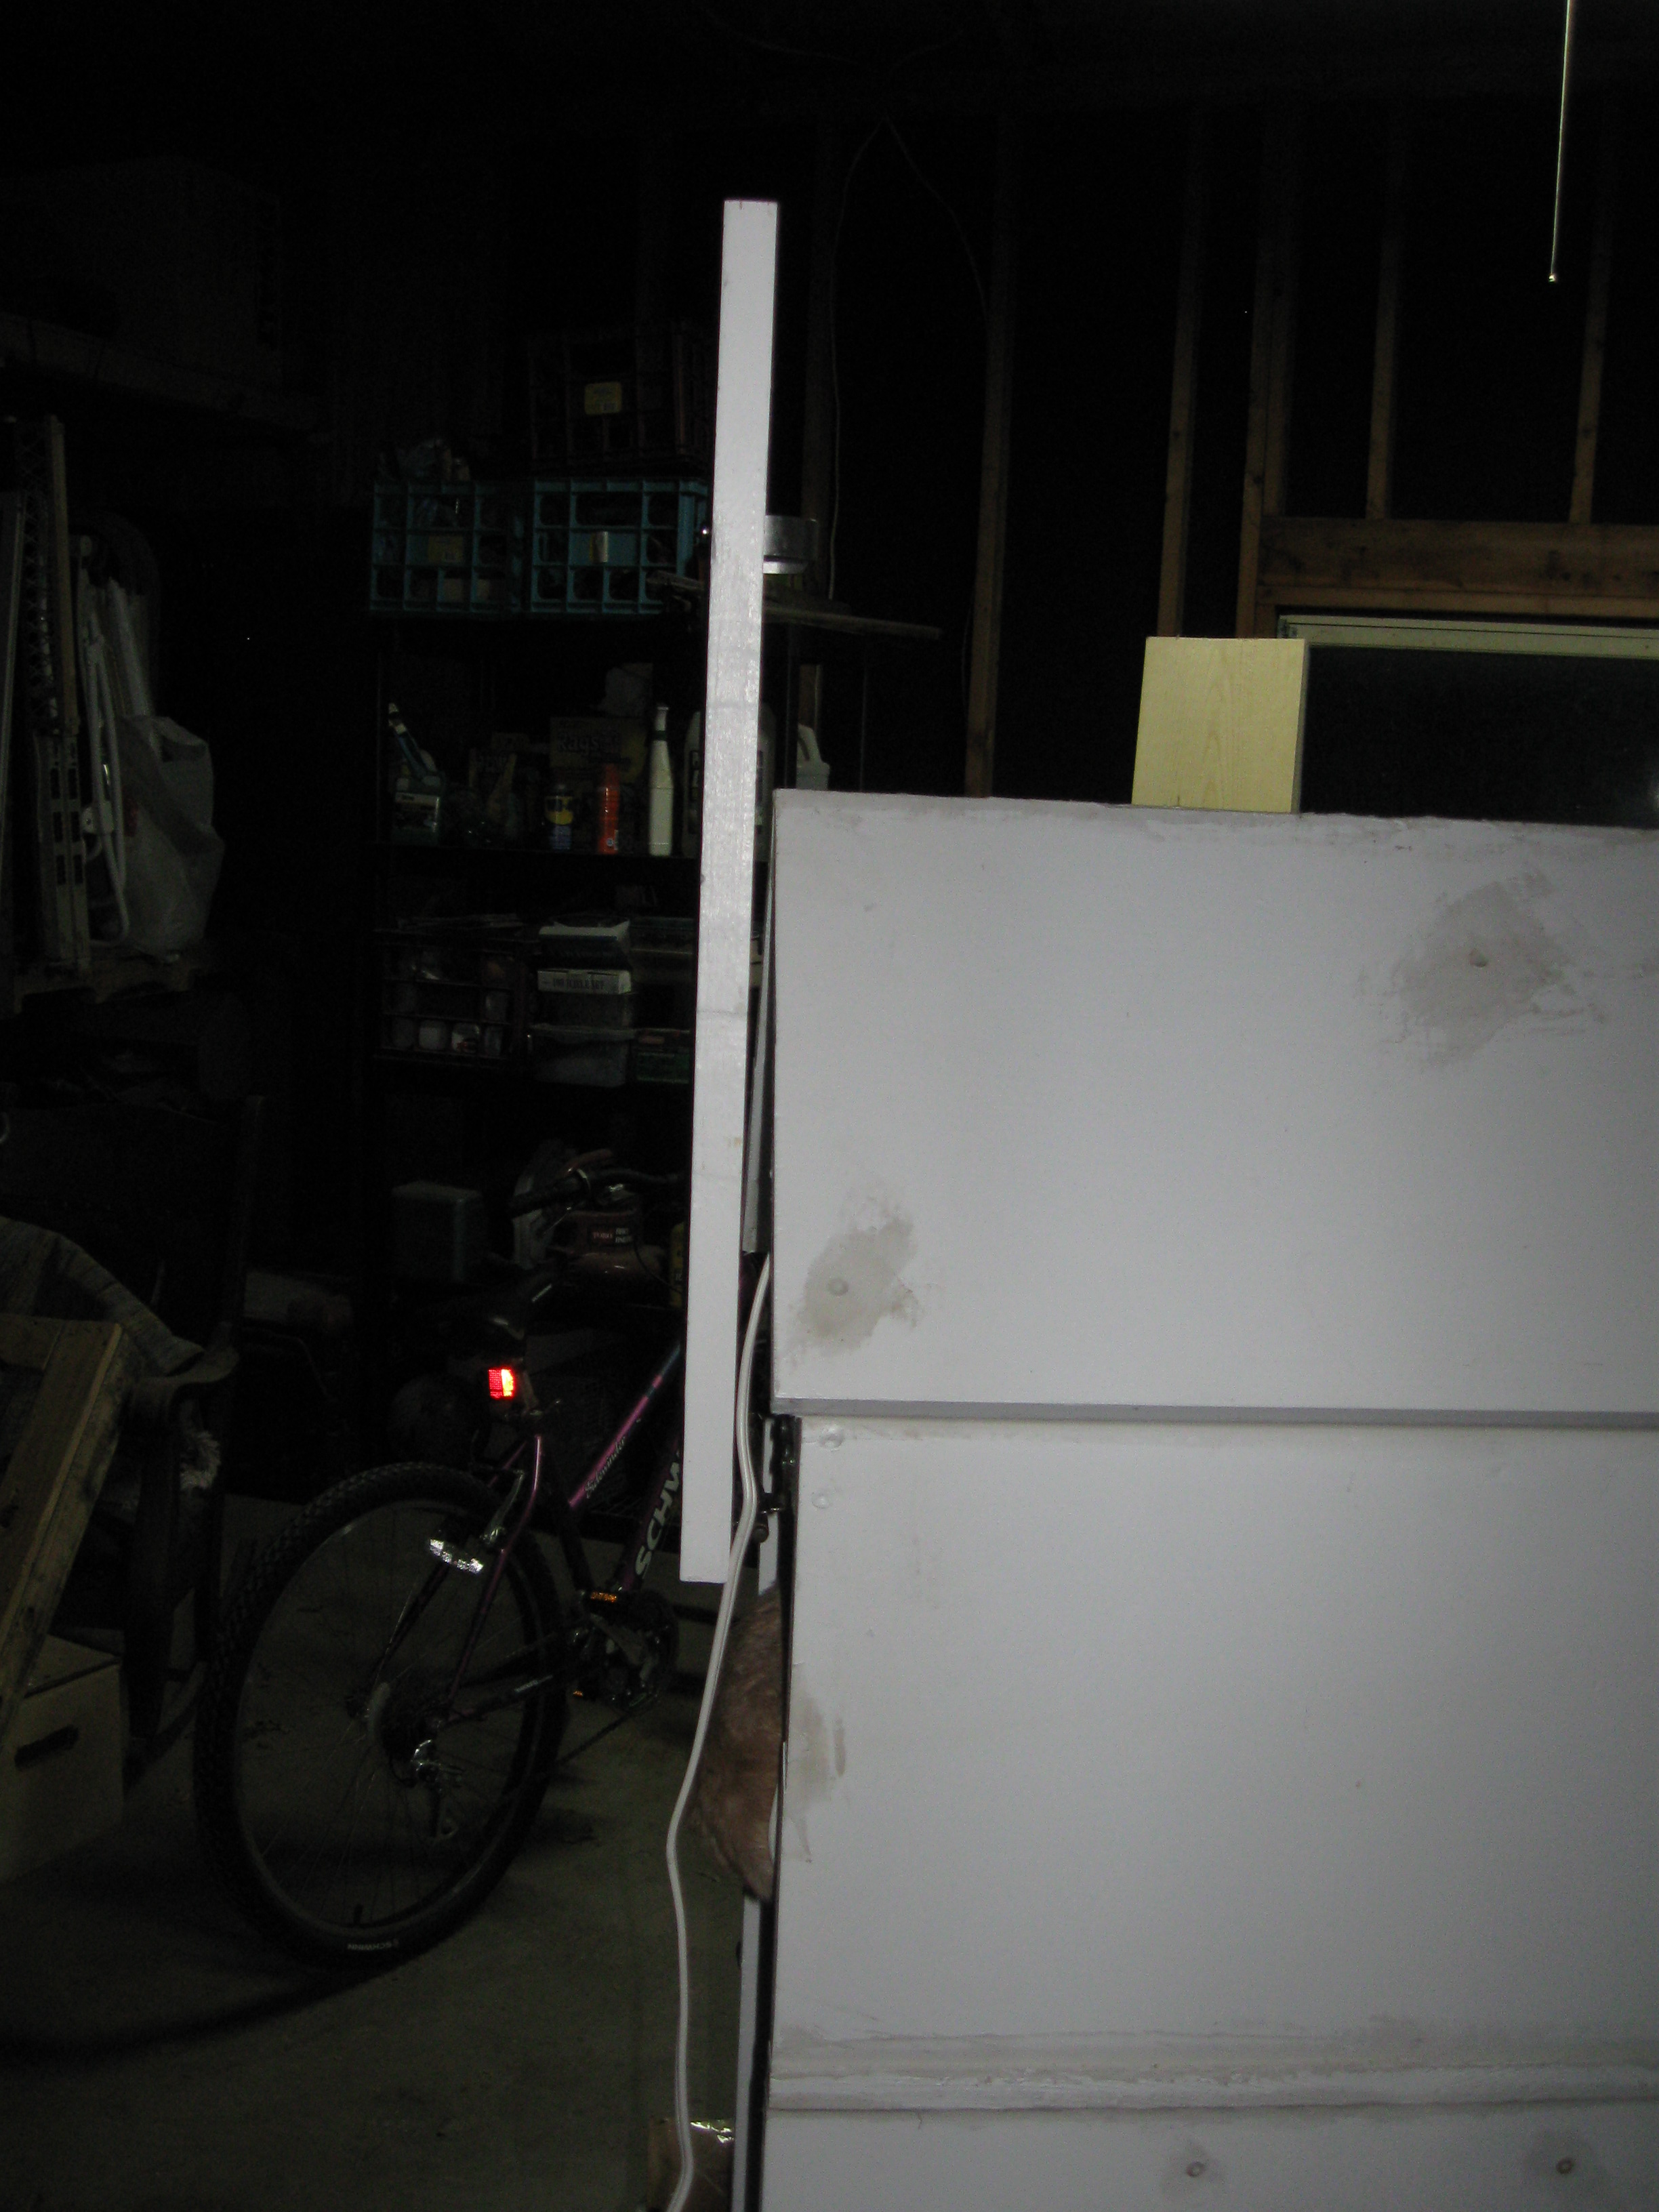
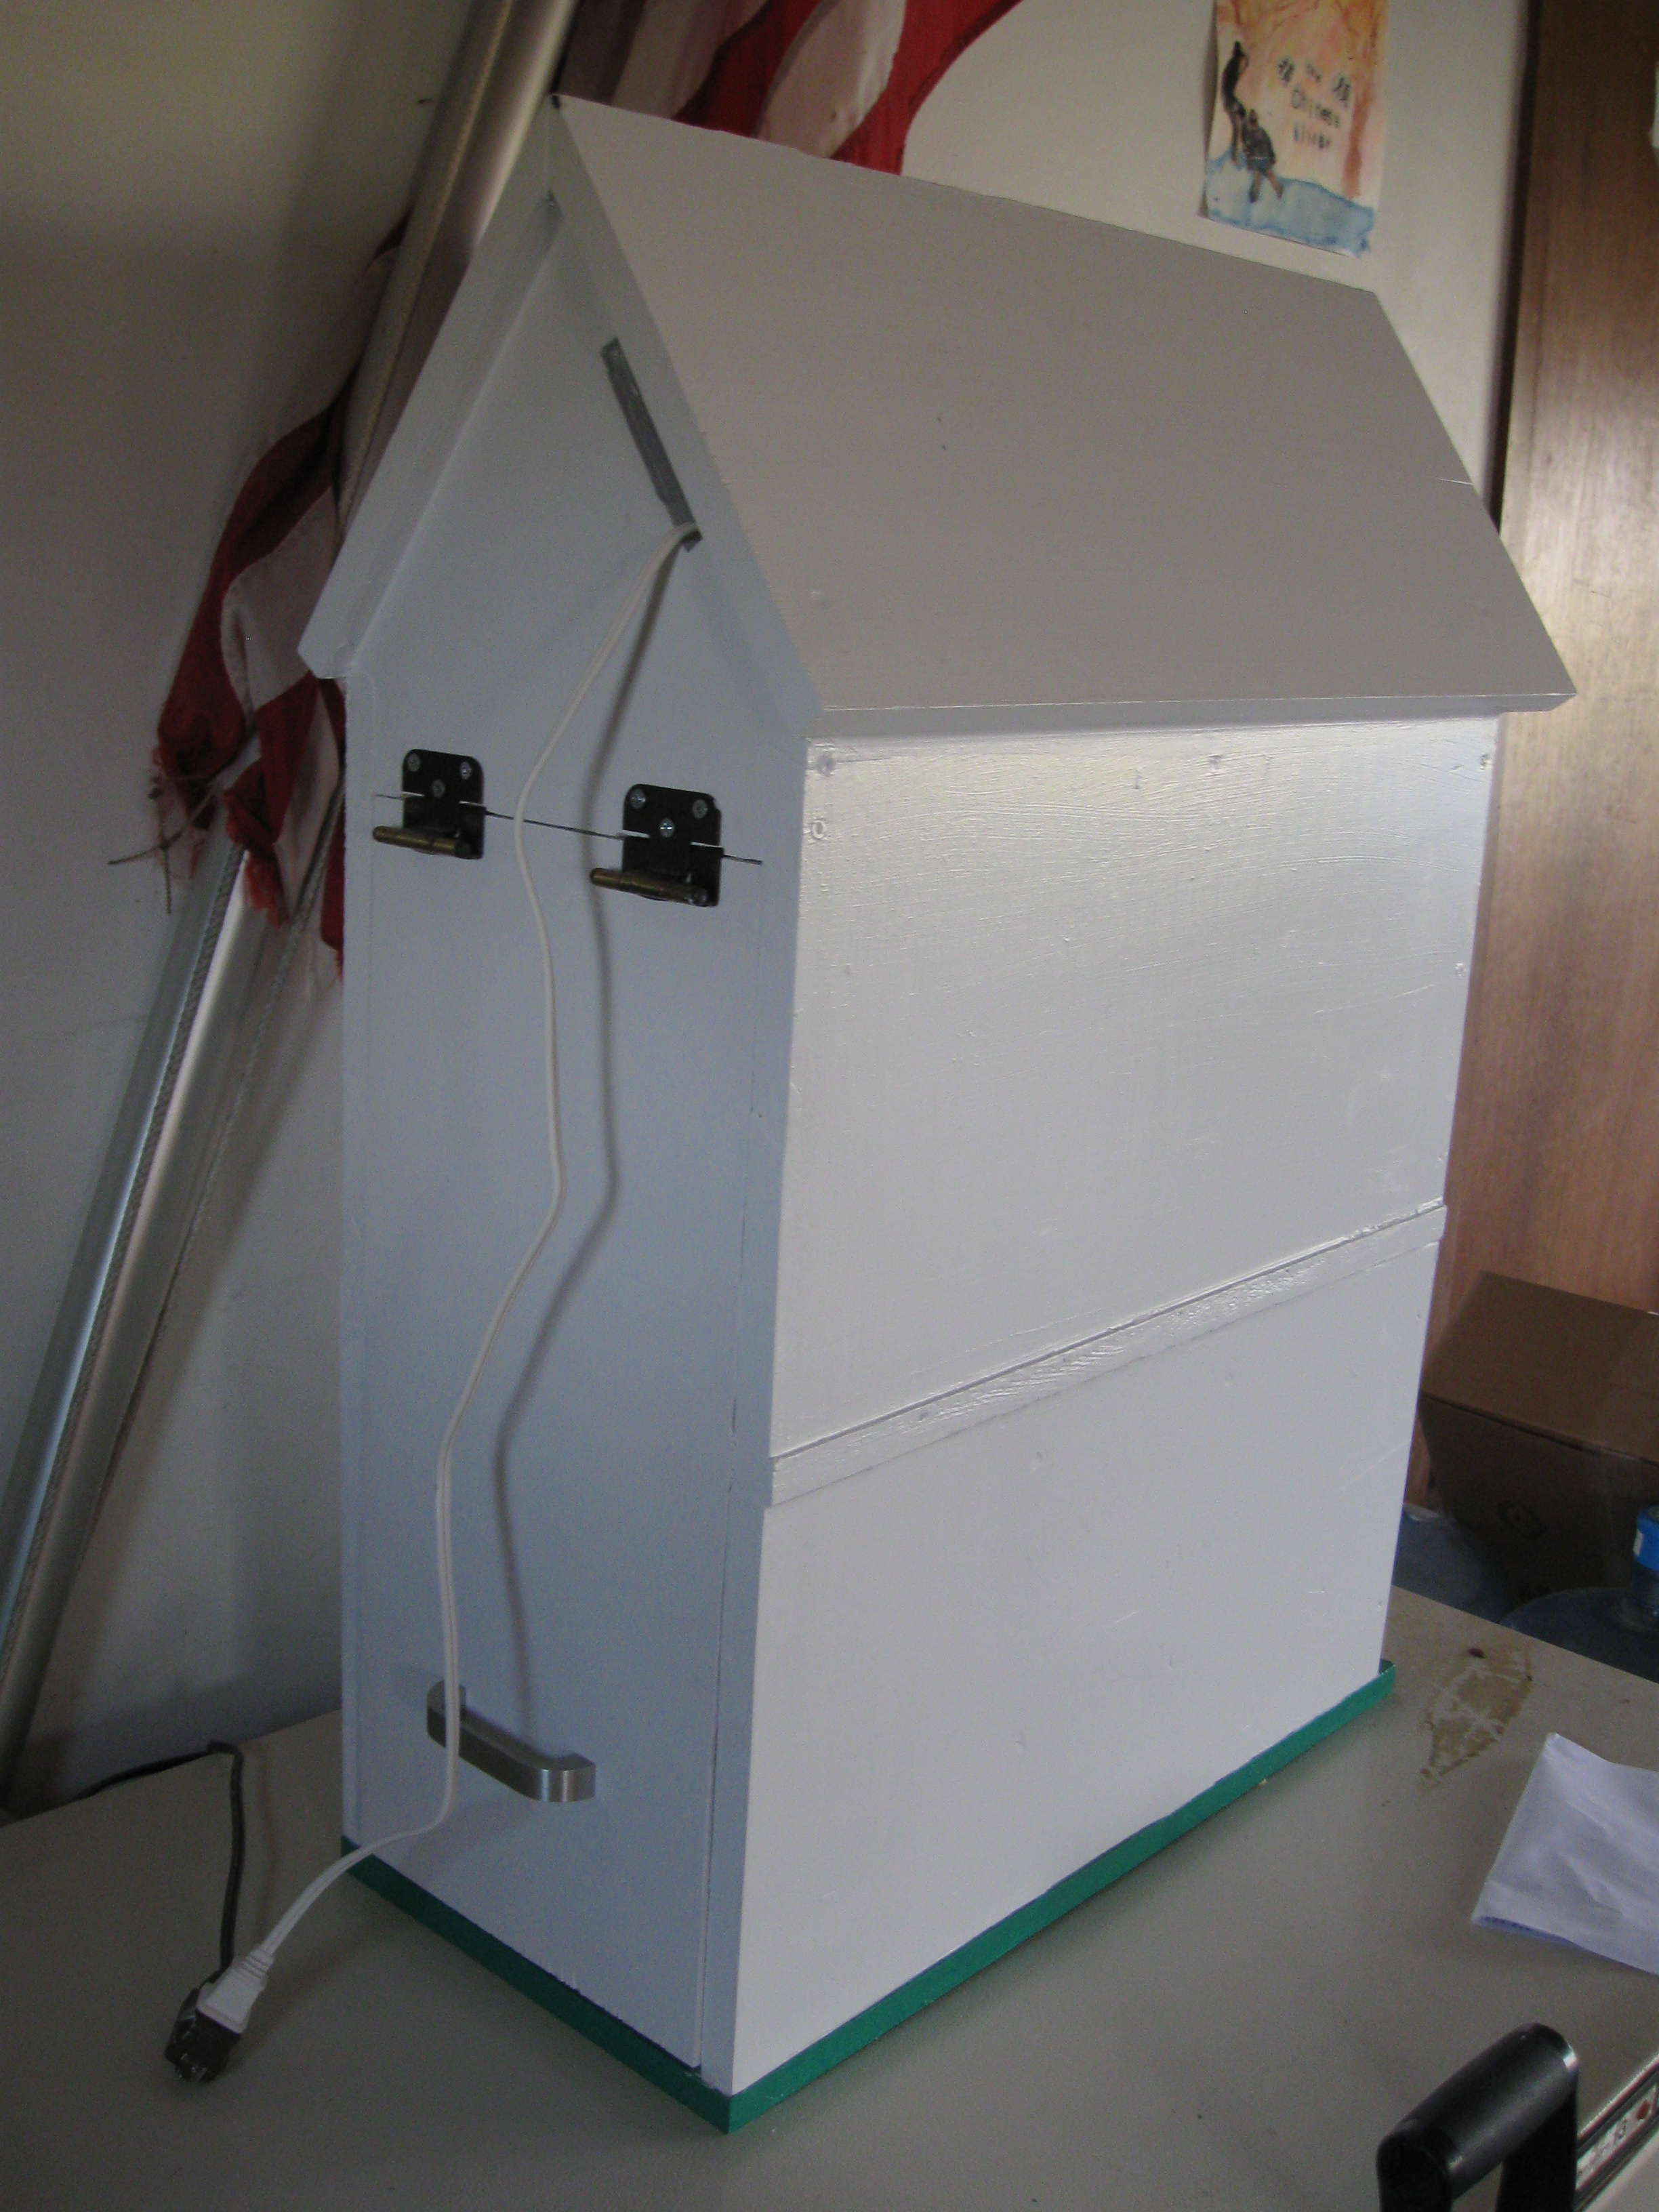
- You will need to figure out your own way to fasten the top of the cat house to the bottom. I cut three 2″x1″s (1 for each side wall, 1 for the front wall, and none for the back wall) and used these to screw into from the top of the 2nd floor and the walls of the 1st floor.
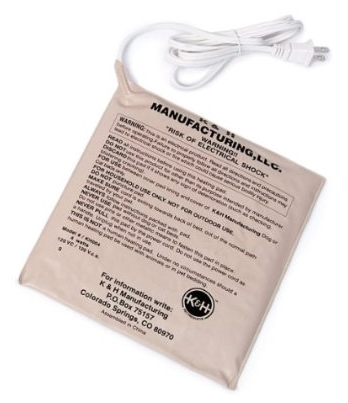
- If you live in a climate like mine (upper Midwest), then you’ll need a “Pet Bed Warmer” pad. Since this pet house is small (about 10″ wide), I bought the K & H brand warming pad. A photo is shown above.
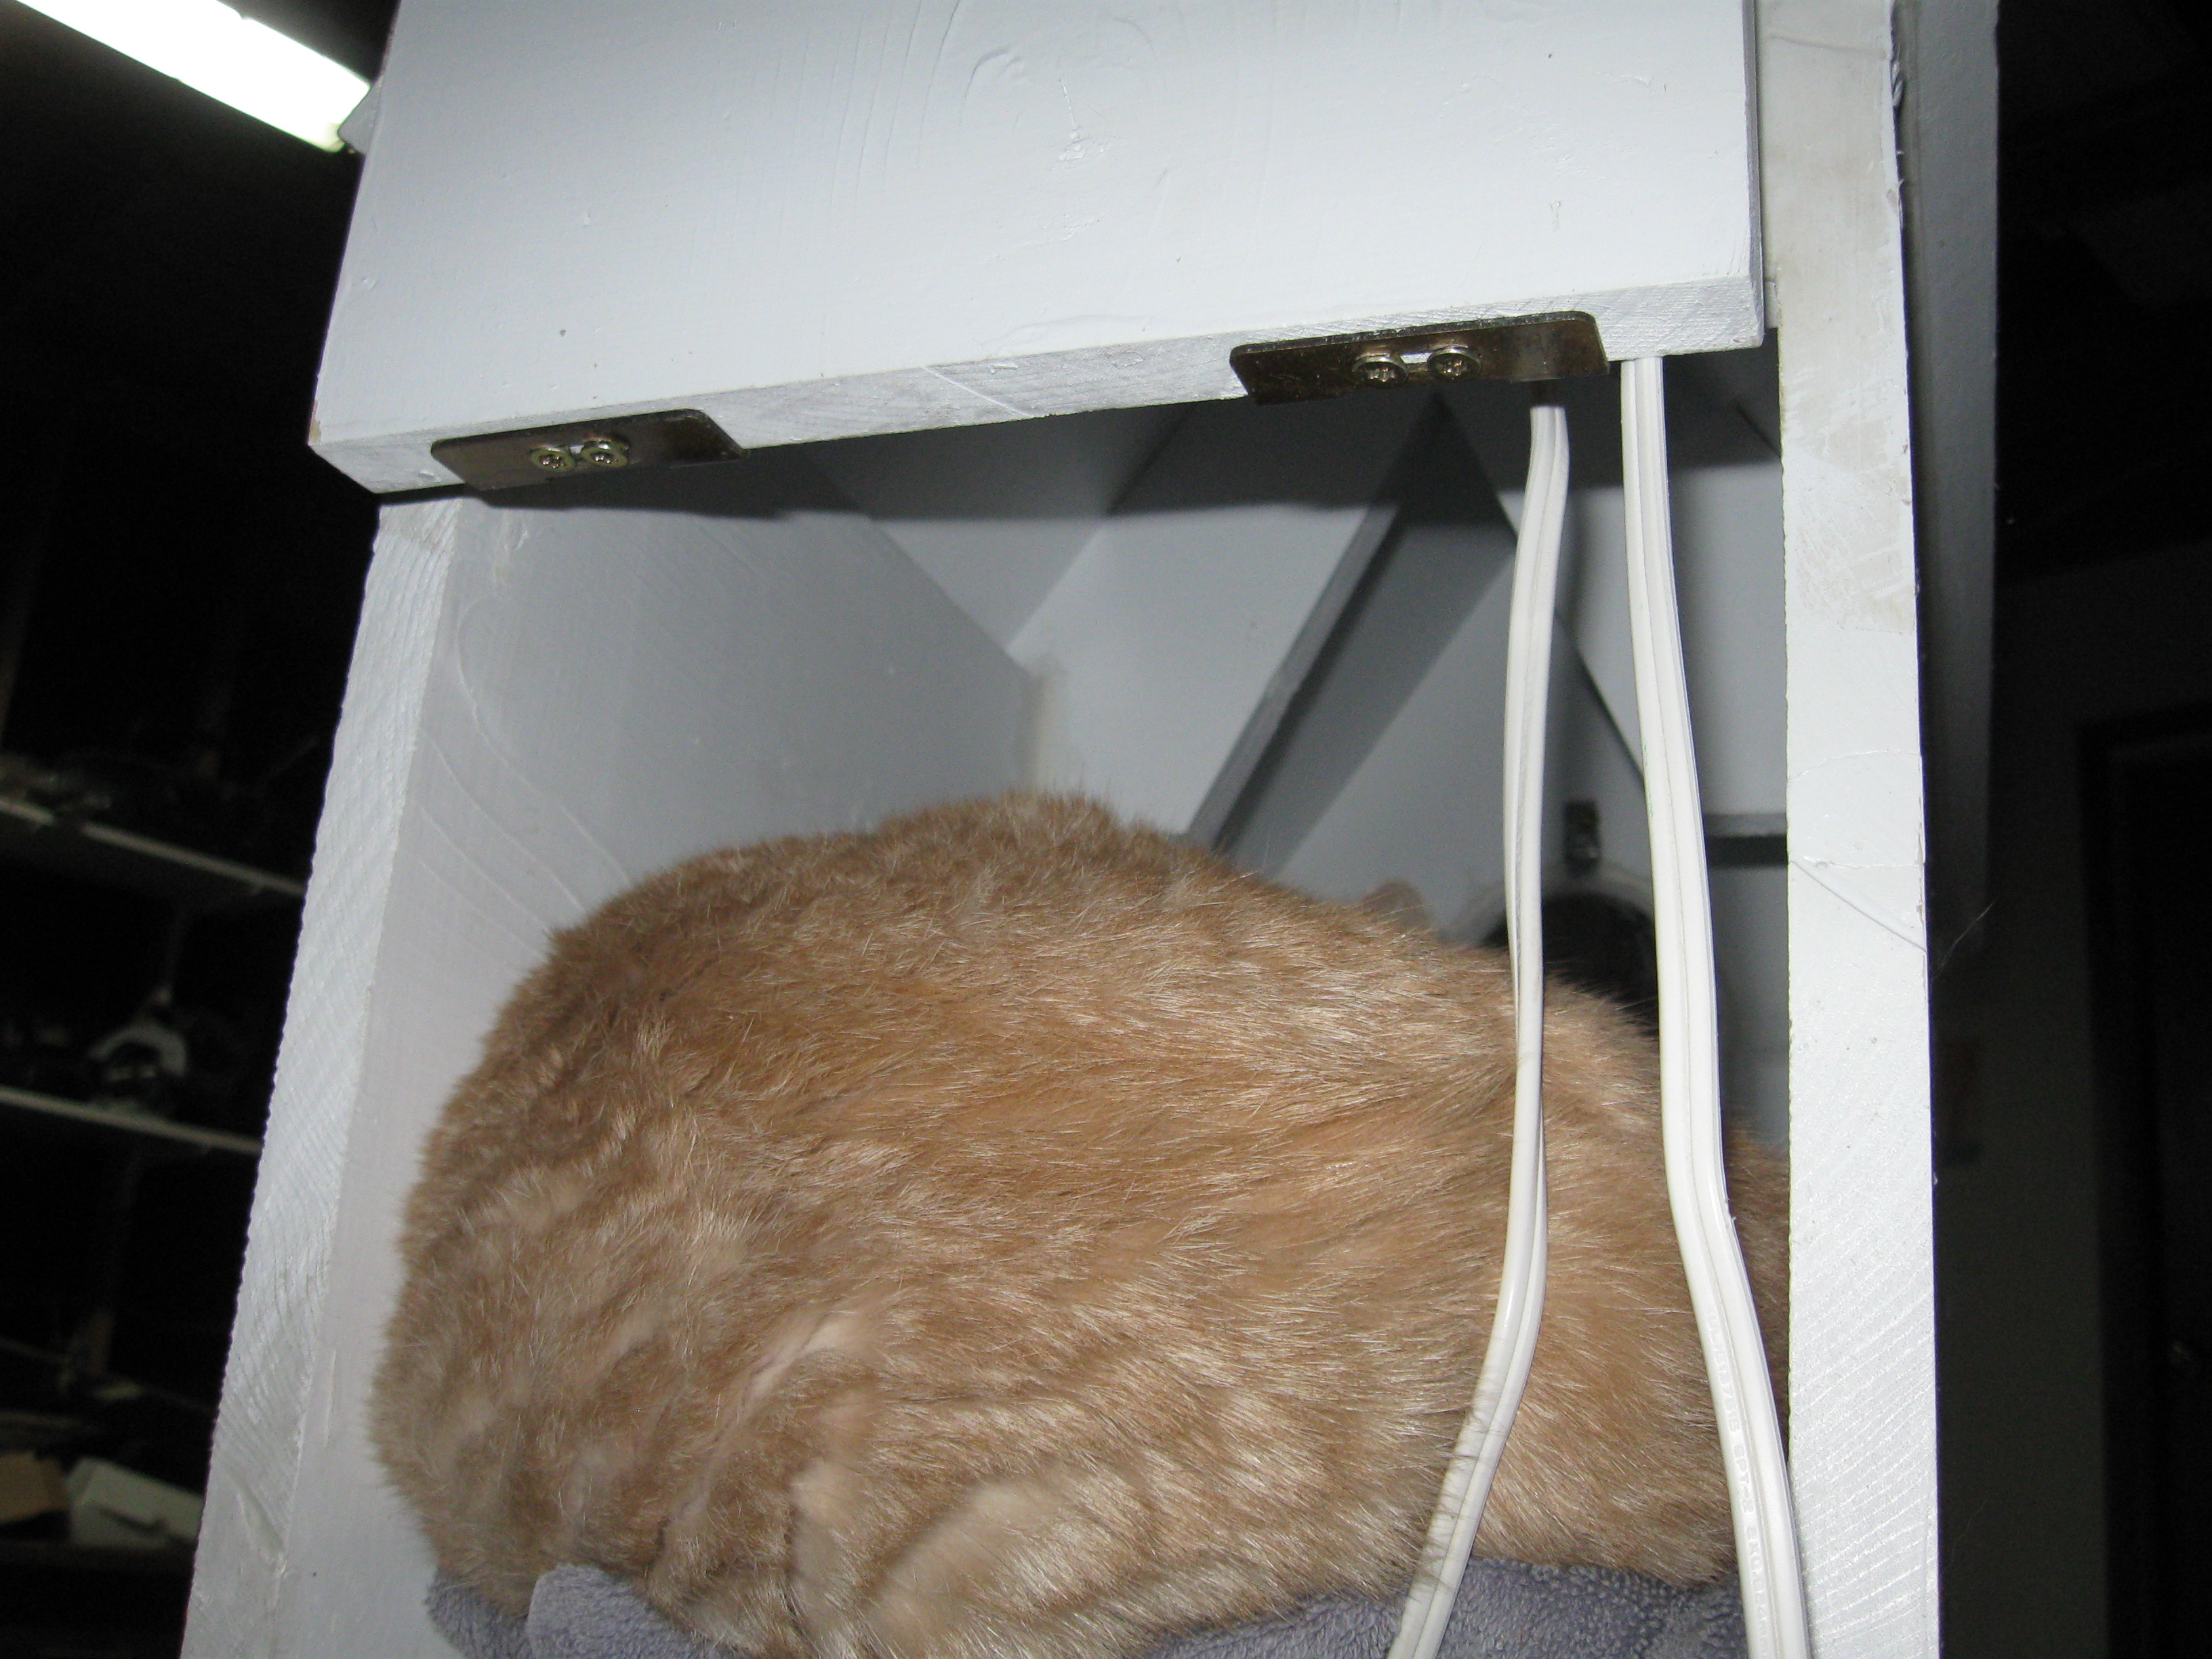
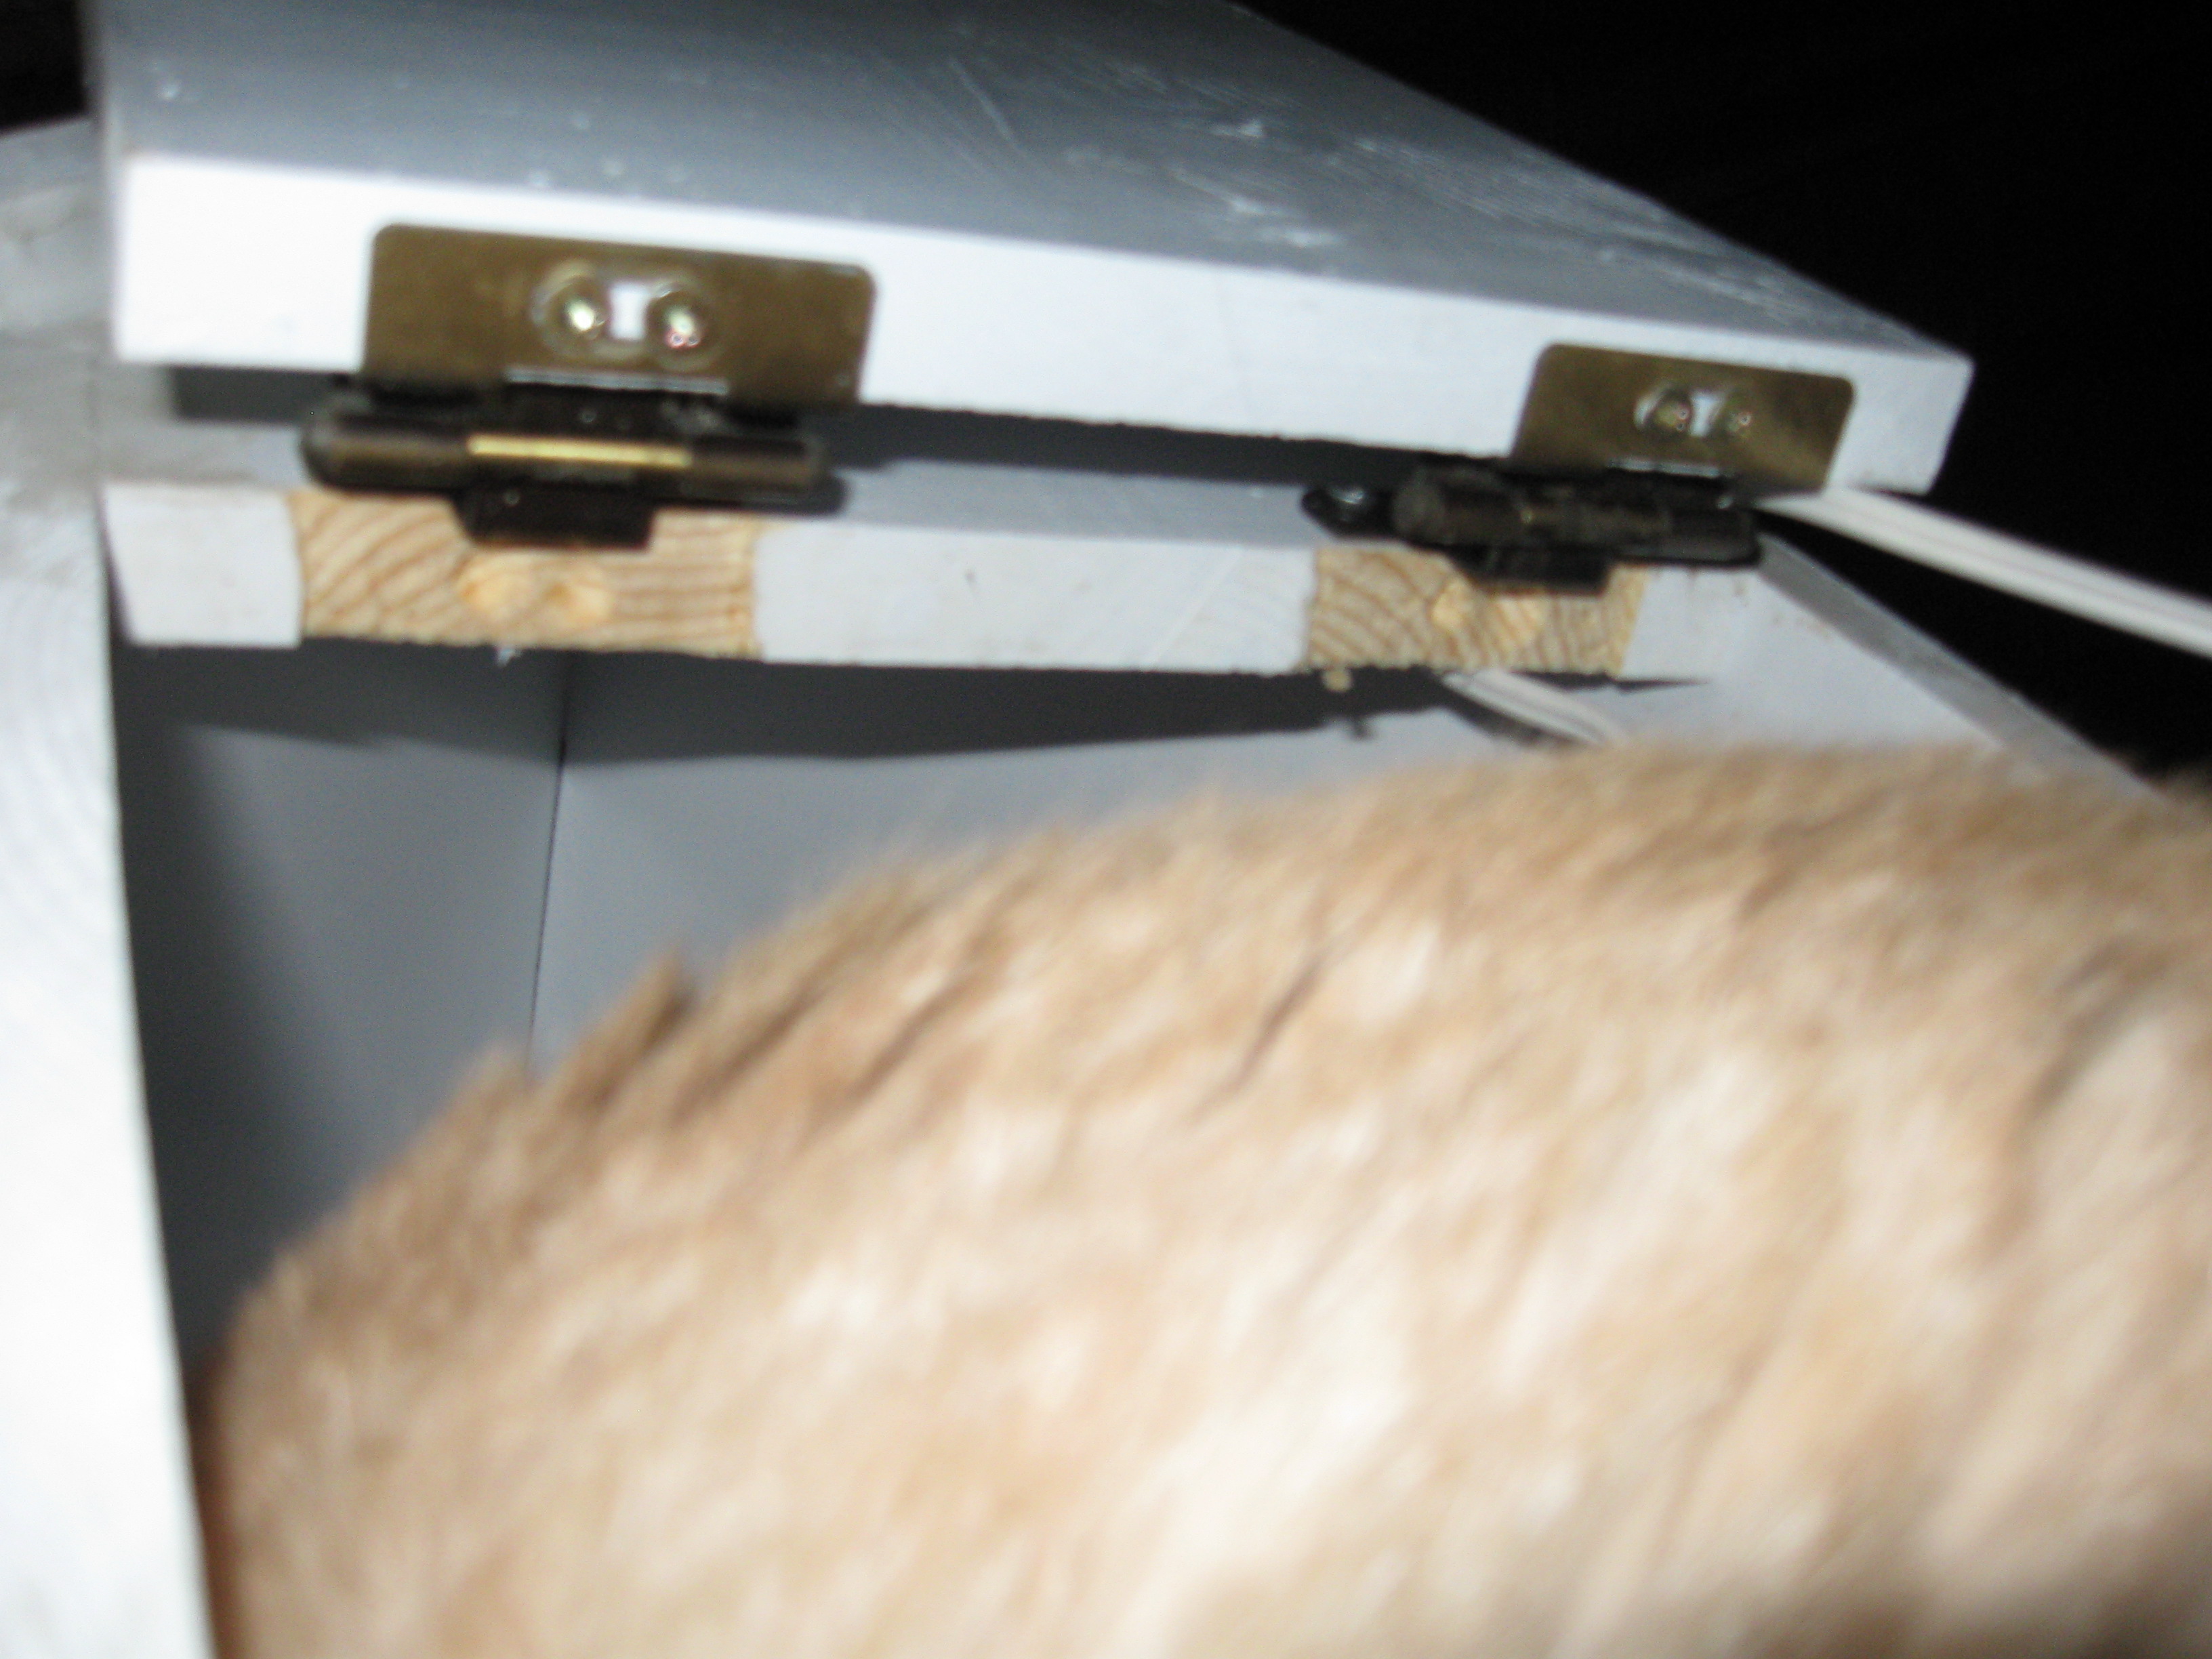
- Use whatever works for the back door hinges. I used what I had on hand from a bucket-full that my Grandfather left behind. I believe they’re some kind of cabinet hinge, and they worked out great because they swing out enough to clear the roof overhang. That’s another thing:
- Make sure to have 1″ (or less) of roof overhang in the back of the CH, or it will interfere with the back door opening the desired 180-plus-degrees.
- Cutting the miter angle for the roof pieces was a bit tricky, so take your time and think it through. Don’t use the drawing’s angles as a guide, figure out the angle yourself, because it’s probably not exactly as I drew it up.
- If you try this project and have any other questions, just comment and I’ll do my best to answer.
 , and can be wired to 110 voltage via a transformer. Do this at your own risk (and let me know how it turns out if you do it). I ended up shoving a towel in the vent hole during the coldest months so the cat’s body heat would keep it cozy.


Frank Discussion
Nice work, thanks for posting 🙂