Windows Networking Driver Update, I know I shouldn’t click thee…
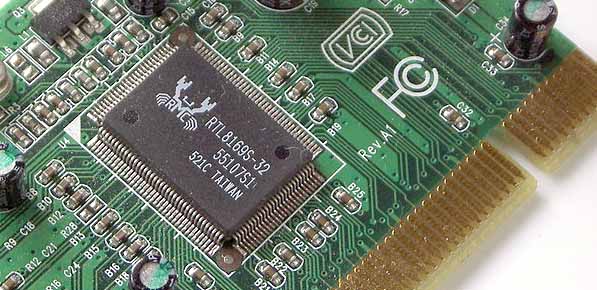
This has happened to me several times. I’ve got a computer running Windows with a Realtek brand Networking Adapter (the ethernet port where you plug your internet cable into), and I’ll install a Windows Optional Update (a driver for the adapter), and then my computer can’t connect to the network anymore.
Fortunately, I have multiple computers, so if one isn’t able to surf the web for troubleshooting purposes, another is. So if this happened to your one and only internet access point, you’ve probably found this wonderful blog by using a neighbor or friend’s connection.
The Fix
- Download the “Windows Diagnostic Program” utility from Realtek’s driver download page, unzip, and install.
- Then run the tests and play around with it. I’m not sure which feature fixes the problem, because the few times I’ve had to use it it doesn’t seem to be doing anything, then I suddenly notice my little networking icon doesn’t have the red “x” on it anymore and it’s connected to the network.
Go here to download the Windows Diagnostic Program.
The Realtek utility program is pretty stripped down, so you’re not going to get lost in it. Just go through, expand the navigation tree (the little “+” next the the highlighted “General” next to the light bulb icon), and start pushing buttons like “test” and “refresh” and hopefully it works for you after 5 or 10 minutes. Here’s a screenshot of what the utility should resemble on your computer.
And if that didn’t work? Try this:
It’s likely that Windows doesn’t like your ethernet adapter in “auto” mode.
Next Page for instructions >>
And if that didn’t work? Try this:
It’s likely that Windows doesn’t like your ethernet adapter in “auto” mode.
1.) Go to your “Network and Sharing Center”
click on that little arrow on the bottom right side of your screen (Windows 7), then click on the little picture of a computer (on this laptop it’s wireless so it has the little white bars) either way your icon should have a red “X” on it since you’re here trying to get it working. Once you click on the networking icon, click “Open Network and Sharing Center”.
2.) Click on “Change adapter settings”
Left side of the screen.
3.) Right-Click on “Local Area Connection” and click on “Properties”
Your Local Area Connection will probably have a red “X” on it like mine, although I’m writing this on laptop so this screenshot is different than my computer with the Realtek brand adapter.
4.) In “Local Area Connection Properties,” click the “Configure” button
5.) Network Connection Properties – highlight “Link Speed & Duplex”, then in the dropdown menu to the right, select “100Mbps Full Duplex”, then click “OK” button
Your Local Area Connection may not like being in “Auto” or “Auto Negotiation” mode anymore. Why? I don’t know. Try 100Mbps Full Duplex mode, if that doesn’t solve your connectivity issue, try some of the other full duplex options.
6.) Did it work? If not…
Try looking online for info on how to change a Registry value (from say, 0 to 1, or vice versa). Maybe a Google search for [Ethernet Adapter, problem, registry,] will get you on track. I’ve had to do this before after a Microsoft Update of an Ethernet Adapter’s Driver, and it solved the problem. But, because I’m not having that issue right now, I’m not going on a research dig for that particular info. Registries are touchy things, so don’t make any change that isn’t necessary.
Moral of the story:
Do not, under any circumstance, install an optional Windows Update for an Ethernet Adapter, NIC (network controller) or anything of the sort if you’re able to connect to the internet already! Some people can’t resist biting nails or picking scabs; I can’t resist installing many optional Windows Updates, even when there’s a very good chance it’s going to result in at least an hour of troubleshooting and wasted time. Learn from my compulsions. Good luck!
