Part 2: How To Buy & Make Attractive LED Strip Lighting
Stuff I Researched and Bought:
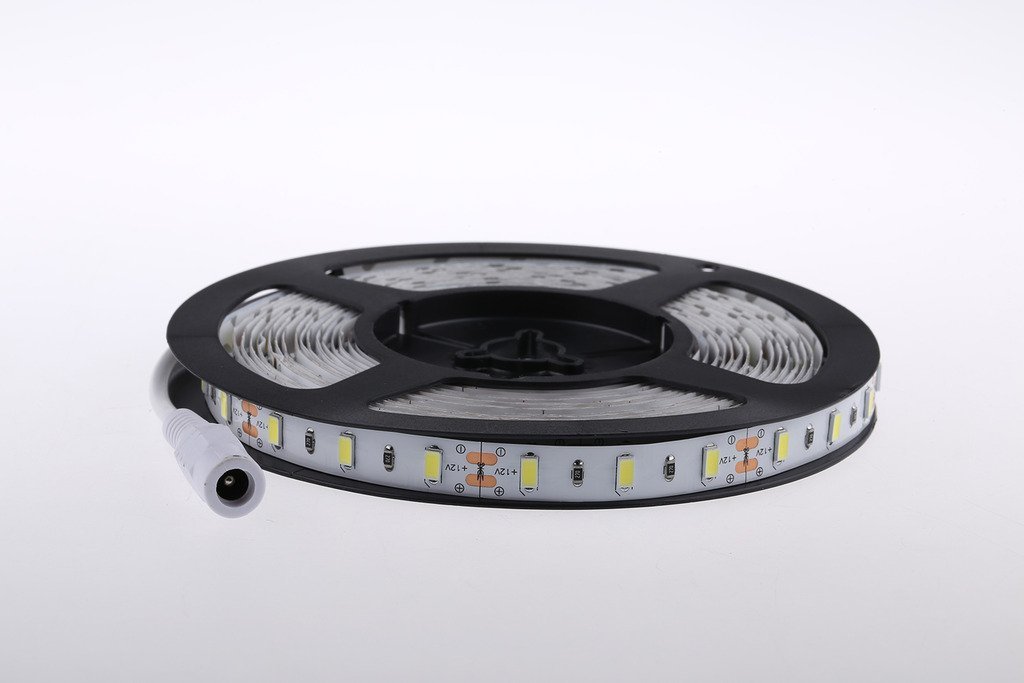
Find a LED light strip (LED Tape Roll).
- I was going to get the 5050s
 , but then decided on the 5630s because they’re supposed to be even brighter per inch.
- These numbers are the size of the diodes, in millimeters (5050 is 5.0mm x 5.0mm, 5630 is 5.6mm x 3.0mm, etc.)
- If you don’t need waterproof lights (for an aquarium), then don’t get them. If the web anecdotes I’ve read have merit, supposedly it just adds a coating of silicone to the tape, which may dull the light output, yellow over time, shorten the lifetime of the LEDs, even emit an unpleasant odor.
 , but then decided on the
  because they’re supposed to be even brighter per inch.
 (for an aquarium), then don’t get them. If the web anecdotes I’ve read have merit, supposedly it just adds a coating of silicone to the tape, which may dull the light output, yellow over time, shorten the lifetime of the LEDs, even emit an unpleasant odor.
Find a switch.
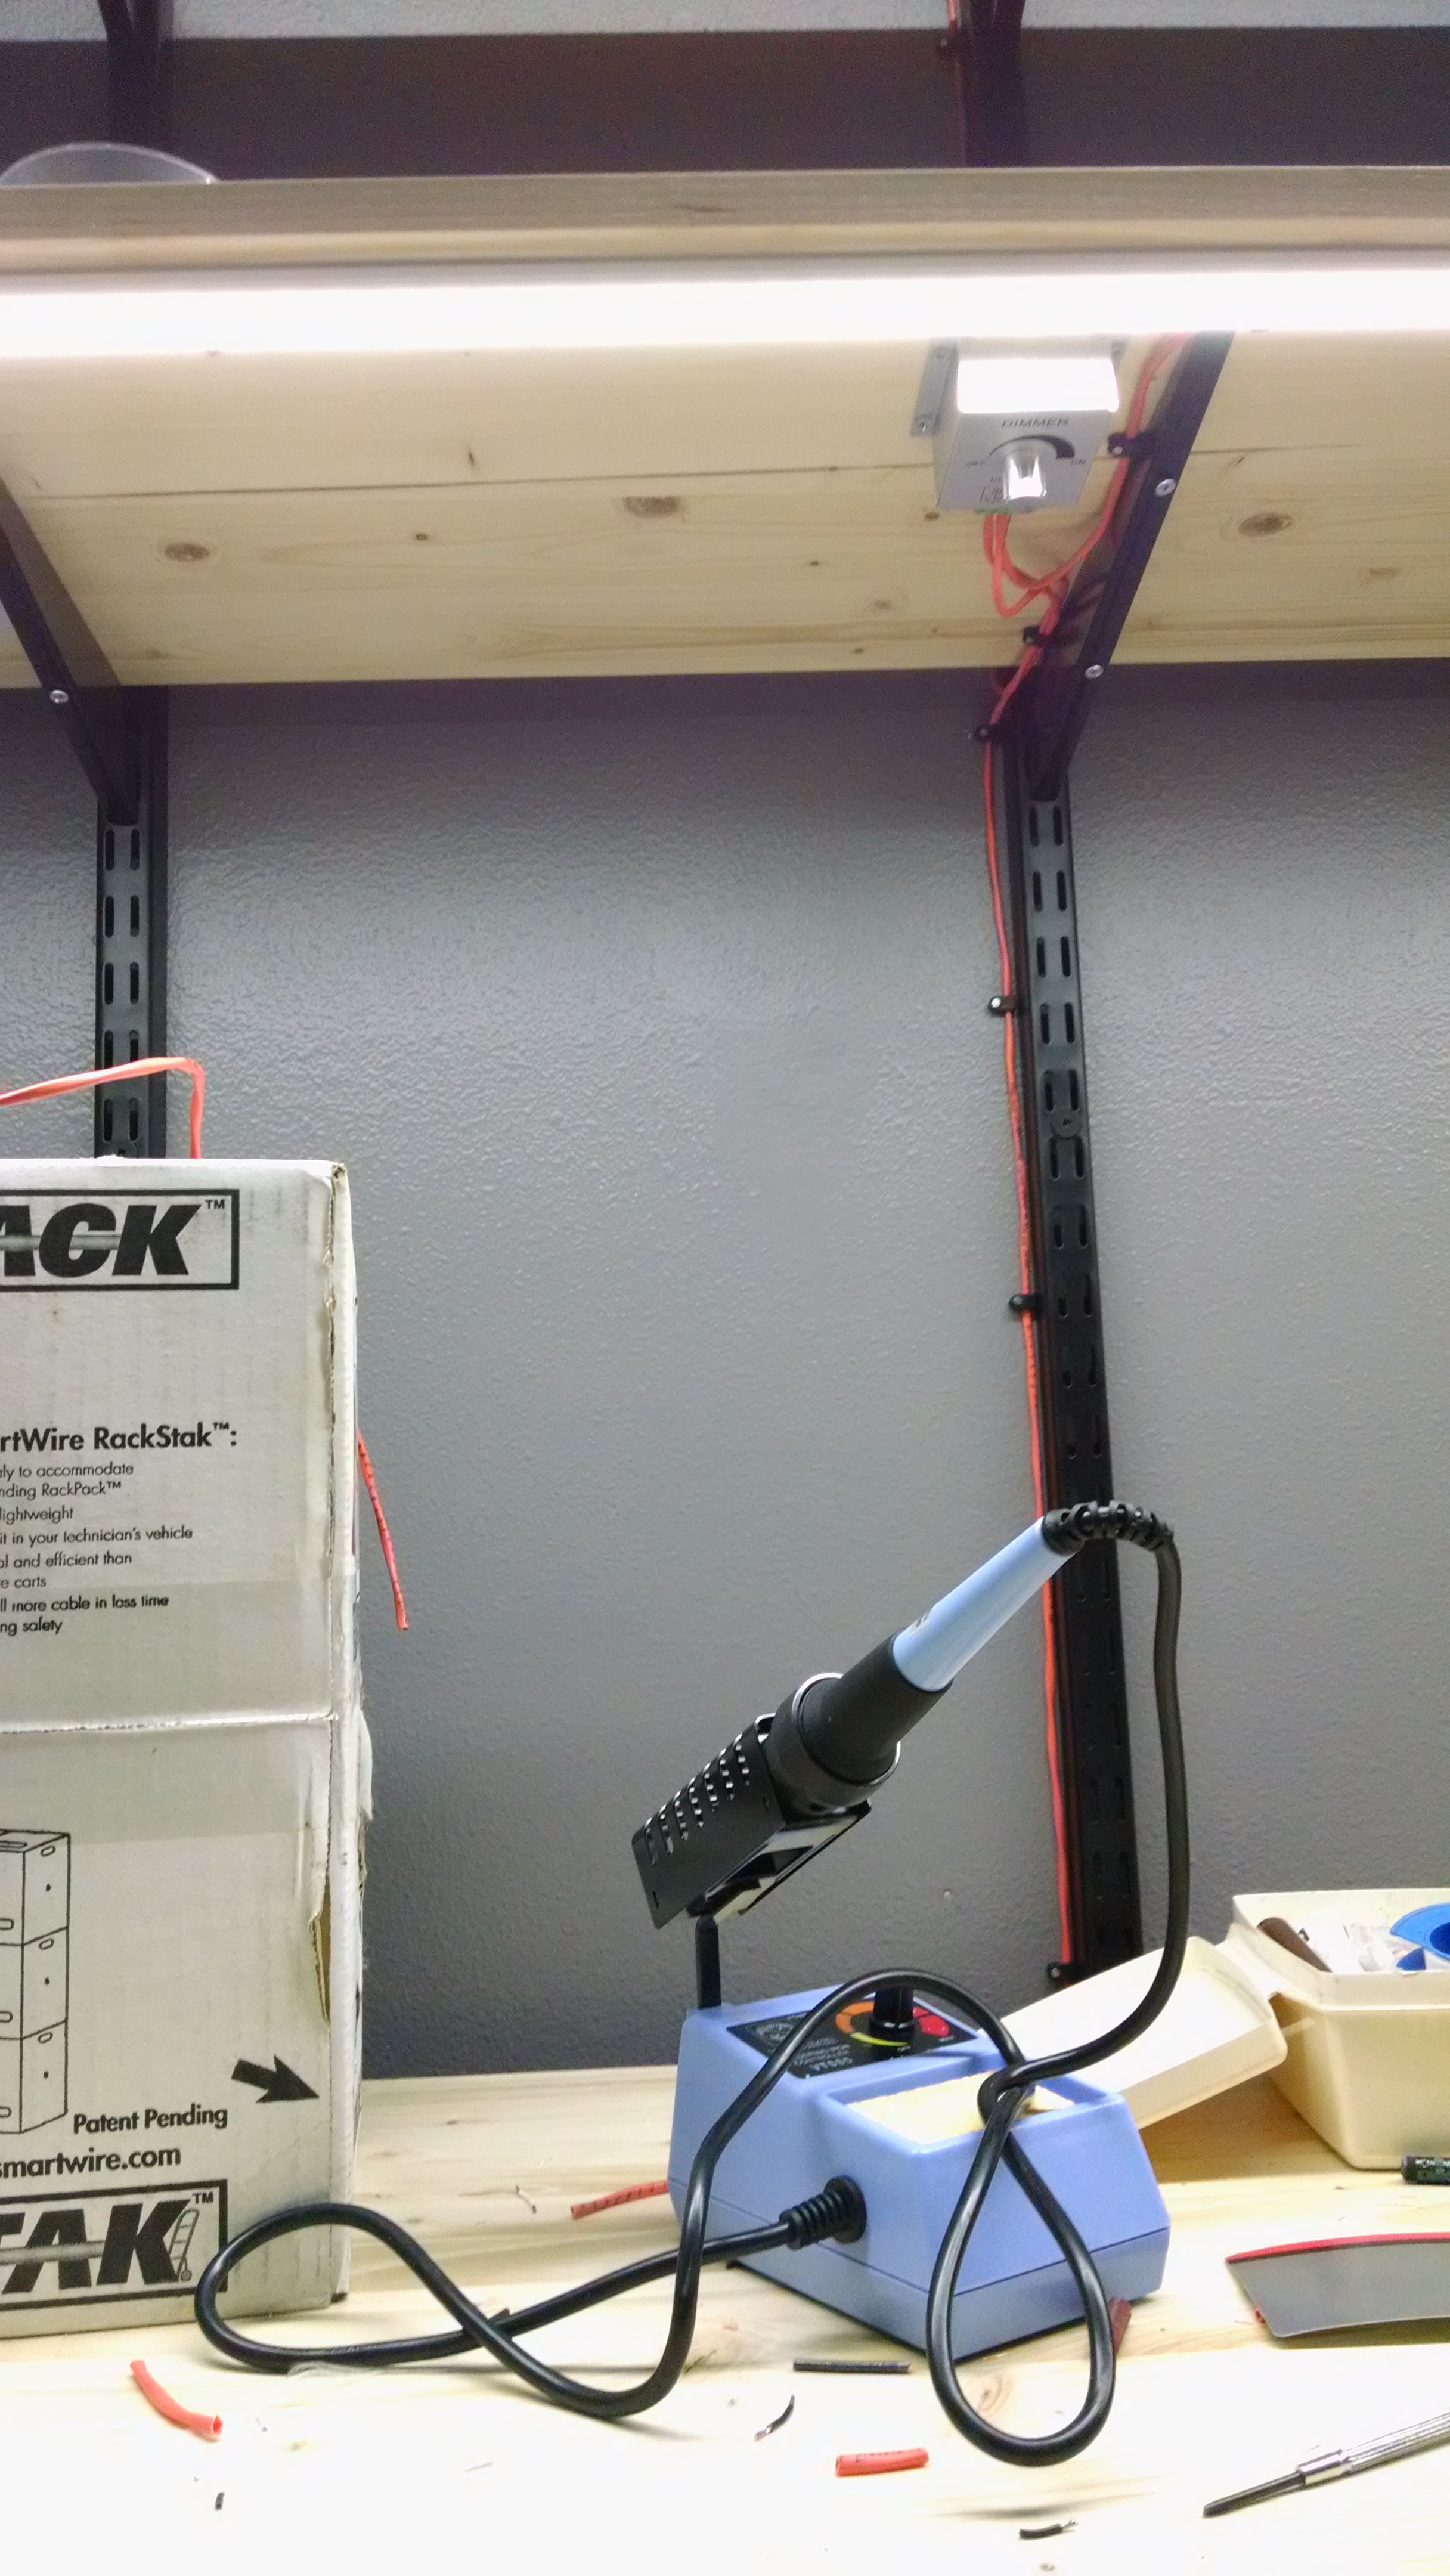
- I used a PWM knob dimmer for one install. This is connected to a transformer plugged into a wall outlet that is connected to the room’s light switch, so that’s what really turns the task lighting on/off. But the dimmer switch adds additional control, and if it was plugged into a different outlet, it could provide necessary on/off control.
- I used an in-line electronic touch dimmer for the other desk install, with a laptop-style “power brick” transformer with “barrel connectors”.
 for one install. This is connected to a transformer plugged into a wall outlet that is connected to the room’s light switch, so that’s what really turns the task lighting on/off. But the dimmer switch adds additional control, and if it was plugged into a different outlet, it could provide necessary on/off control.
 for the other desk install, with a laptop-style “power brick” transformer with “barrel connectors”.
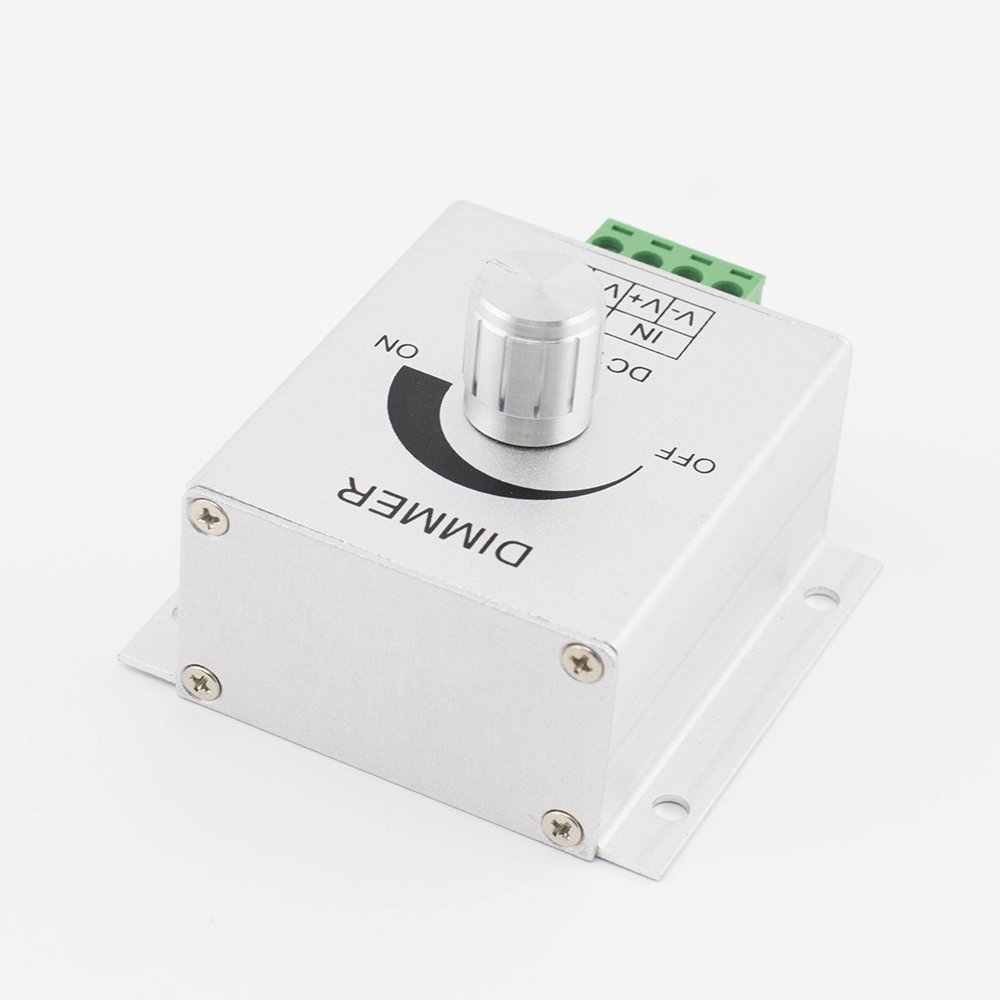
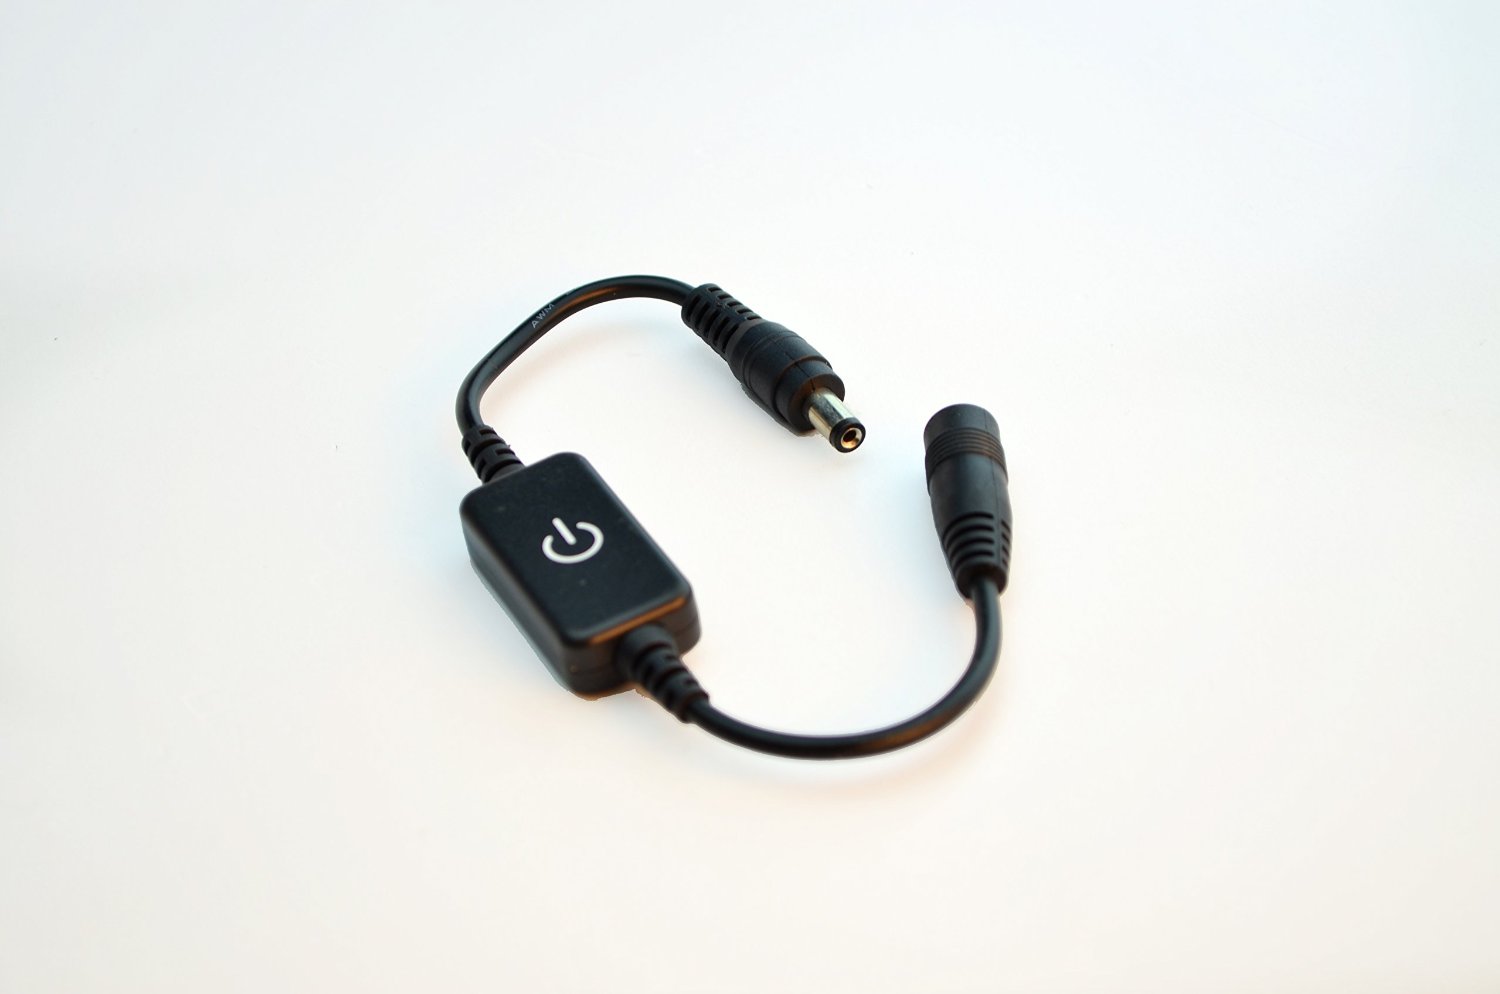
Figure up how much juice you’ll need.
- If you buy a roll of strip lights, it’s about 15ft long. Find out how many watts per foot your strip pulls, take it times the amount of feet you’ll install at a location, add 10-20% extra, and get a transformer that fits the bill.
- EXAMPLE: I buy 1x roll of 5630 LED strip, which is about 15ft. It says to take 12volts at 5amps, or 60watts of power per roll (12v times 5a equals 60watts).
- if I decide I want to construct a light strip that is 5ft long, I’ll figure 60watts for a 15ft roll, then my 5ft strip is 1/3rd of that roll, so 1/3rd of 60watts is 20watts.
- 20w divided by 12v is 1.67amps.
- 1.67amps will round to 2amps, and also add in a safe-feeling overage.
- this means I’ll need to order a power supply (or “driver” as it may be called) of 12volts @ 2amps, or 12×2 = 24watts.
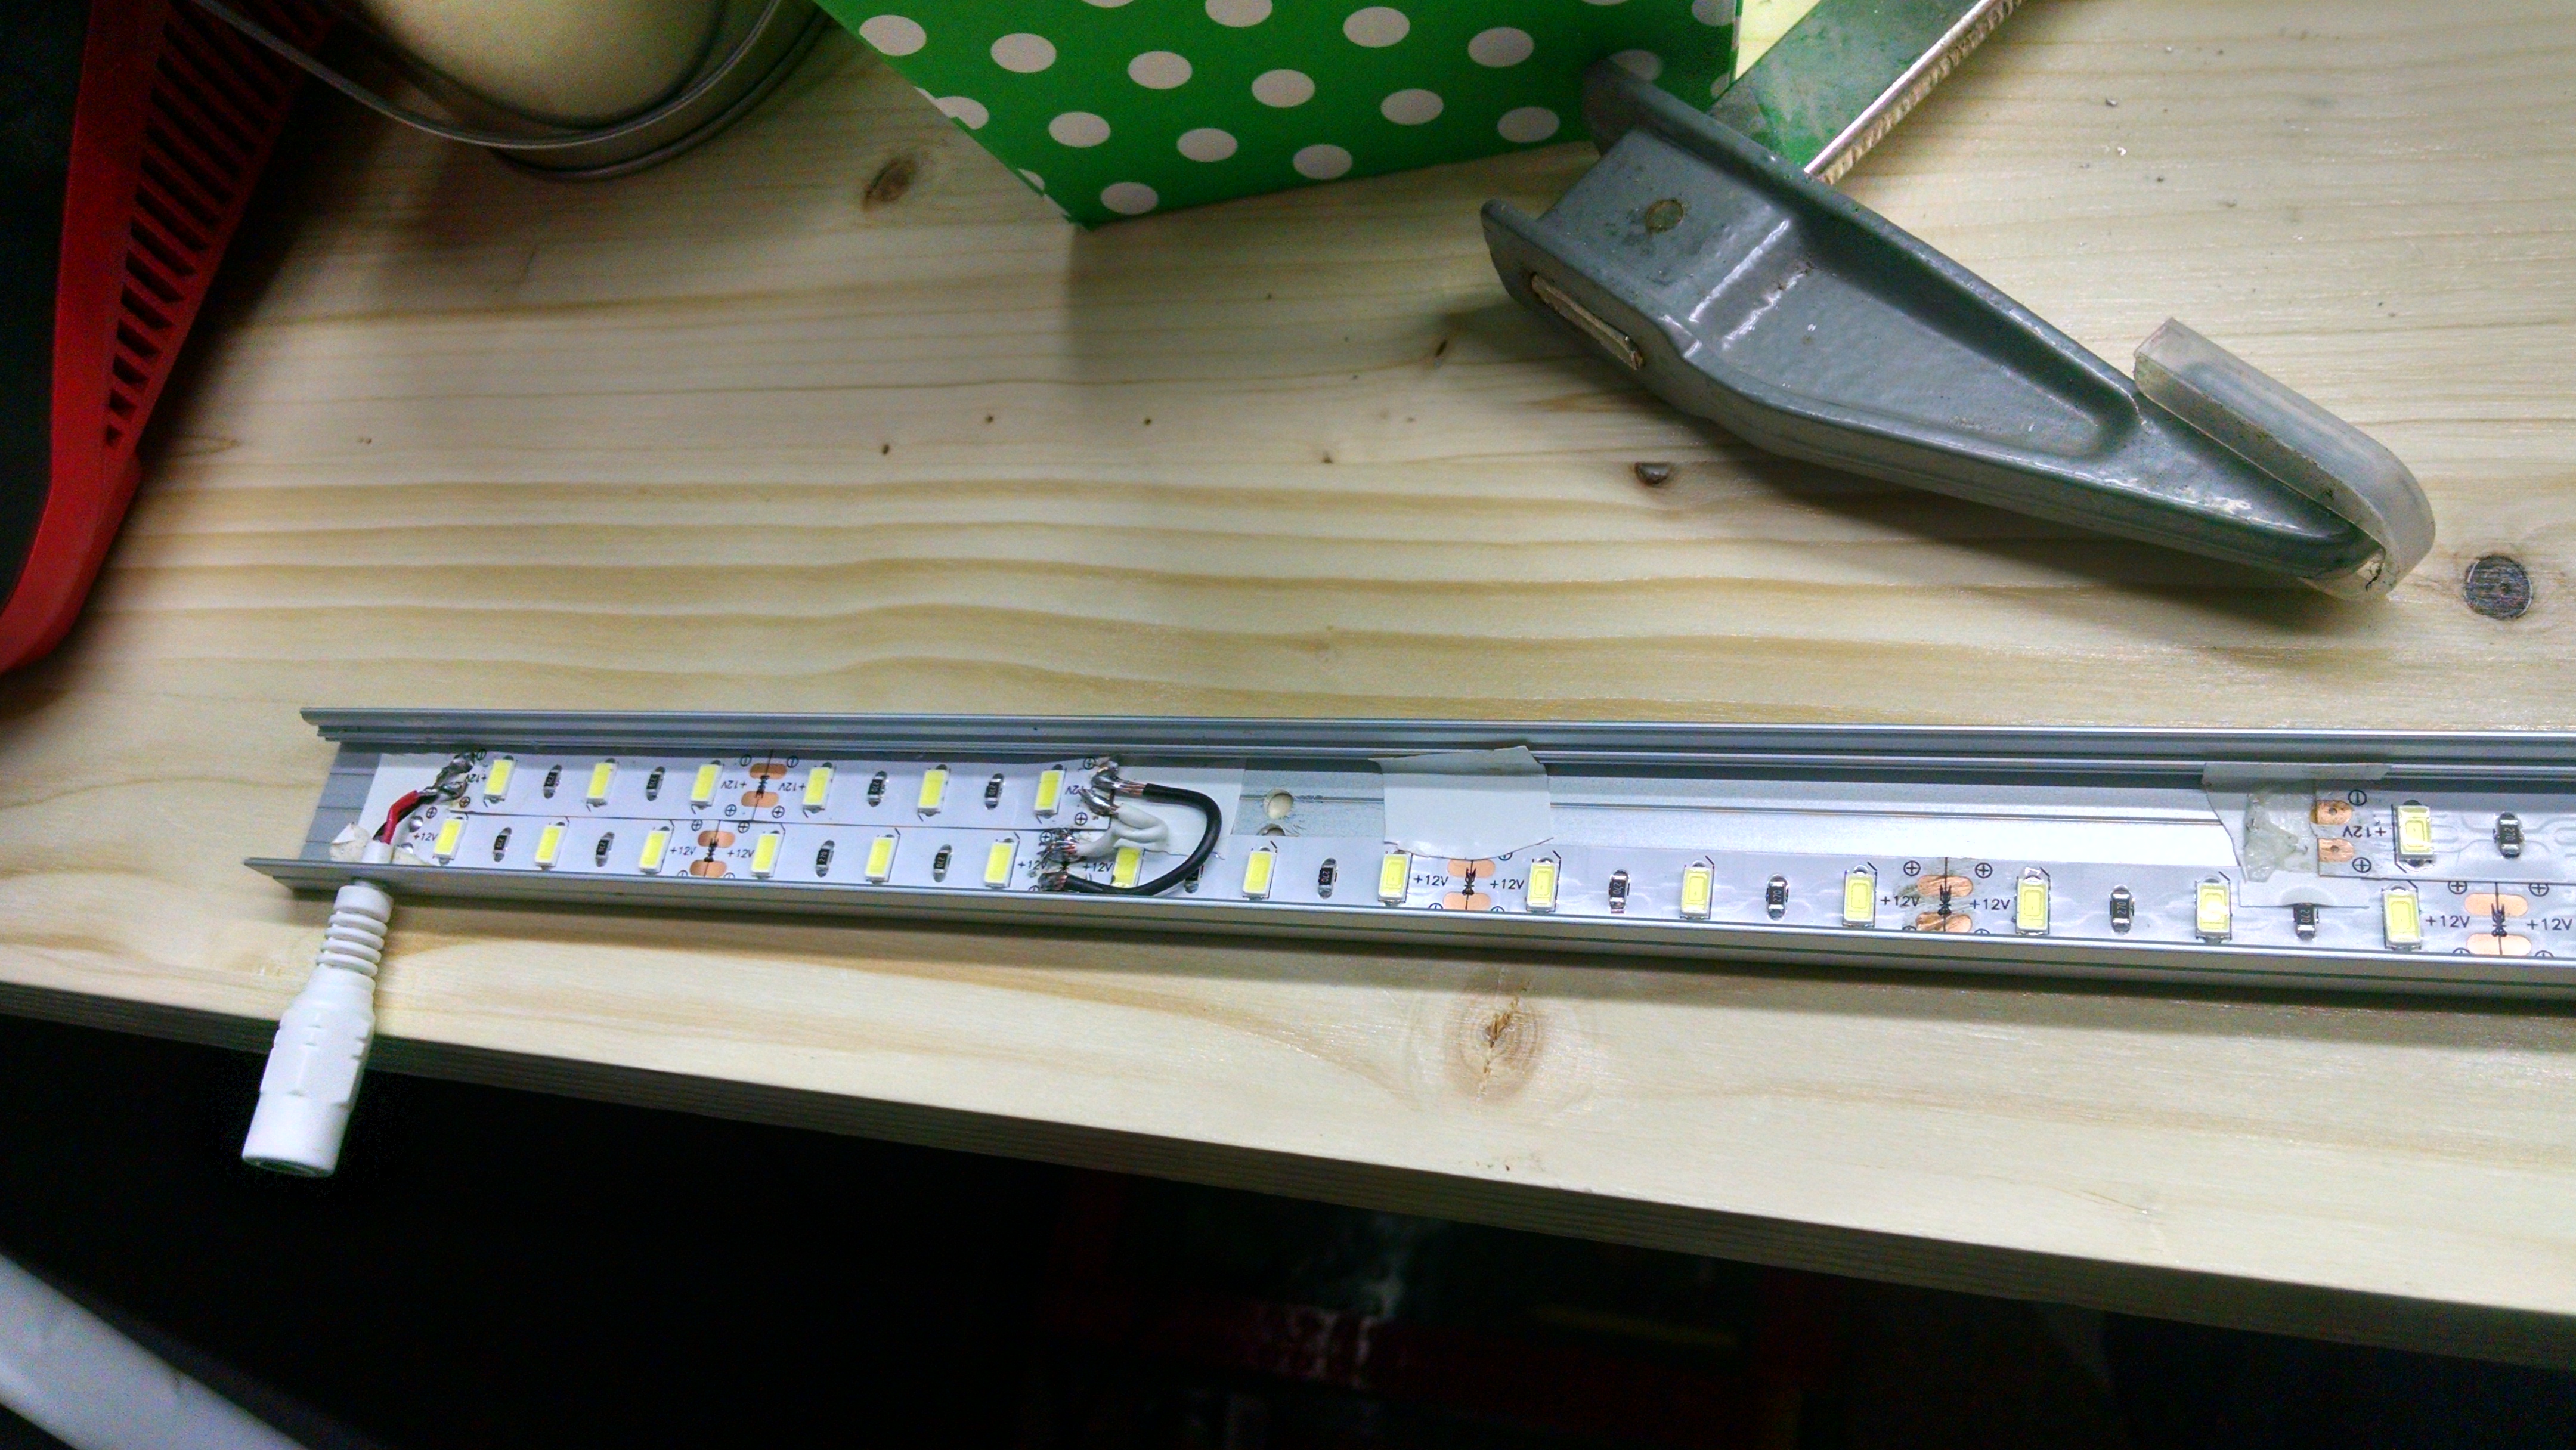
- I’d probably just get this for my 5ft strip light (and solder a female barrel connector out of my light strip):
- EXAMPLE: I buy 1x roll of 5630 LED strip, which is about 15ft. It says to take 12volts at 5amps, or 60watts of power per roll (12v times 5a equals 60watts).

 Amazon Prime 12v 2a (24watt) barrel connector power supply
- There are other considerations, like if you’ve got too many linear feet in a row, you may want to run wire to both ends of your strip. Or come in at the middle.
- There are many blogs and calculators for this if my explanations are too cursory. Take a Google Excursion if you’re feeling unsure.
- I take no responsibility for bad wiring, and remember: a bad wiring job can result in fire and death.
Choose a Power Supply
With bare-wire leads you’ll solder in? Or “brick” transformer with barrel connector?
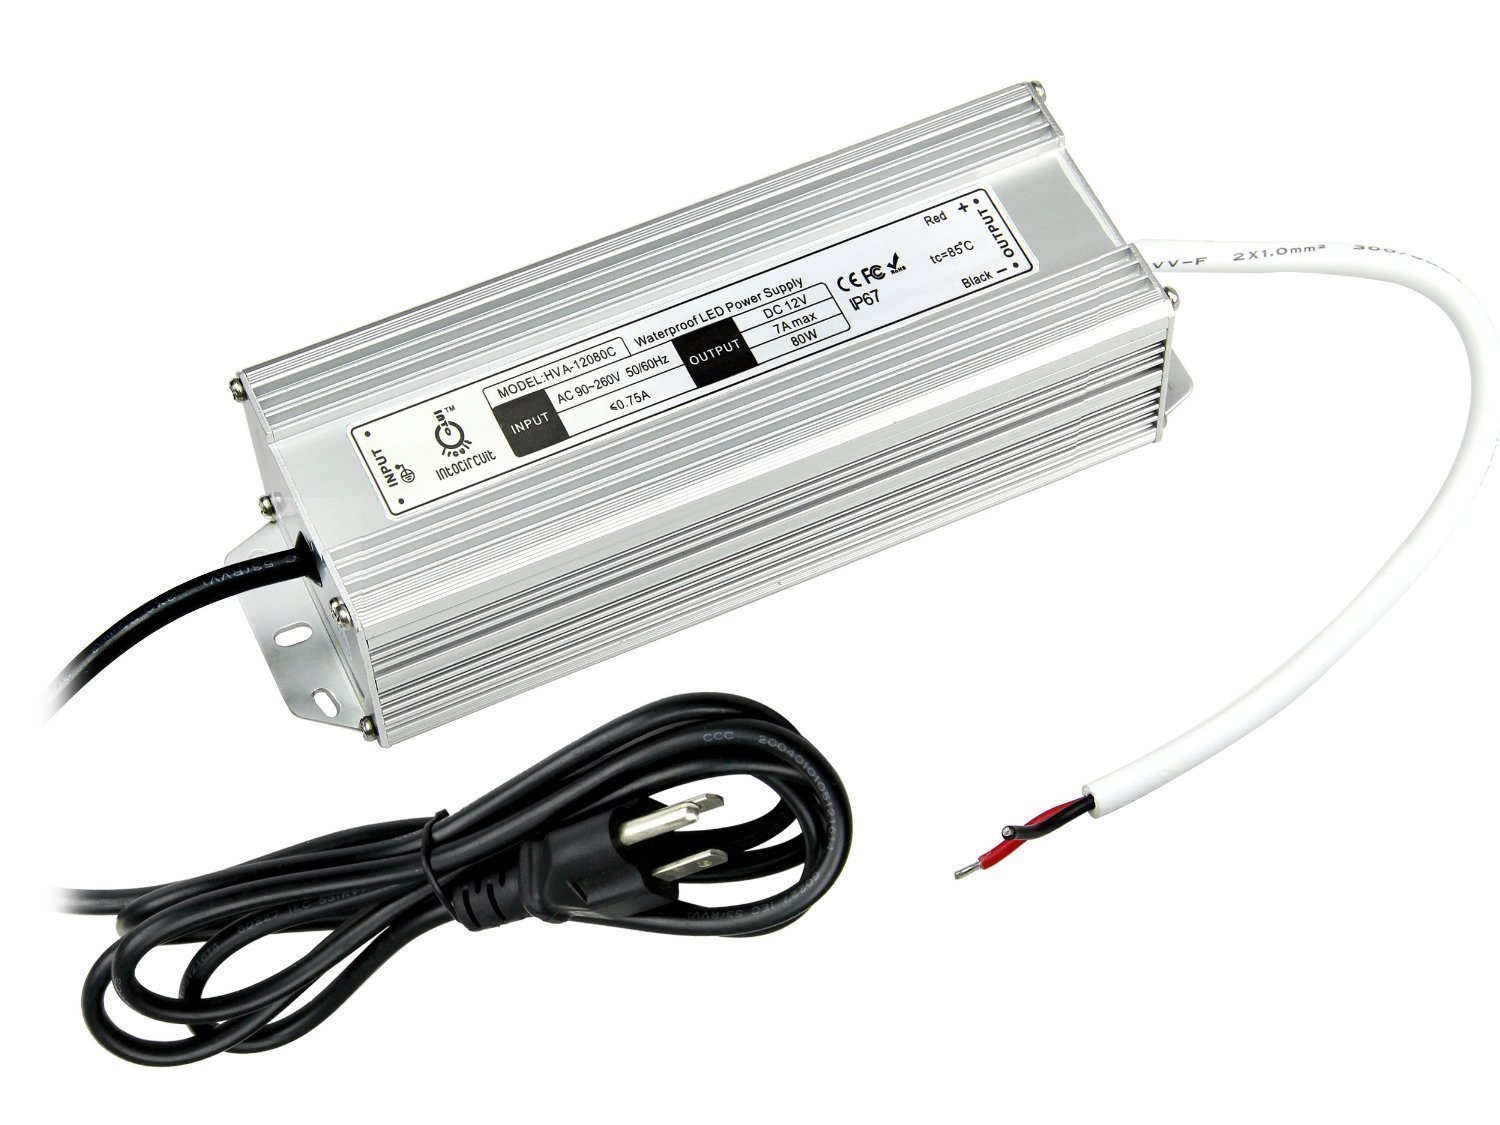
Bare-Wire Soldered Connection Driver
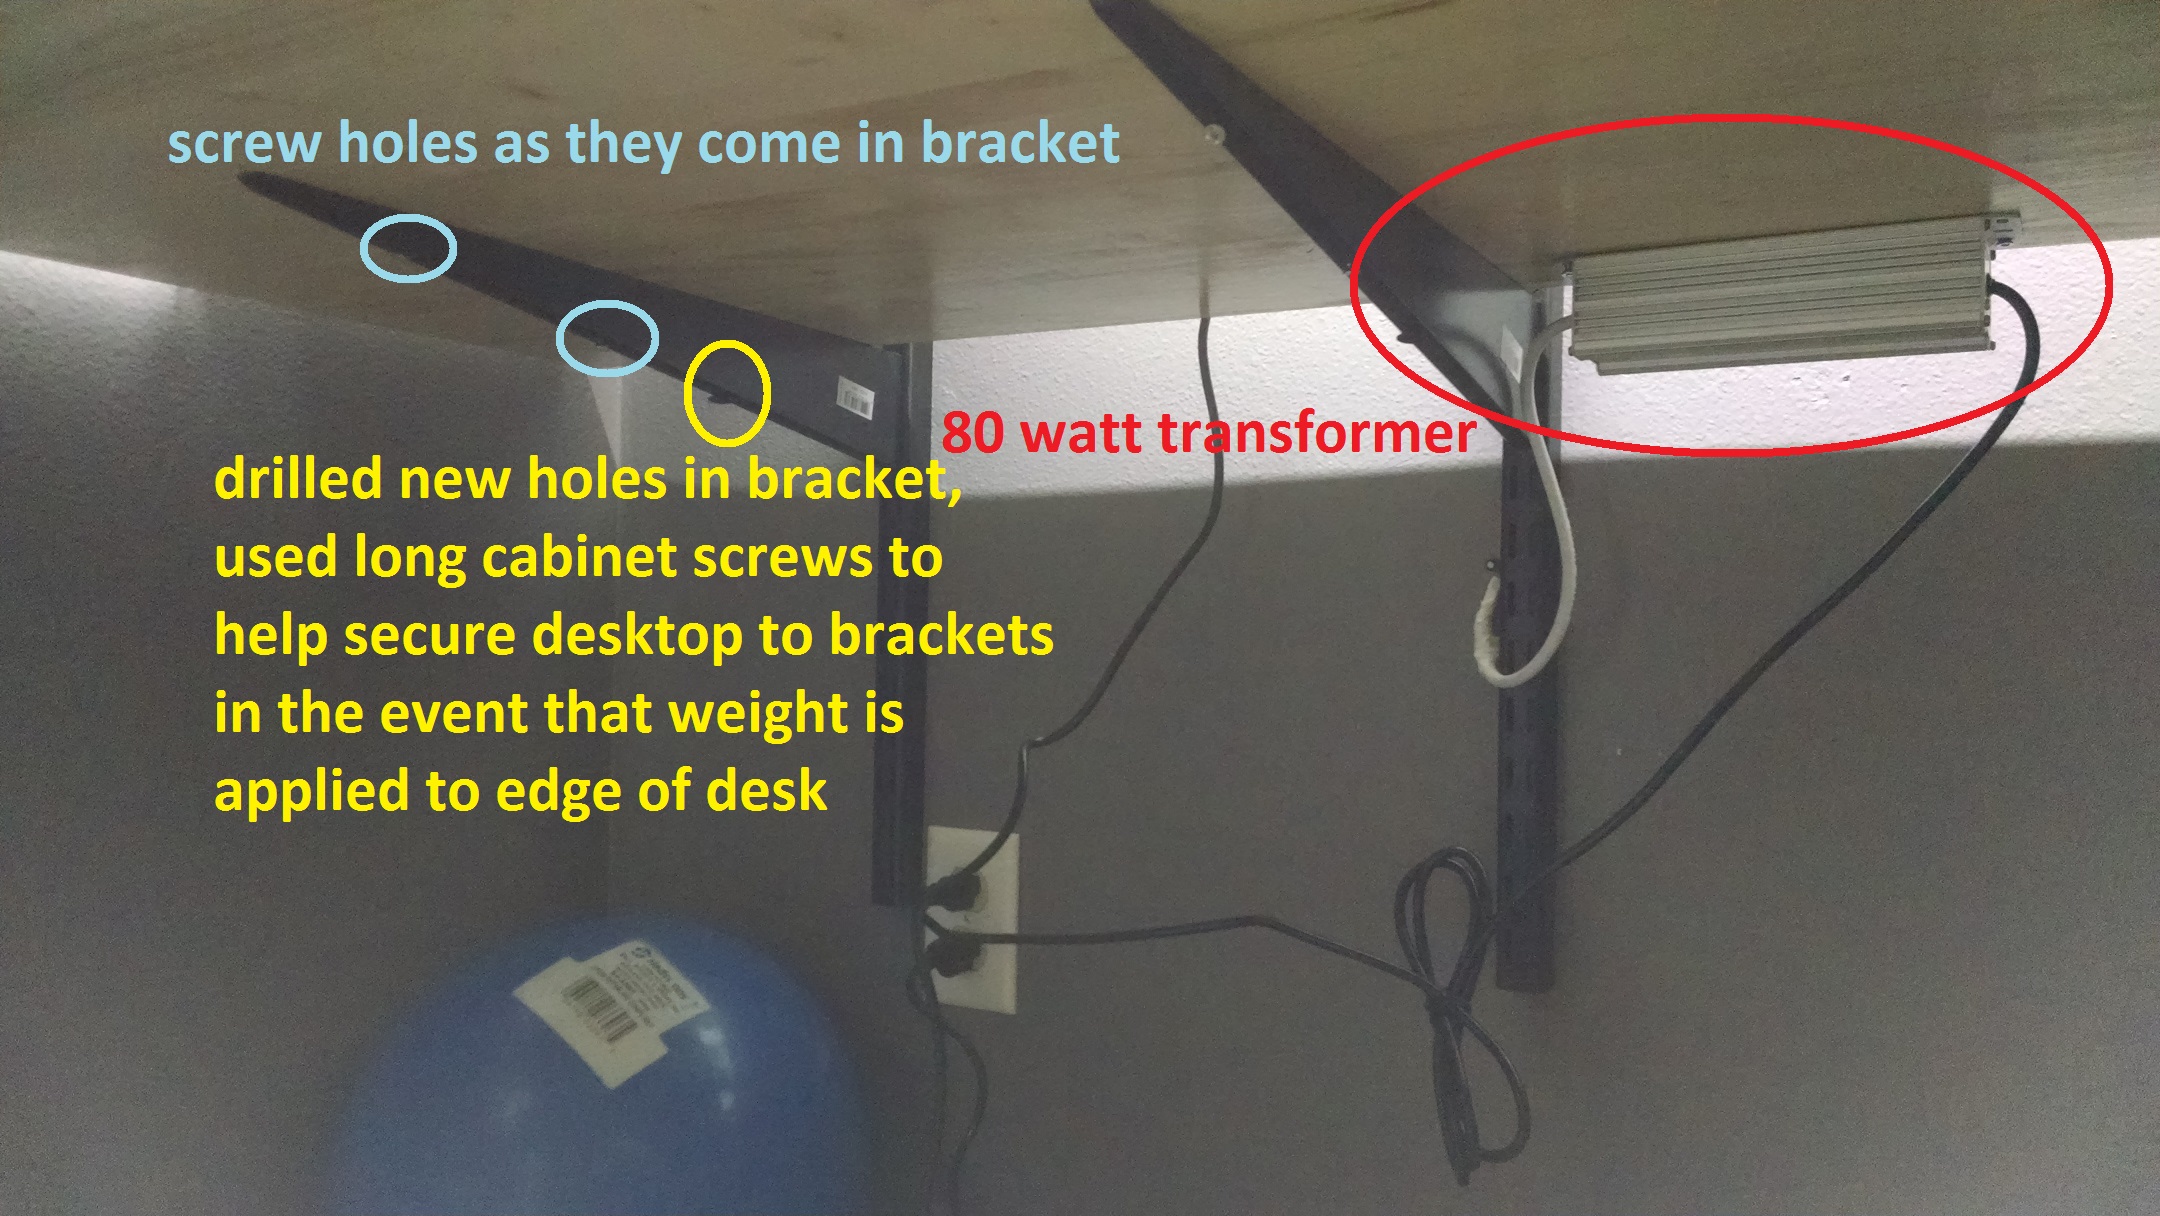
You can buy a driver like this (silver heatsink’d unit , image below). It has a plugin cord, but the other end has bare-wire leads that must be wired to your LED leads. I used one like this in the kids’ study/project desk setup. They had more linear ft. of lighting, needing more juice, so I grabbed this 80Watt driver at the nexus of Price and Good Amazon Reviews.
Wire & Wire Management:
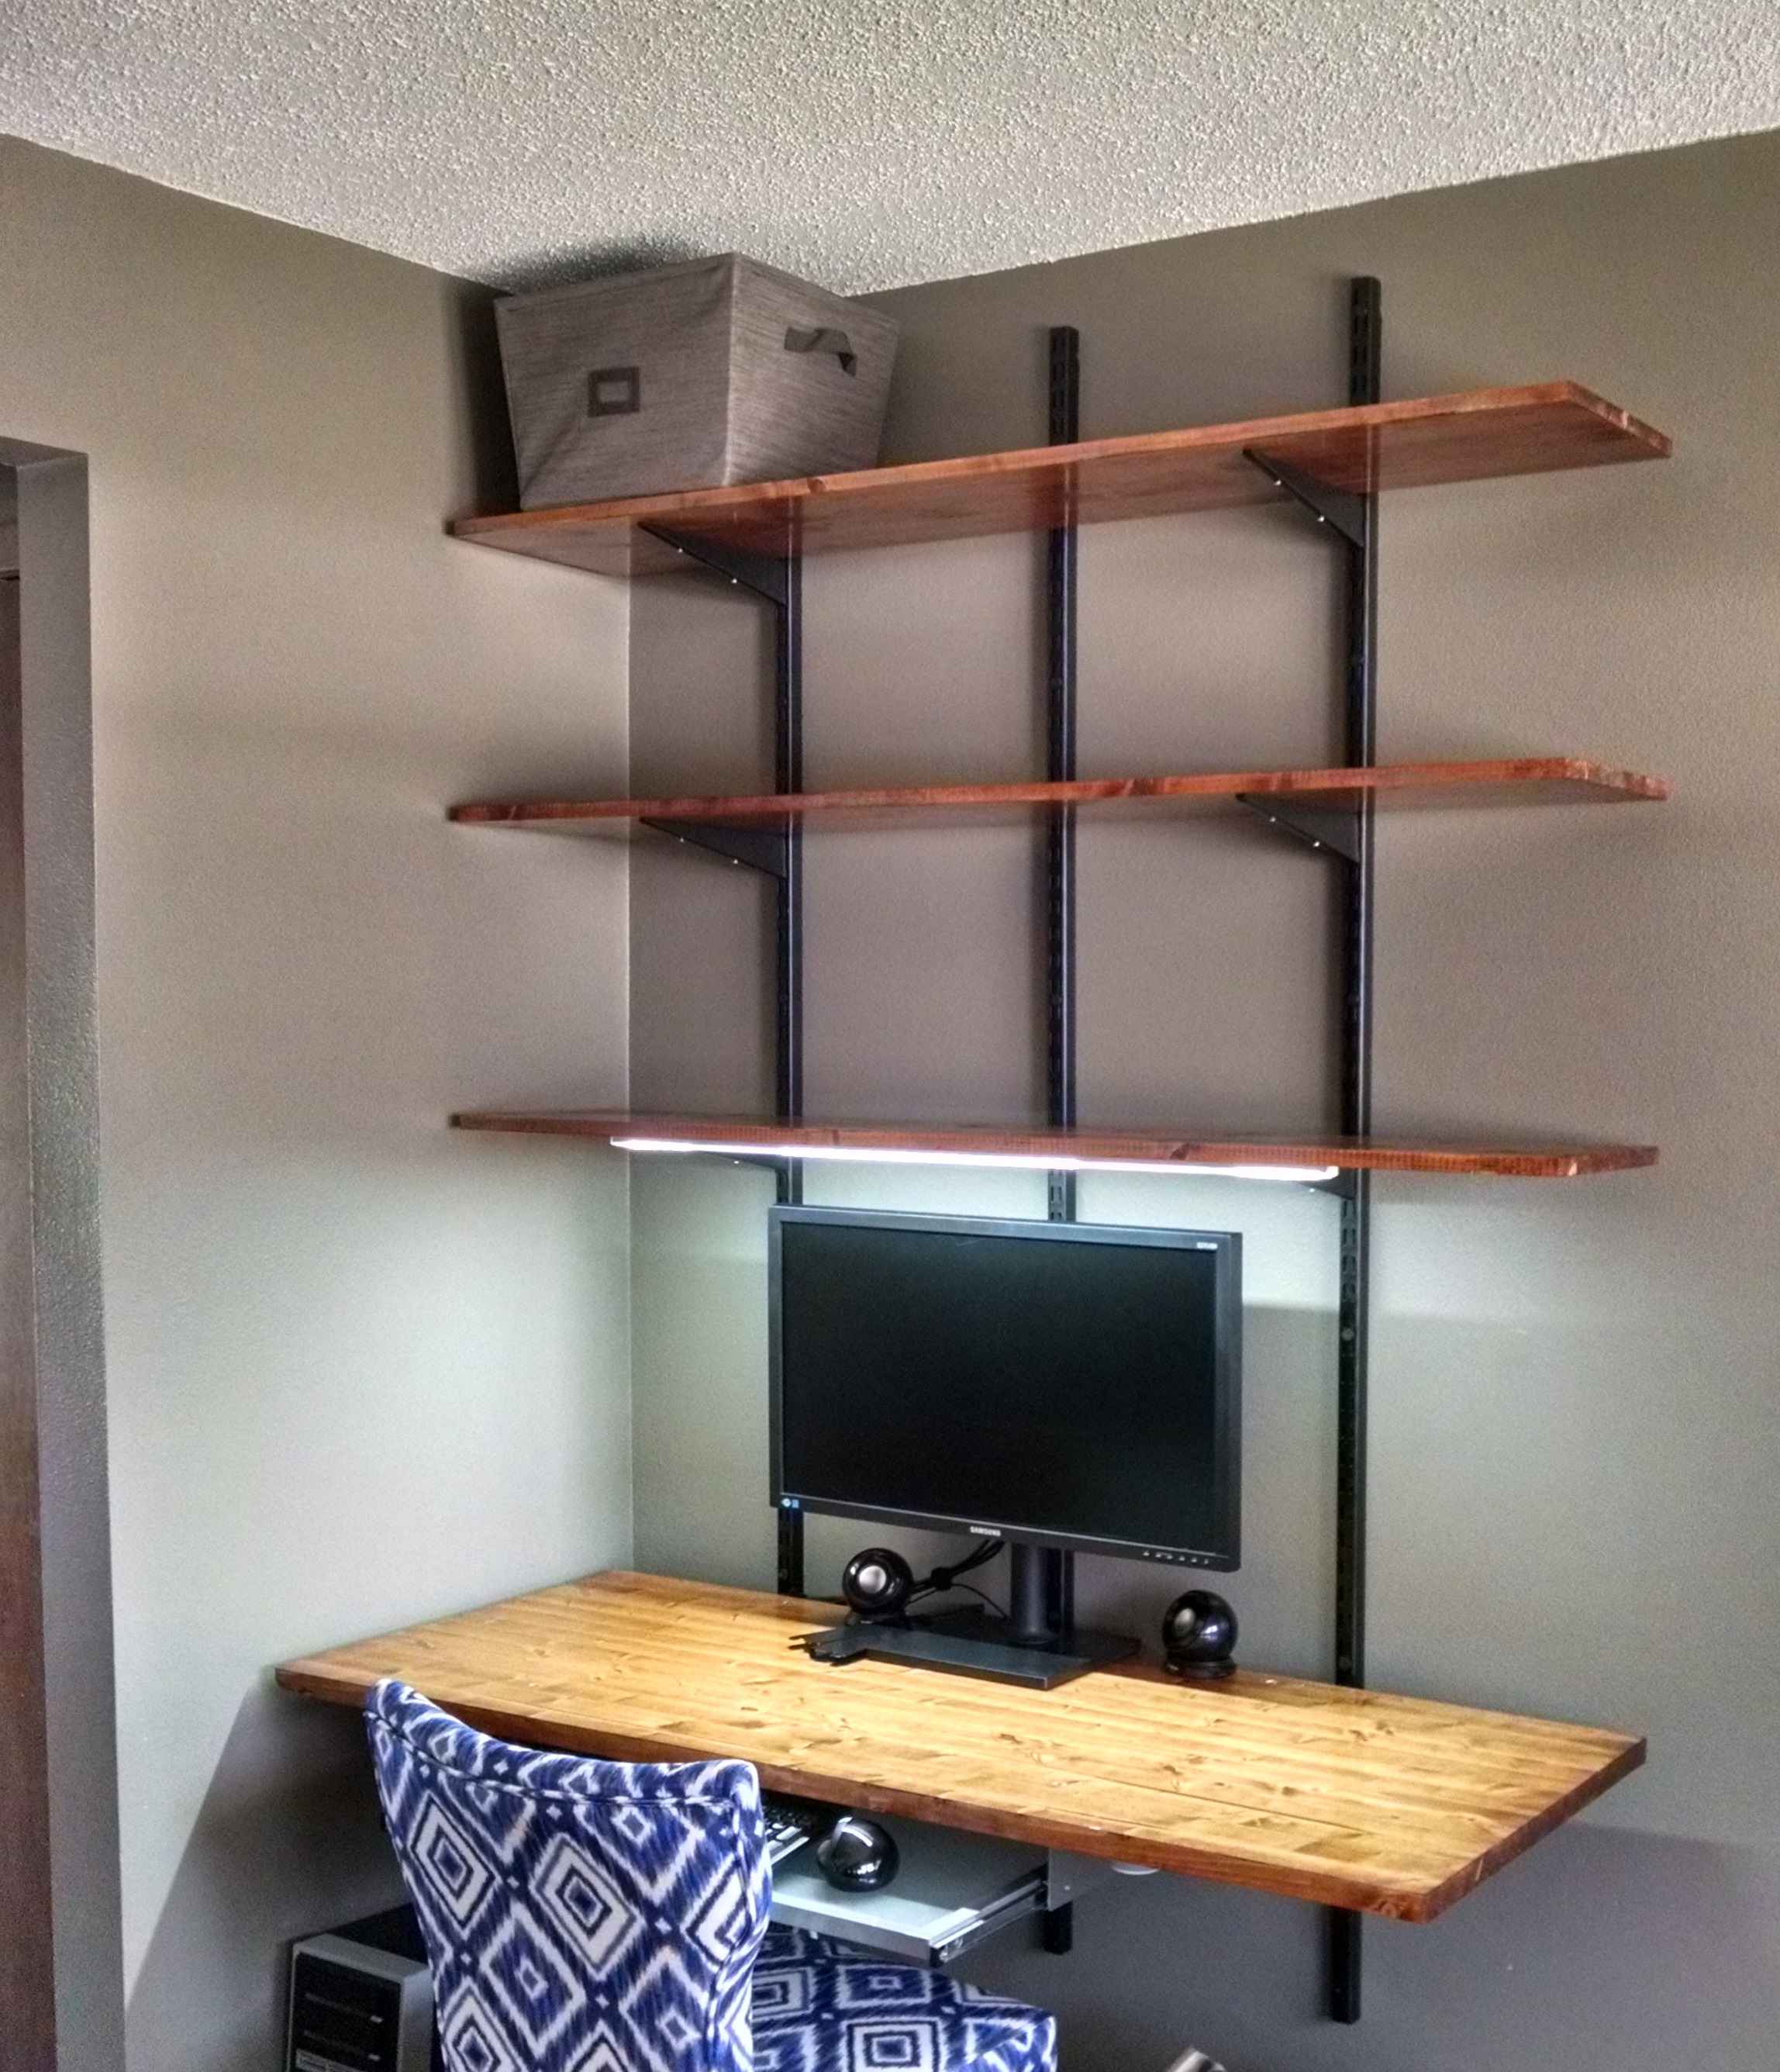
I used some roll of wire I had been given when I worked at a facilities controls design/build firm years ago. The owner told me I could have it to run some built-in home theater speakers, as it made great speaker wire. But it’s also handy for these LED lights. In fact, it’s been handy for all sorts of projects, from an OTA TV antenna I made to hanging a “stop pendulum” in our garage that my wife hits with her van windshield to know when to stop and park. Otherwise she’d drive clean through the wall. Maybe you should buy a huge spool of wire. It’s practically guaranteed to improve your life. (Notice the box of “Smart Wire” on the pics below. The box contains a spool of wire.)
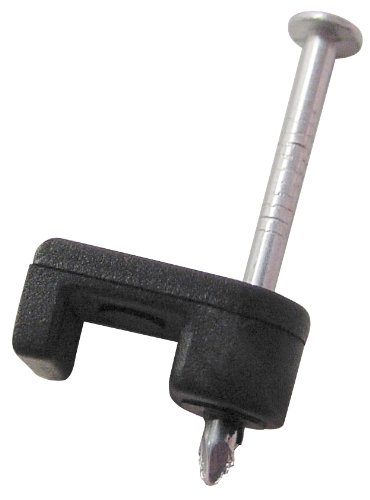
Notice I bought some wall wire clips to tidy the orange wires up. They’re very apparent in the image below, but because they’ve been tamed and clipped to the wall & shelf close to the shelving standards & brackets, IRL, they’re hardly noticeable. Maybe my kids see them when sitting at the desk, but they’re not a garish intrusion. I had originally intended on wiring through the wall, using a drywall handsaw and Old Construction electrical boxes, then fish-taping some wires junctioned in from existing outlet boxes in the stud bay nearer the floor, and running them up higher to plug in the light to a wall receptacle. But that seemed like a lot of doings with making holes in walls and I wasn’t in the mood for all that.
I also considered running wires up through the wall standards, especially since they’re “Heavy Duty” versions, and therefore have more room. But it seemed like if at some point I wanted to adjust the locations of shelves, and since the lights are connected to them, it would be much more difficult to manipulate wires when they’re trapped in a steel cage.
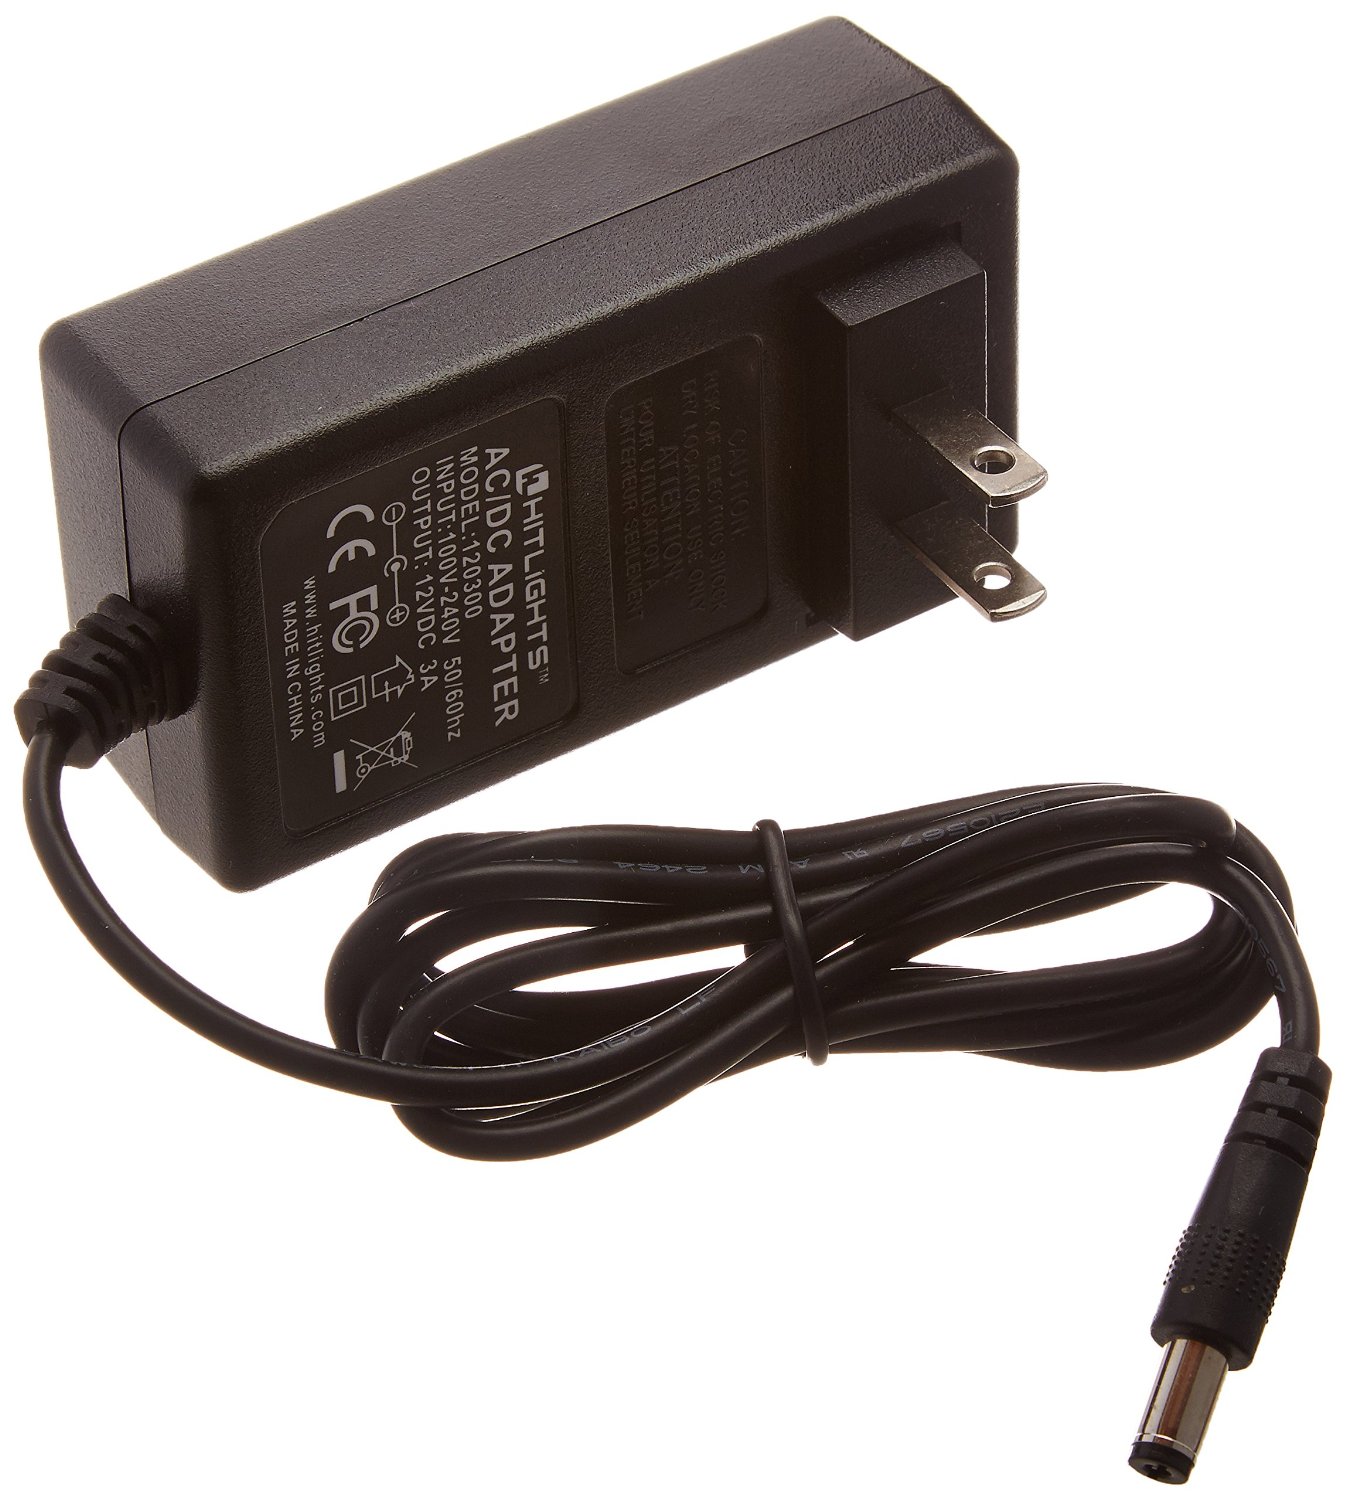
Plugin Transformer with Barrel Connector
The 2nd driver pic below is another plugin transformer type with barrel connector. I used one of these for the sewing/computer workstation I wired for my wife.
Unfortunately the “Hitlights ” brand 3amp connector below stopped working after exactly 1 year (just out of Amazon Prime return range, sez The Wife). Because I assumed that would be the last thing to malfunction in the setup (I figured it was the touch-on/off/dimmer switch or a bad solder joint) I actually unscrewed the light from the shelf and brought it to work for an electrical engineer to hook it to his bench power supply. The strip lit right up. So I went home and measured the barrel connector while it was plugged in by pushing my multimeter leads into it and touching the side (set to 20V), and found it wasn’t working. In the end, I bought the same unit again because I knew it had the right length of cord, correctly sized barrel connector, and 3amps x 12v is kinda weird to find as an outlet transformer (what I want) as opposed to the laptop-style brick transformers that have a plugin cord leading to a separate brick with then another cord terminating in a barrel connector. I didn’t want to have to find a way secure that brick to the bottom of the desk or something, not sure why what was a deal breaker, but the heart wants what the heart wants.
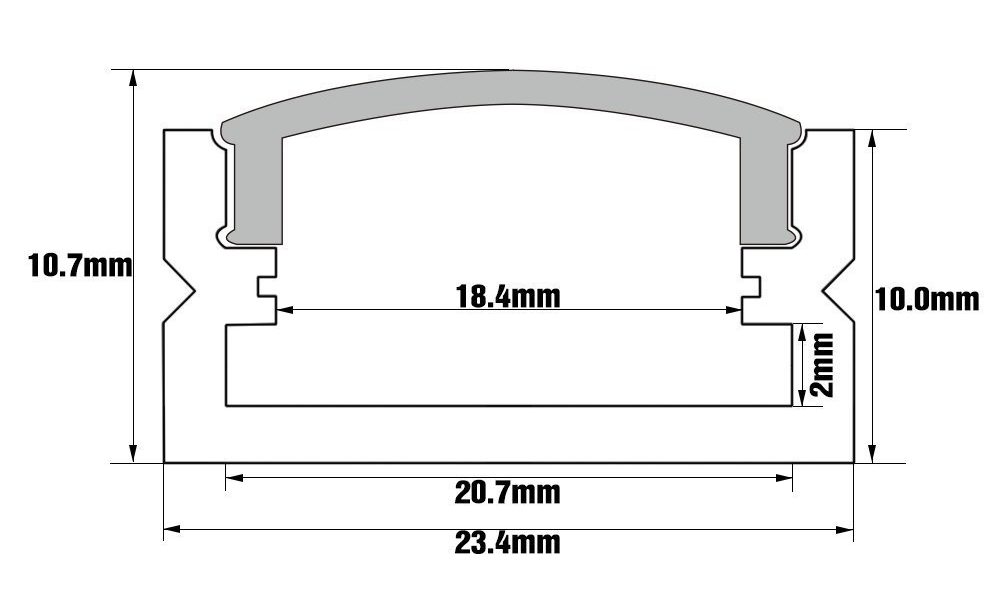
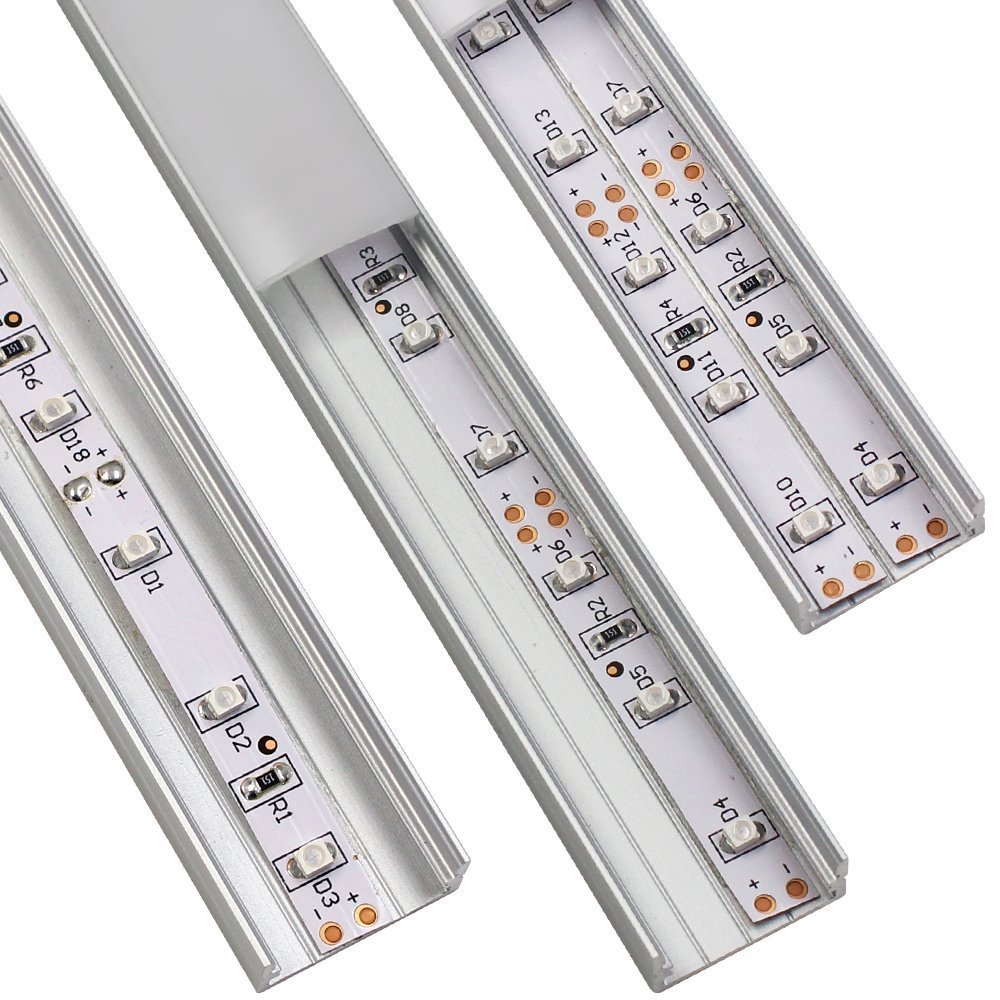
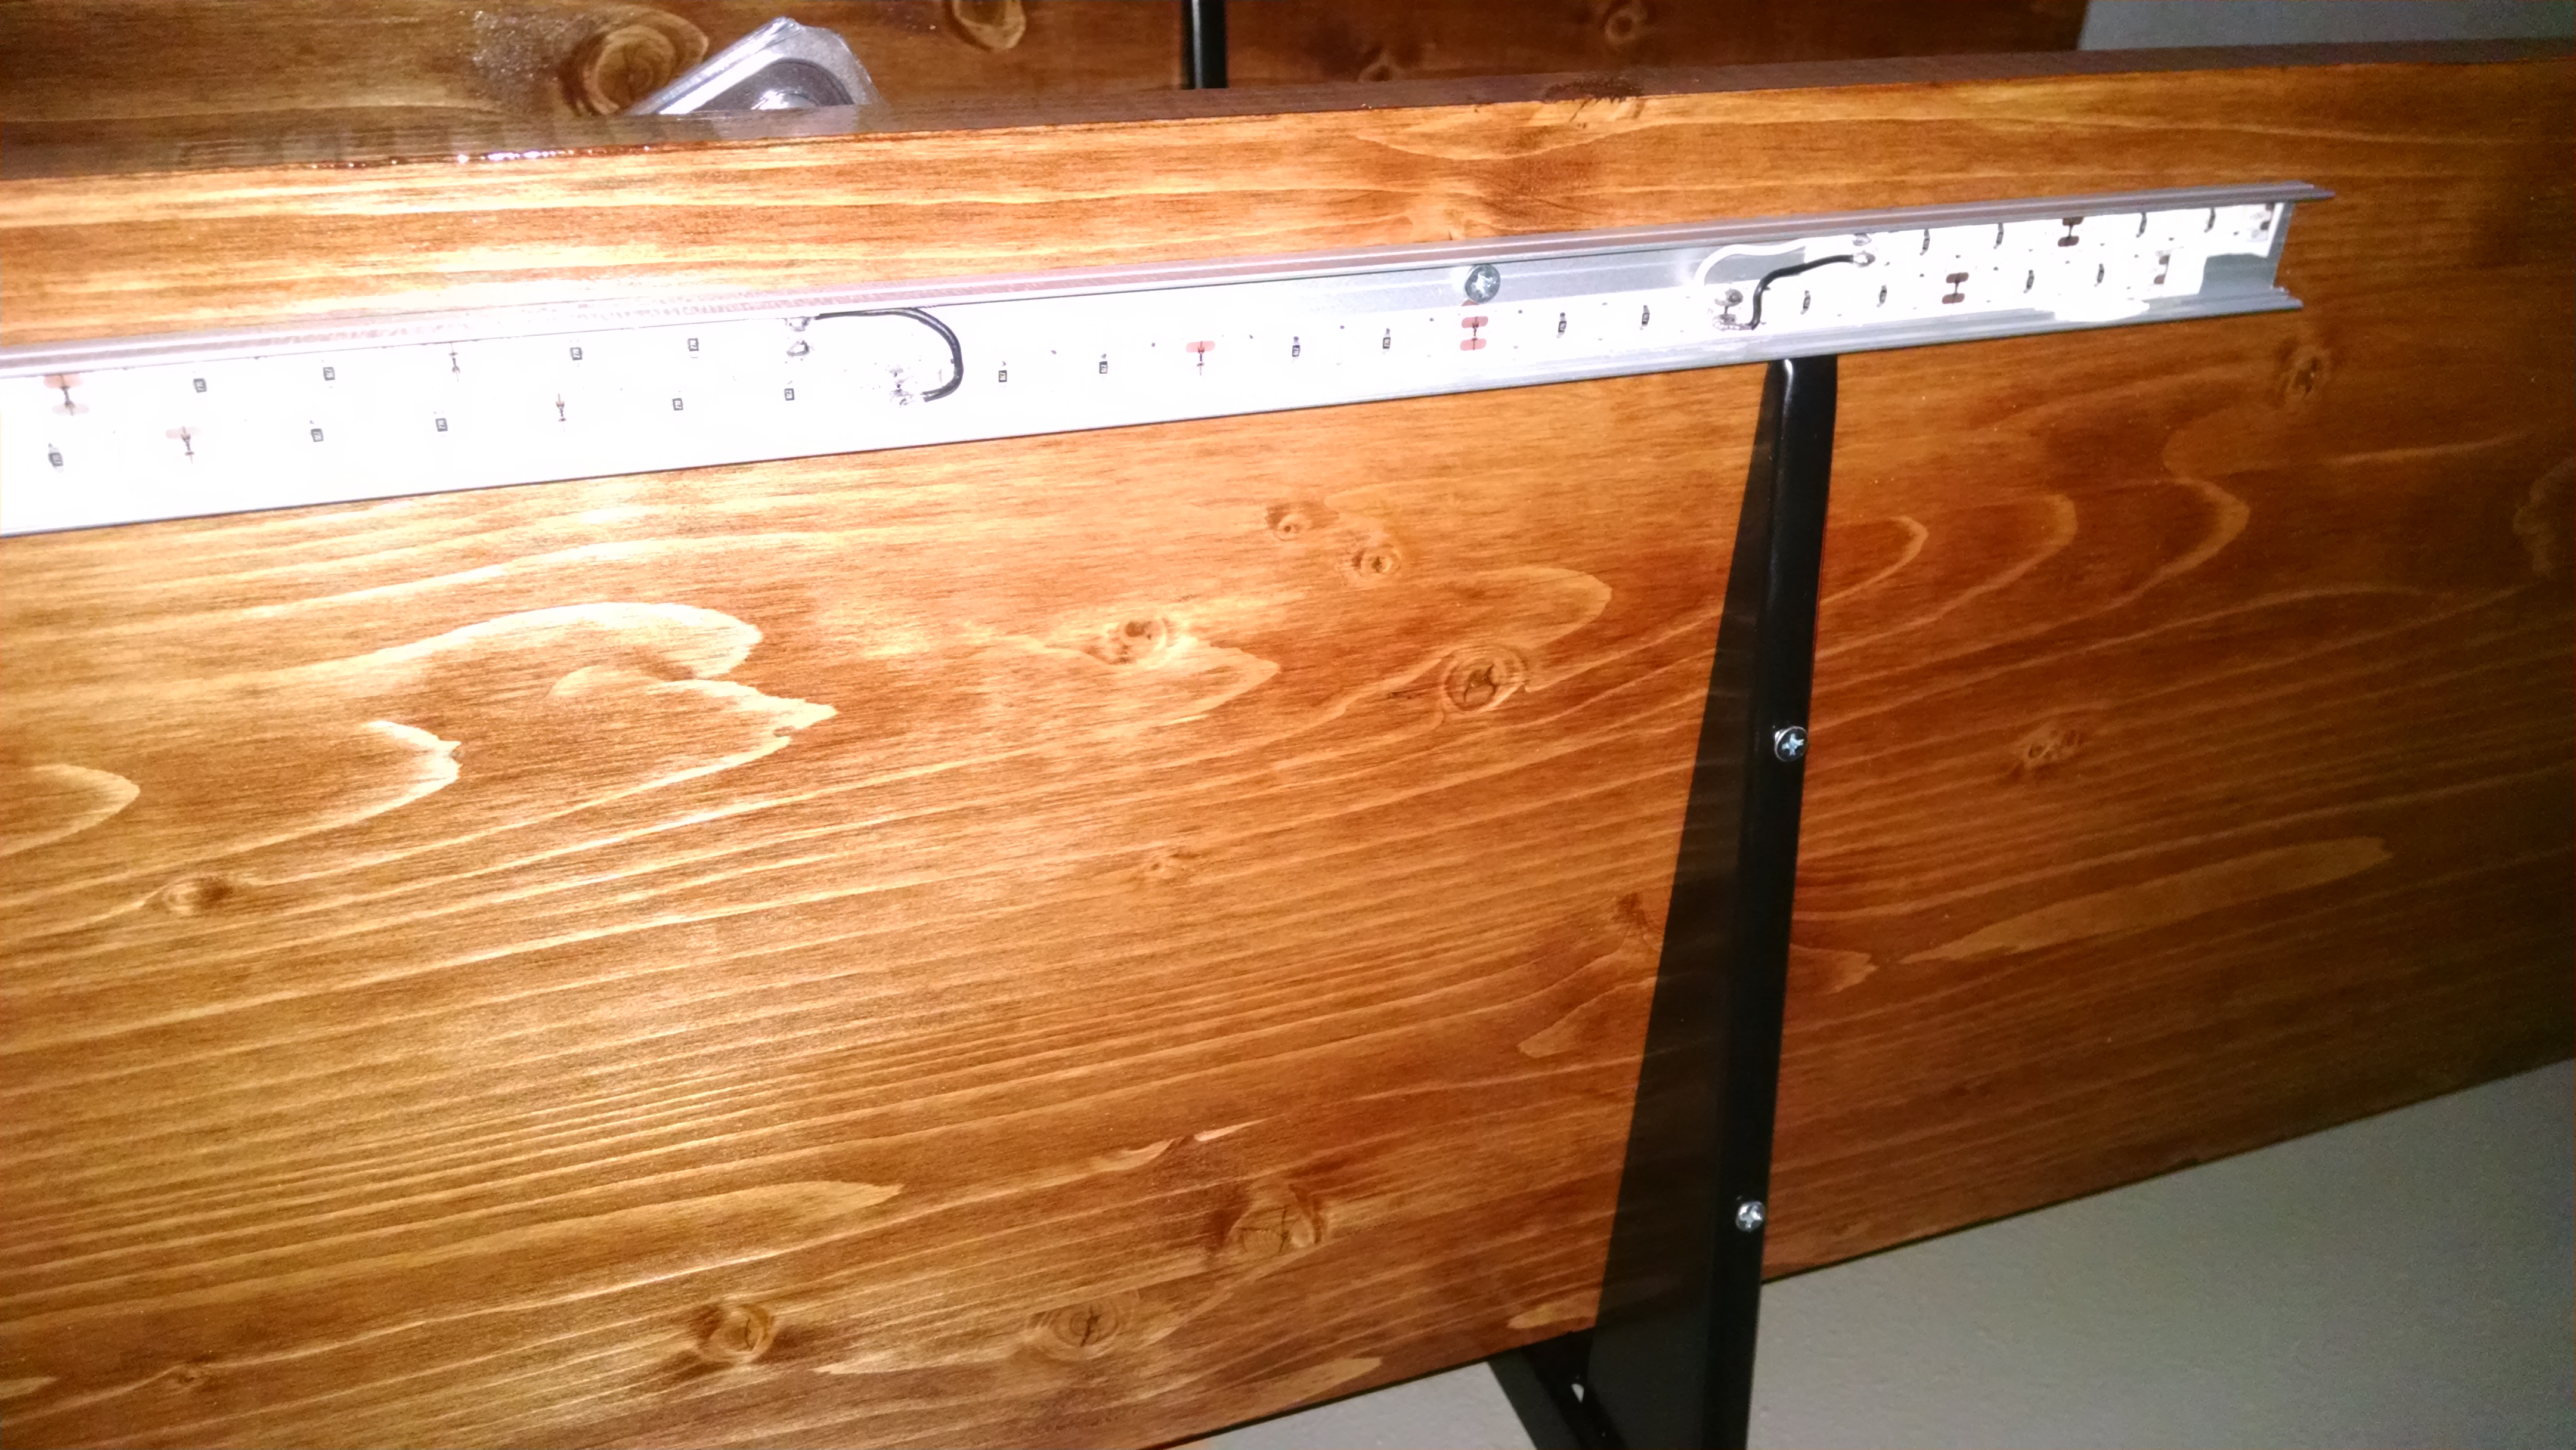
Find an aluminum channel with diffuser.
- You’ll want a diffuser lens over your LEDs, because it gets rid of that “Thousand points of retina-burning lasers” effect.
- I love these aluminum extrusions from “Torchstar“.
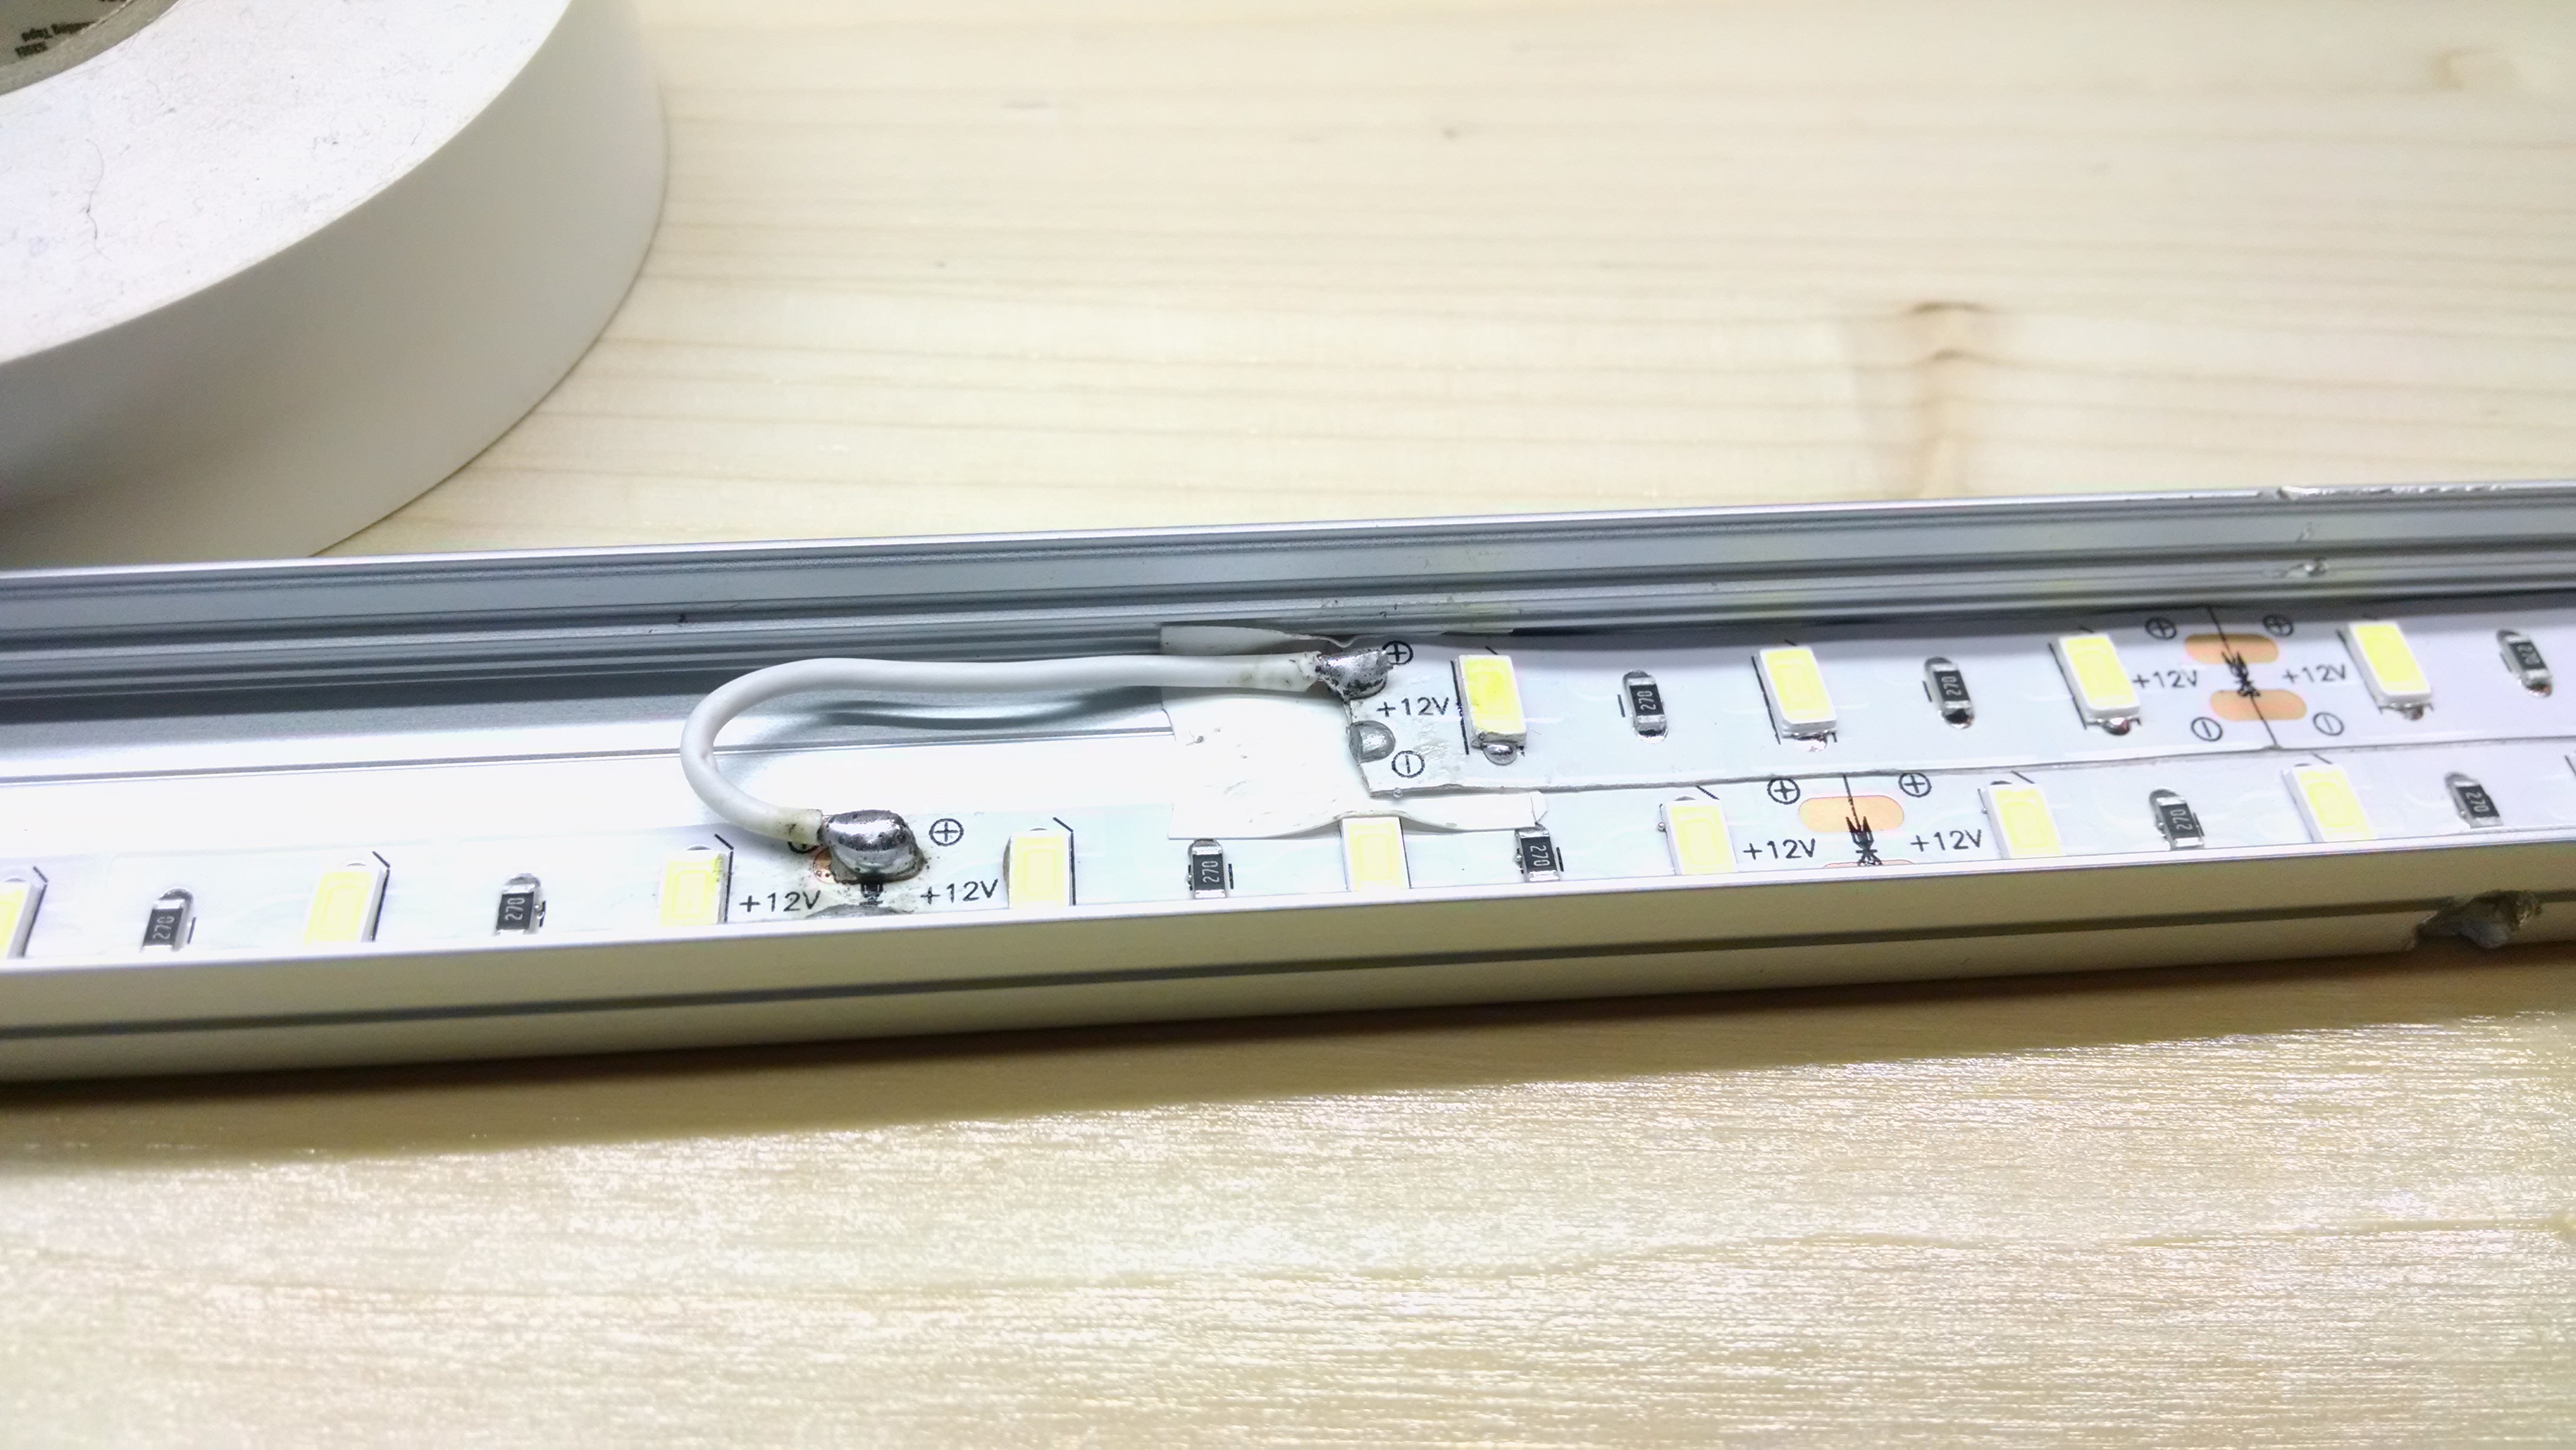
- If you get the “U07” style as I did, you can fit 2 rows of tape side by side, but you really have to scoot the tape all the way over, and you’ll still have overlap, so you’ll want to consider staggering the LEDs so no contact points touch and short.
- If you get the “U07
- To cut the extrusions, if needed: If you have a chop saw/miter saw, put the lens in the channel, then take painters tape and wrap it around the cut line a few times. Cut through the tape with the saw and it should work without much tearout or chipping.
 “.
“.
 ” style as I did, you can fit 2 rows of tape side by side, but you really have to scoot the tape all the way over, and you’ll still have overlap, so you’ll want to consider staggering the LEDs so no contact points touch and short.
 , put the lens in the channel, then take painters tape and wrap it around the cut line a few times. Cut through the tape with the saw and it should work without much tearout or chipping.
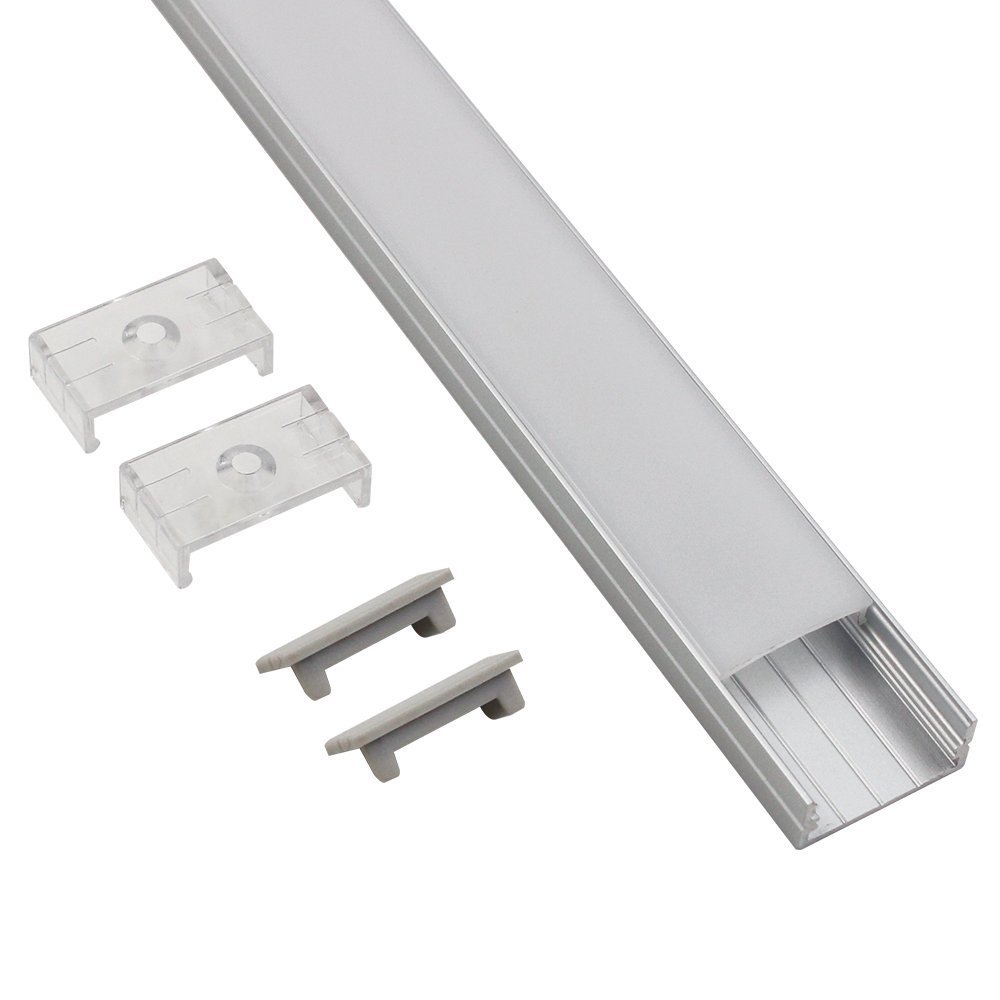
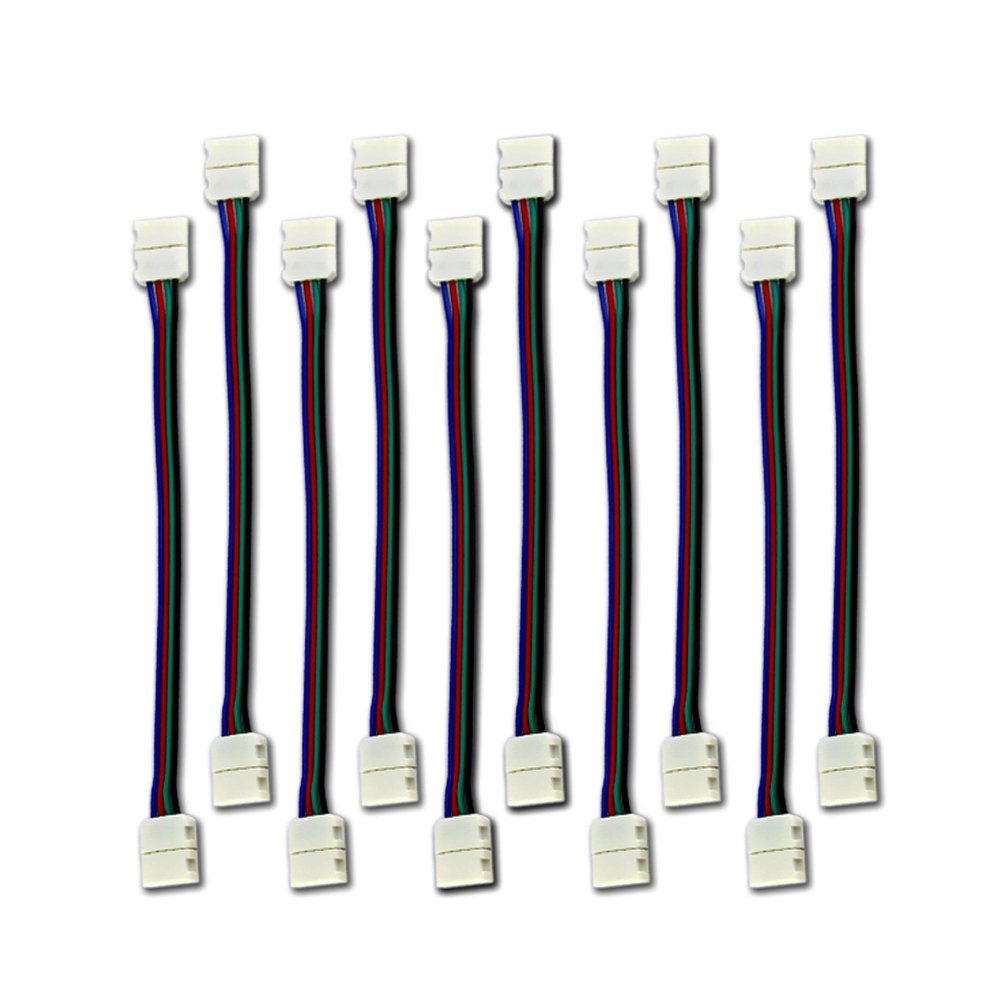
Pick up a soldering iron or connector clips
If you’ve never soldered wires before, it’s not hard. But if you’re nervous about melting metal at hundreds of degrees; If you lay your LED tape out well enough, you can use snap-together connectors . Whatever works for you.
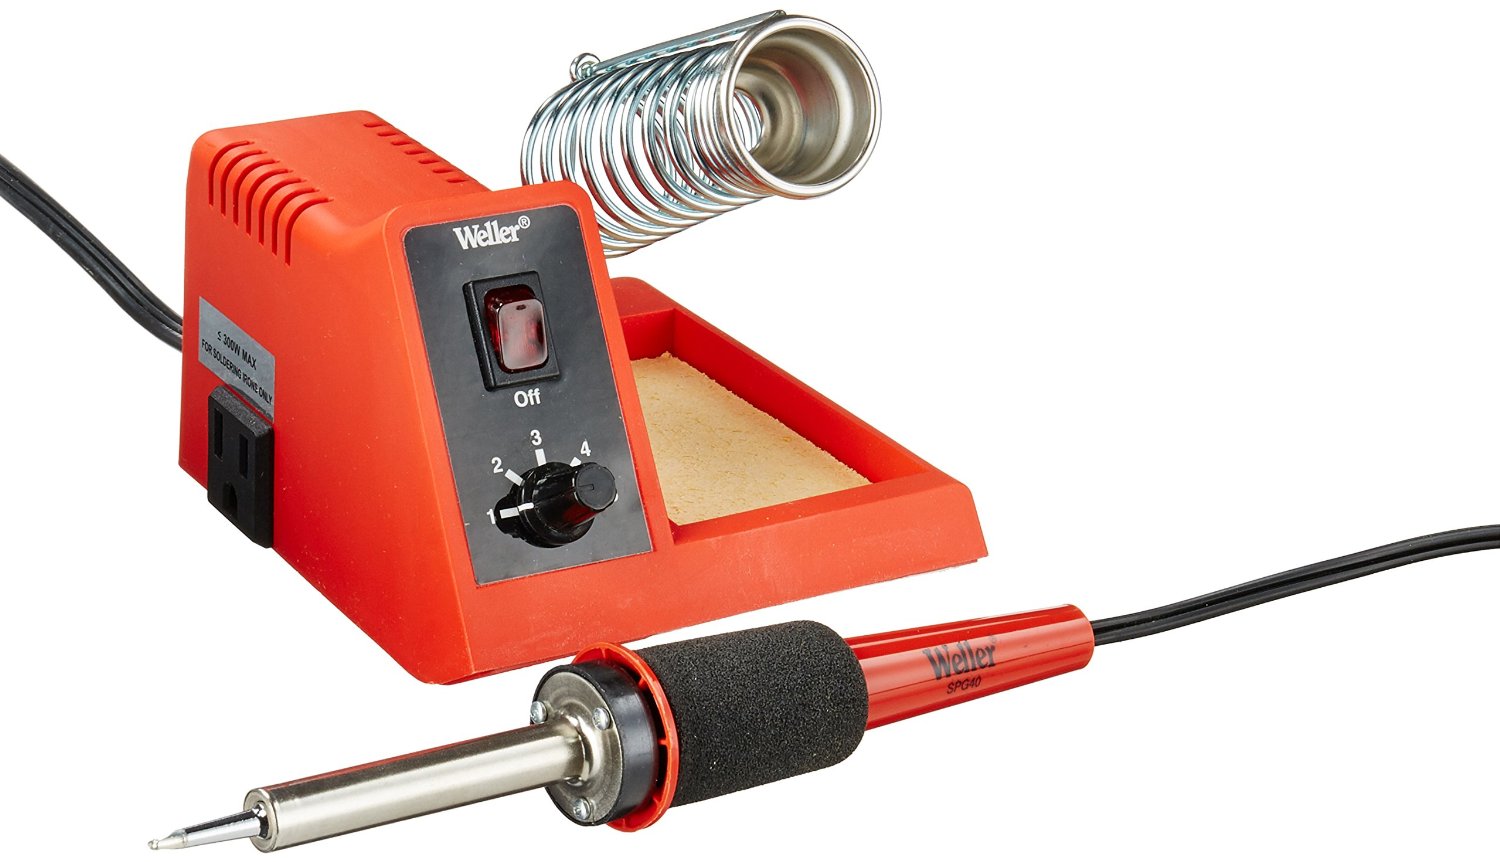
Buying a Soldering Iron: Don’t get the cheapest! (But decent ones aren’t expensive).
You can purchase a decent iron like the one below for $35 on Amazon Prime . Or shop around for a station like this that includes some accessories, like solder
 and flux
 (Don’t forget the flux!)
Soldering.
If I can solder, you can too. I just bought a decent iron on sale for less than $50. I didn’t even buy special solder, but just use the flux, flux brush and solder from my copper pipe plumbing kit .
.
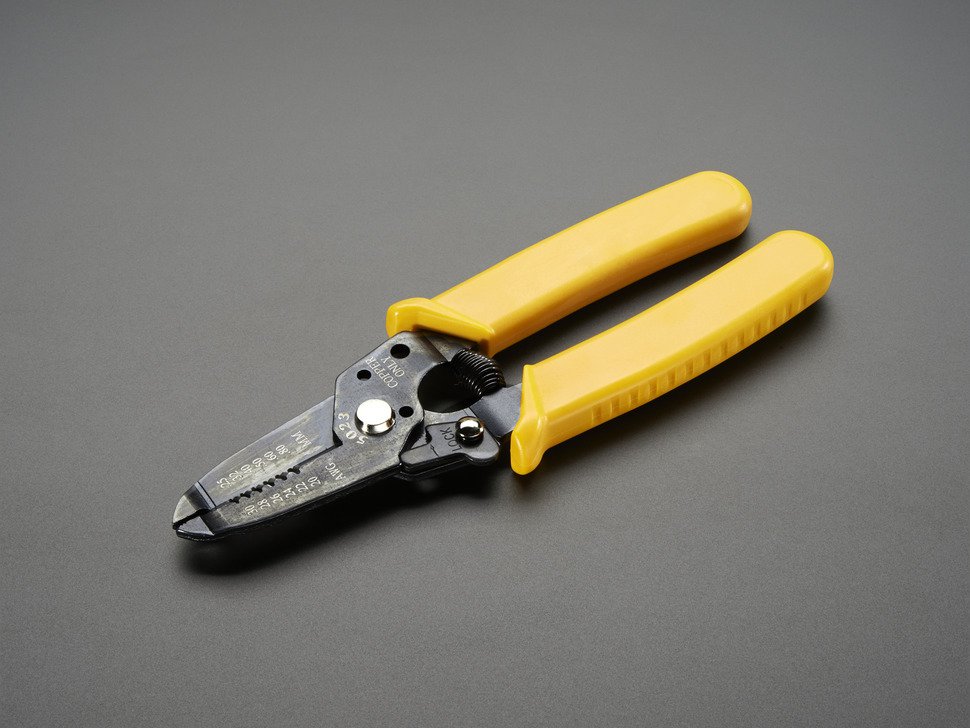
And of course you’ll need wire (I’ll leave that to you to find–see my recommendation for buying life-changing-size spools of “Smart Wire” above), and a wire cutter/stripper. A reasonably good wire cutter versus a piece of trash makes all the difference in whether or not you enjoy your wiring project (same for the quality of your soldering iron). So get a decent one. Should cost between $7 & $20 .
.
The thing about soldering is: you’re using small gauge wire. And it’s made out of very conductive metals, and that means they not only conduct electricity very well, but also heat. So make sure you flux your wire ends and/or solder contacts so they’re ready to melt right away, because you don’t want to have to hold the iron tip to the wire for long, or it will get so hot it melts its jacket.
Other little tricks I recommend, if you can call them that:
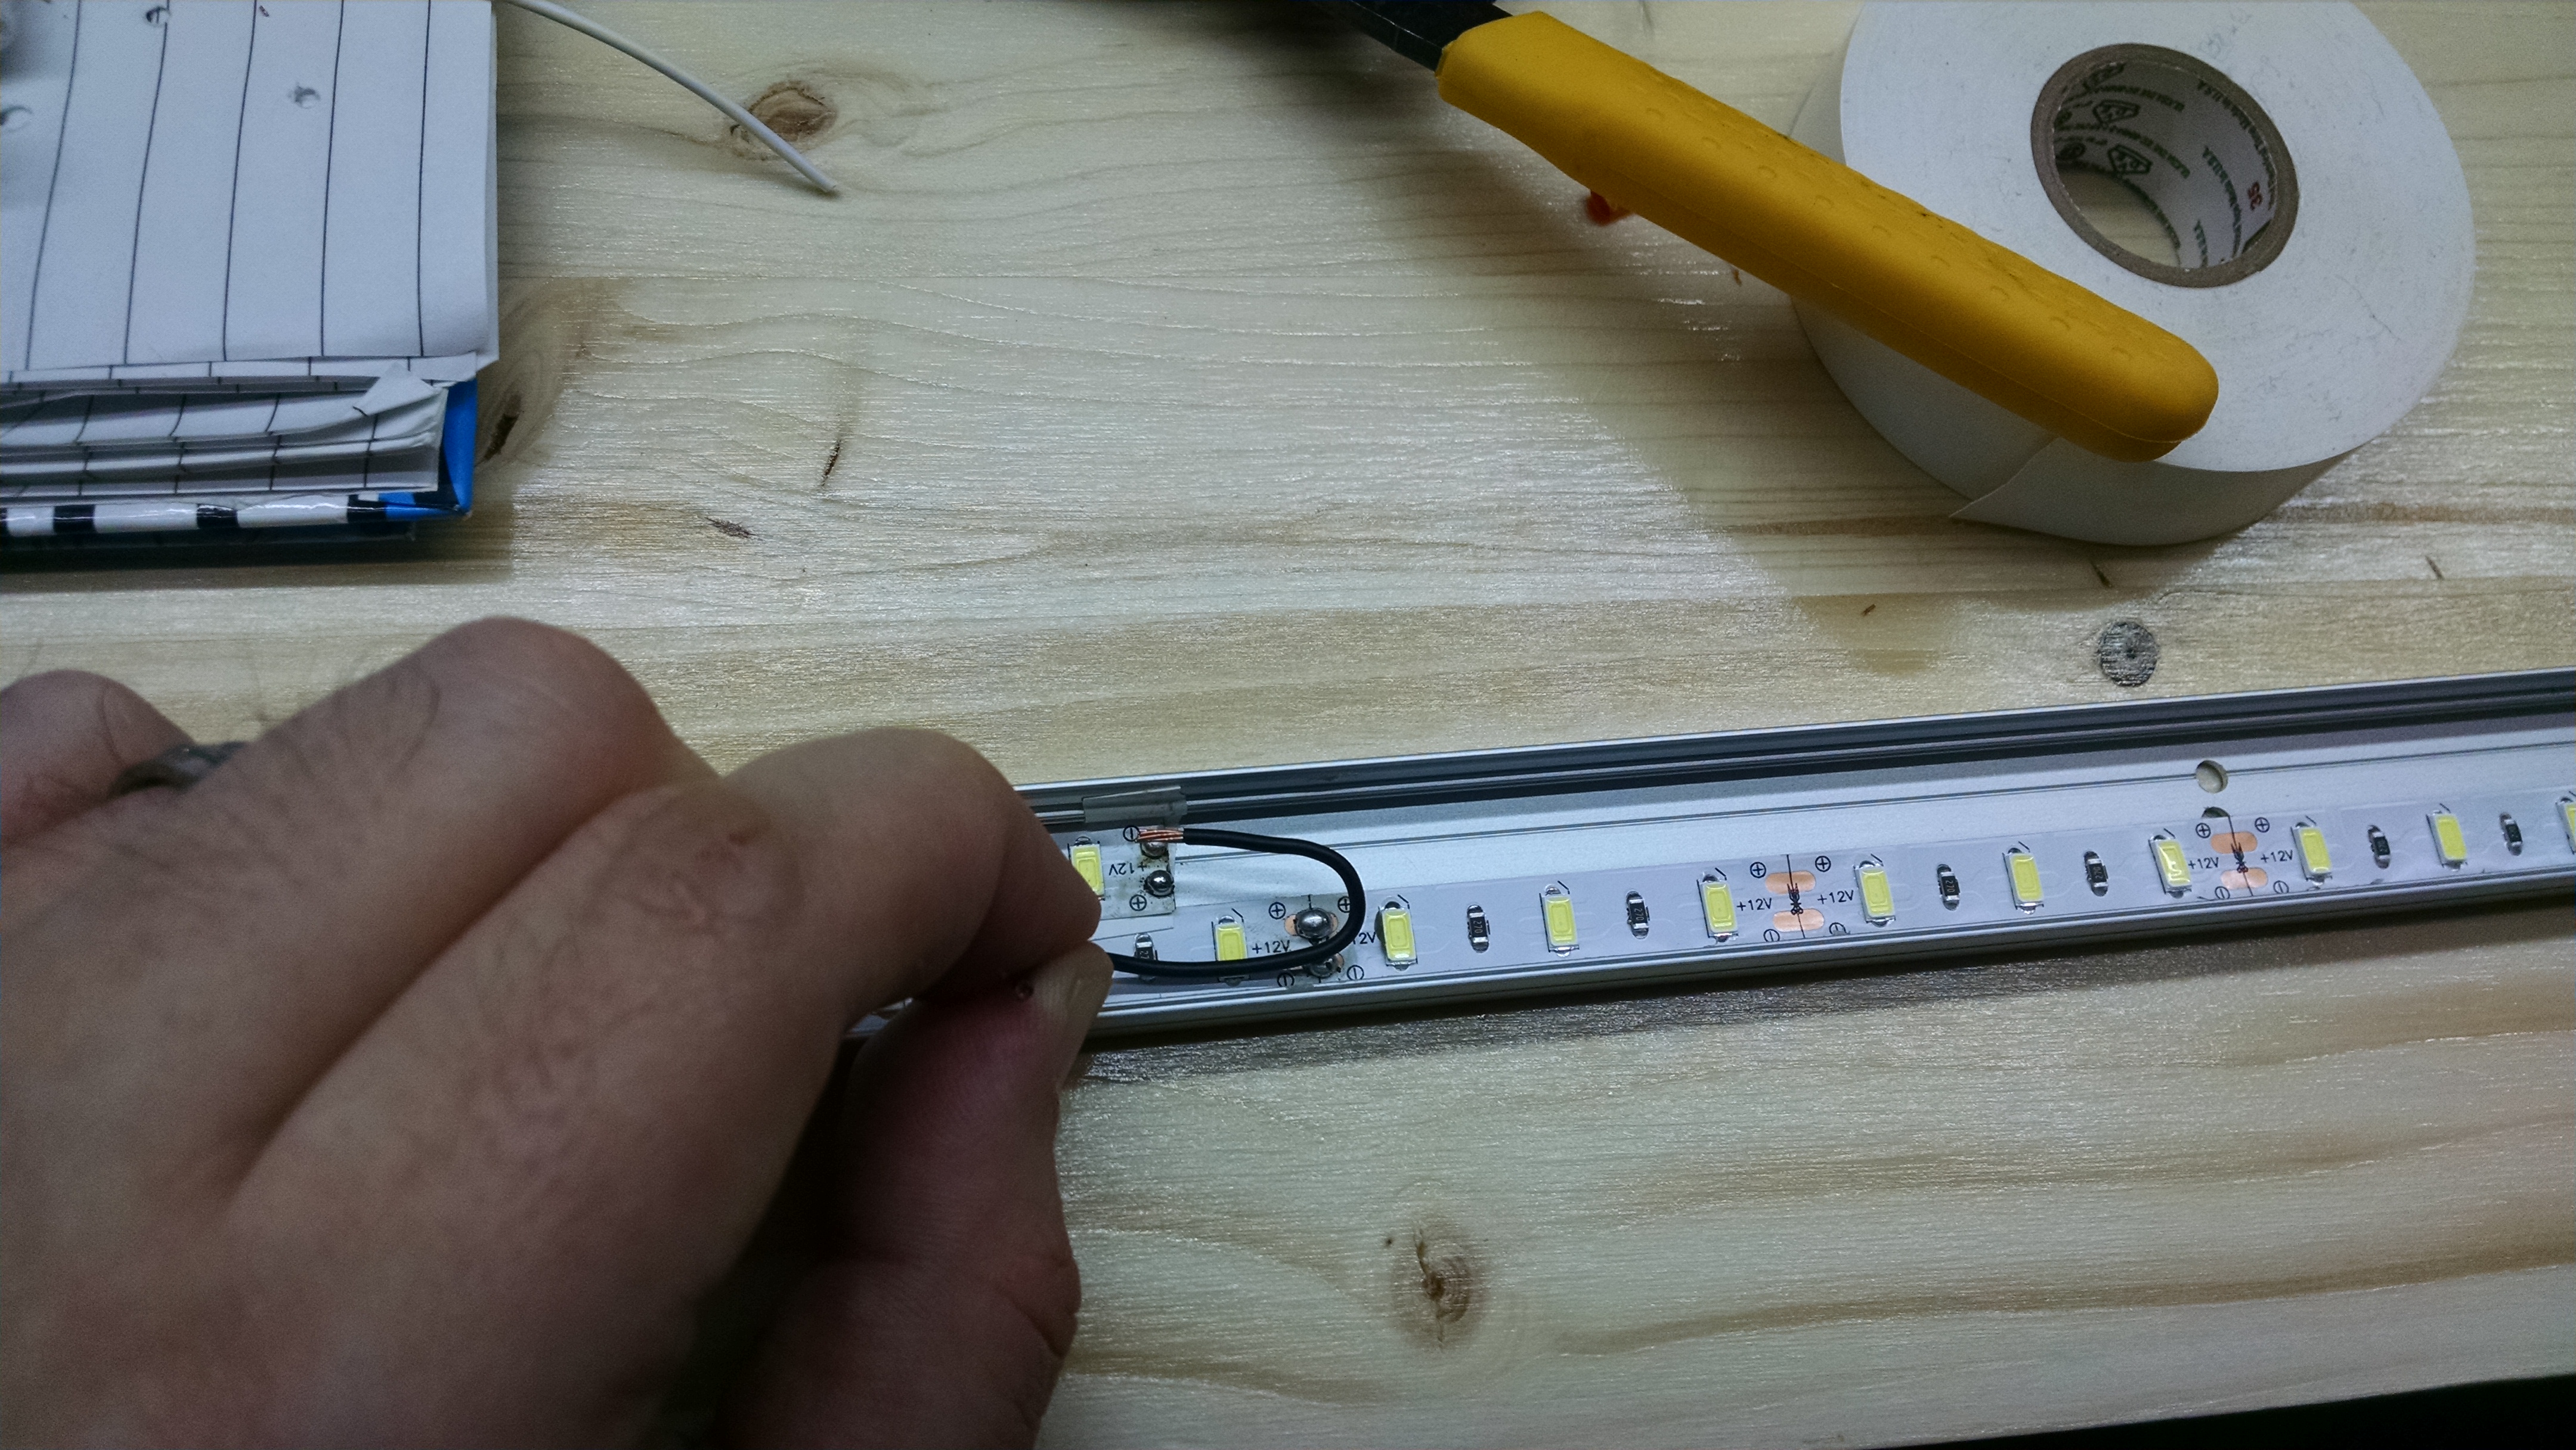
- Get your pieces of wire sized and cut before soldering.
- This is too tight, in these tiny aluminum channels, to be free-form jazzing your wire solders. Cut each wire snippet to length, bend them so they’re ready to hold with the grabber part of your wire strippers, and then you’re not trying to cut and fashion wires that are solder-fixed on one end.
- Get electrical tape ready – light colored. I don’t know how necessary it was, but I didn’t want any leads from one LED strip touching the neighboring stip’s leads.
- In this channel, 2 strips are overlapping, so I staggered them so no leads lined up side-by-side.
- See the little tape snippets I put in below. And I used white tape because I didn’t want a dark “bruise” effect showing through the lens.
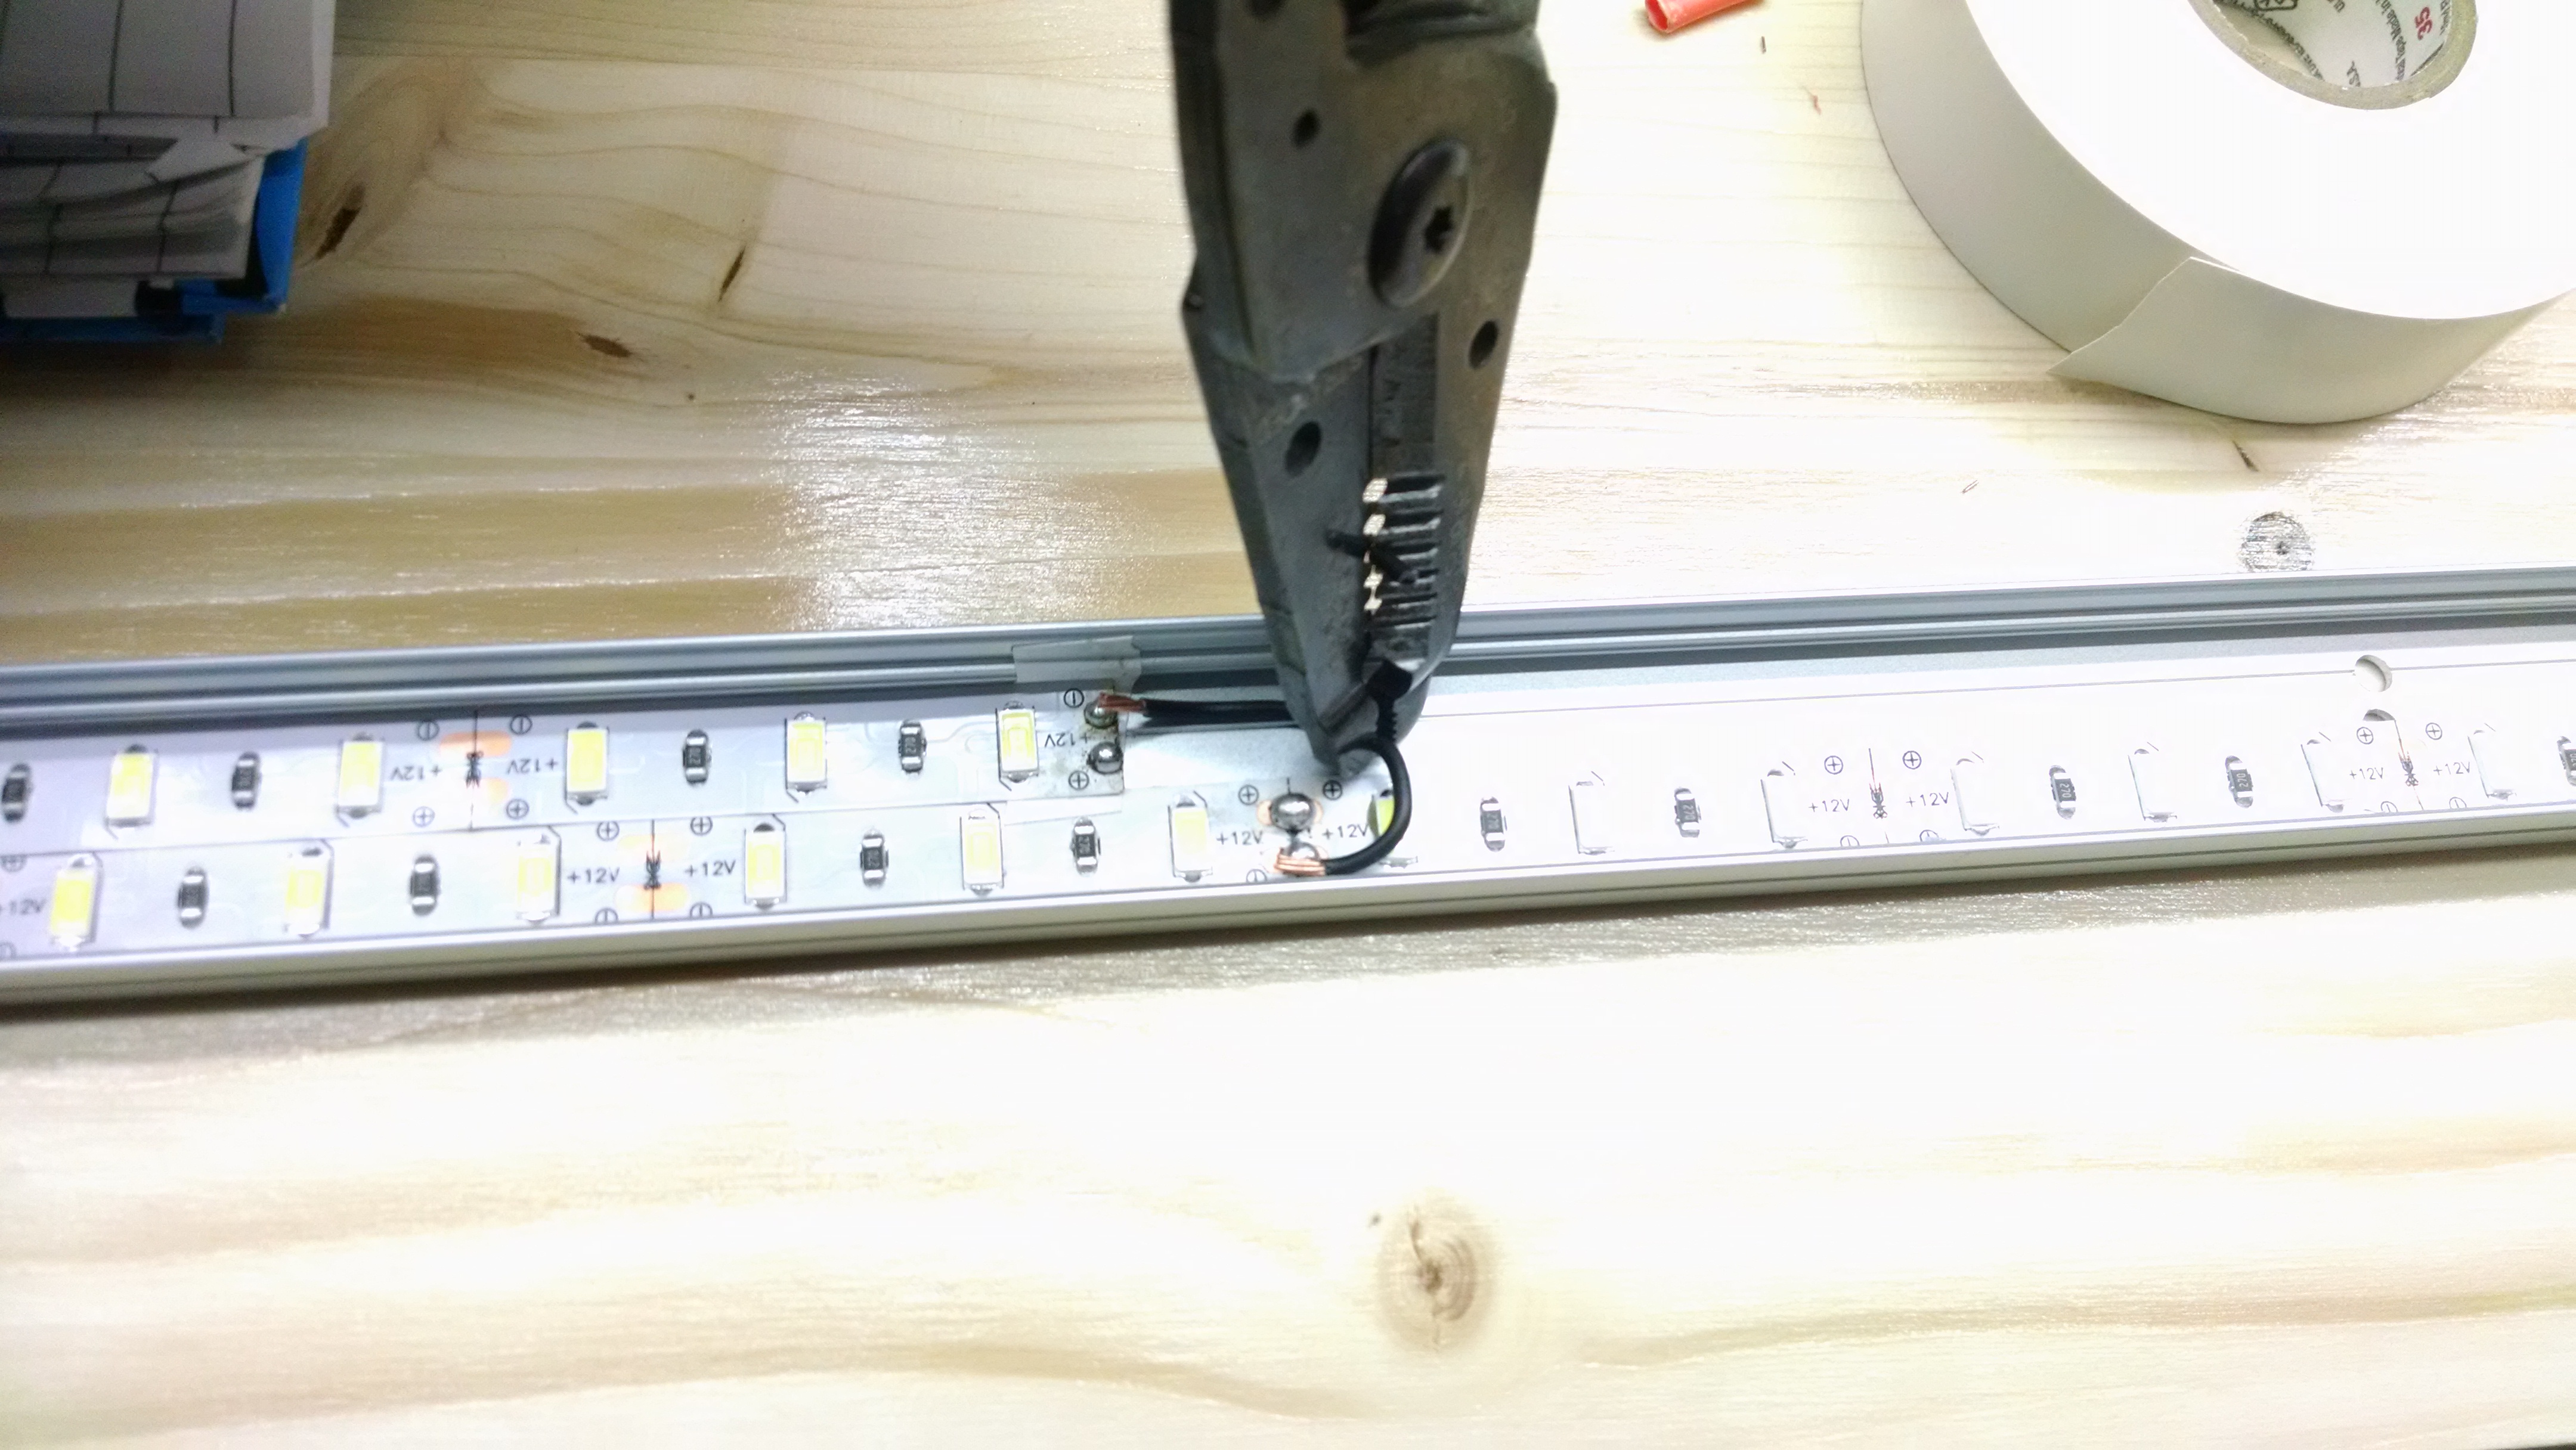
- Consider fluxing a lead on the LED strip and then soldering a drop of solder onto it, instead of trying to melt solder onto a dry wire-and-lead connection.
- Sometimes it’s easier to heat up and melt that drop, then push the copper wire into the liquified drop and let it congeal, rather than to try to drop molten solder on a wire and contact at the same time. Ask yourself “how shaky are my hands?”


Leave a Reply