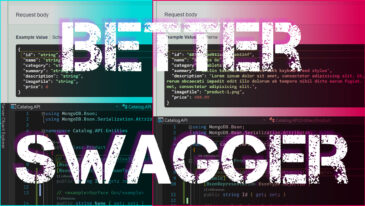
Annotate .NET Classes for Better Swagger API Endpoint Documentation
How to annotate .NET classes so Swagger (Swashbuckle) API endpoint documentation is more helpful, especially adding Examples to the Request Body instead of the default: data types.
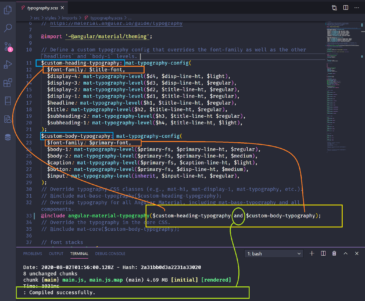
Use 2 Fonts in Your Angular Material Custom Typography Config
So, you like Angular, and you like Angular.Material for styling, theming, and ready-made components that fit a coherent design language. But you still want to make customizations to the mat-typography-config. More specifically: create a custom config with a different font family for title headings and body text, and get both configs to work in an override.
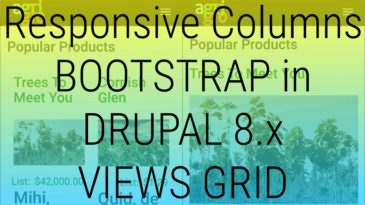
Make Responsive Bootstrap Columns in Drupal 8.x Views Grid Layout
A trick to make Drupal 8.x Views Grid layout columns become responsive using Bootstrap. This allows for fewer columns per row on narrower viewports.

Comparing and Contrasting TCSEC and ITSEC Security Standards
Comparing and Contrasting tenets of TCSEC and ITSEC Information Security Standards (which have been largely replaced by Common Criteria).
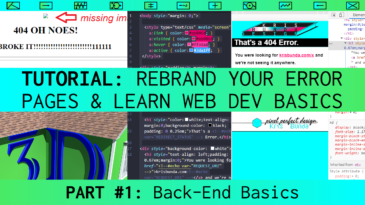
How To Customize Your Error Pages: A Beginner Web Dev Project (Part 1: Back-End Basics)
PART 1: Back-End Basics. Tutorial: Rebrand your error pages, learn intro web dev, make your first live app (Redo all your customized error pages using one page of code).
Cover: HTML, CSS, Accessibility, Responsive Design (with Media Breakpoints), and Refactoring.
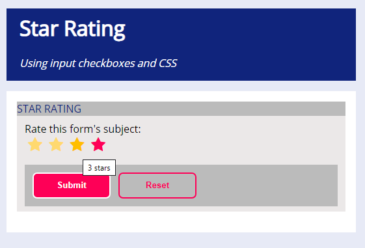
Star Rating Checkbox Form Input, HTML & CSS Only +Server PHP Submit File
Here’s a star rating component using only HTML & CSS, with checkbox inputs that look like stars. Plus: a PHP server file to submit the form to for testing.
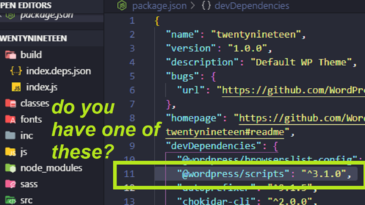
Try this for NPM Build Setup Errors in Your Local WordPress Development Environment
I wanted to automate rebuilds in my local WordPress dev environment. But the NPM build command was only producing errors like “wp-scripts is not recognized as an internal or external command.” Try adding this line to your Package.json file to fix it.

How To: Install Porn-Blocker OpenDNS (Does Not Work in IPv6 Router Mode)
I set my router and devices to resolve to “Family Shield” by OpenDNS to block offensive content from getting through the wi-fi router. Here’s how to set it up, get the dashboard and actual blocking to work, and what I learned about IPv6 incompatibility.
WordPress Plugin: Add Abbreviation Tags from Gutenberg Blocks
I made a Wordpress plugin to inject < abbr > HTML tags around selected text with one click from the Gutenberg Blocks Toolbar menu.
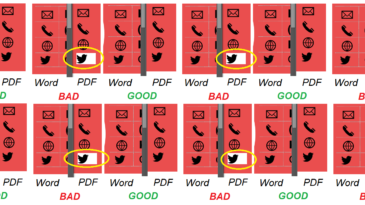
Fix: MS Word Table Text Icons have White Background
Fix an issue where text icons in a Word table export to PDF with opaque backgrounds.
The Unsubtle Tactic of Inserting F*ck into a Book Title
Audible doesn’t publish audio versions of every book that’s published. But it does seem to publish every book with an f-word in the title.
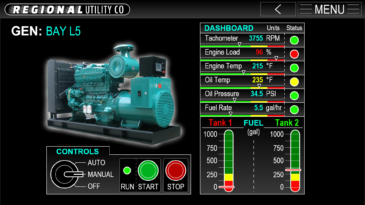
UI/UX Design: Energy Utility Controls Console, Prototype made in Adobe XD
GUI design prototype of equipment controls for an imaginary utility company. Made in Adobe XD with artboard and links discussion.
Digitizing a Hand-Drawn Logo Scan
Plus: Branding Iterations, Biz Card Design Tips, & Opinion on URLs in Print Marketing
“Extreme Cleanup” owner Nestor knew what he wanted the startup company’s logo to look like. So he drew, scanned, emailed it, & I turned it into a vectorized graphic.

Corona Brand & Logo Parody Graphic
How To: Parodying a favorite beer brand’s label to be a personalized graphic.
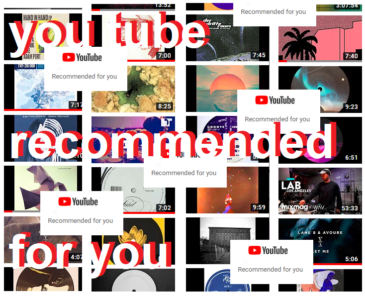
[UX/UI] Best User Experience for Finding New Music? YouTube.
On why I like using a certain app to find new music: It’s the best input-to-output User Experience!