Installing Slide-out Keyboard Tray
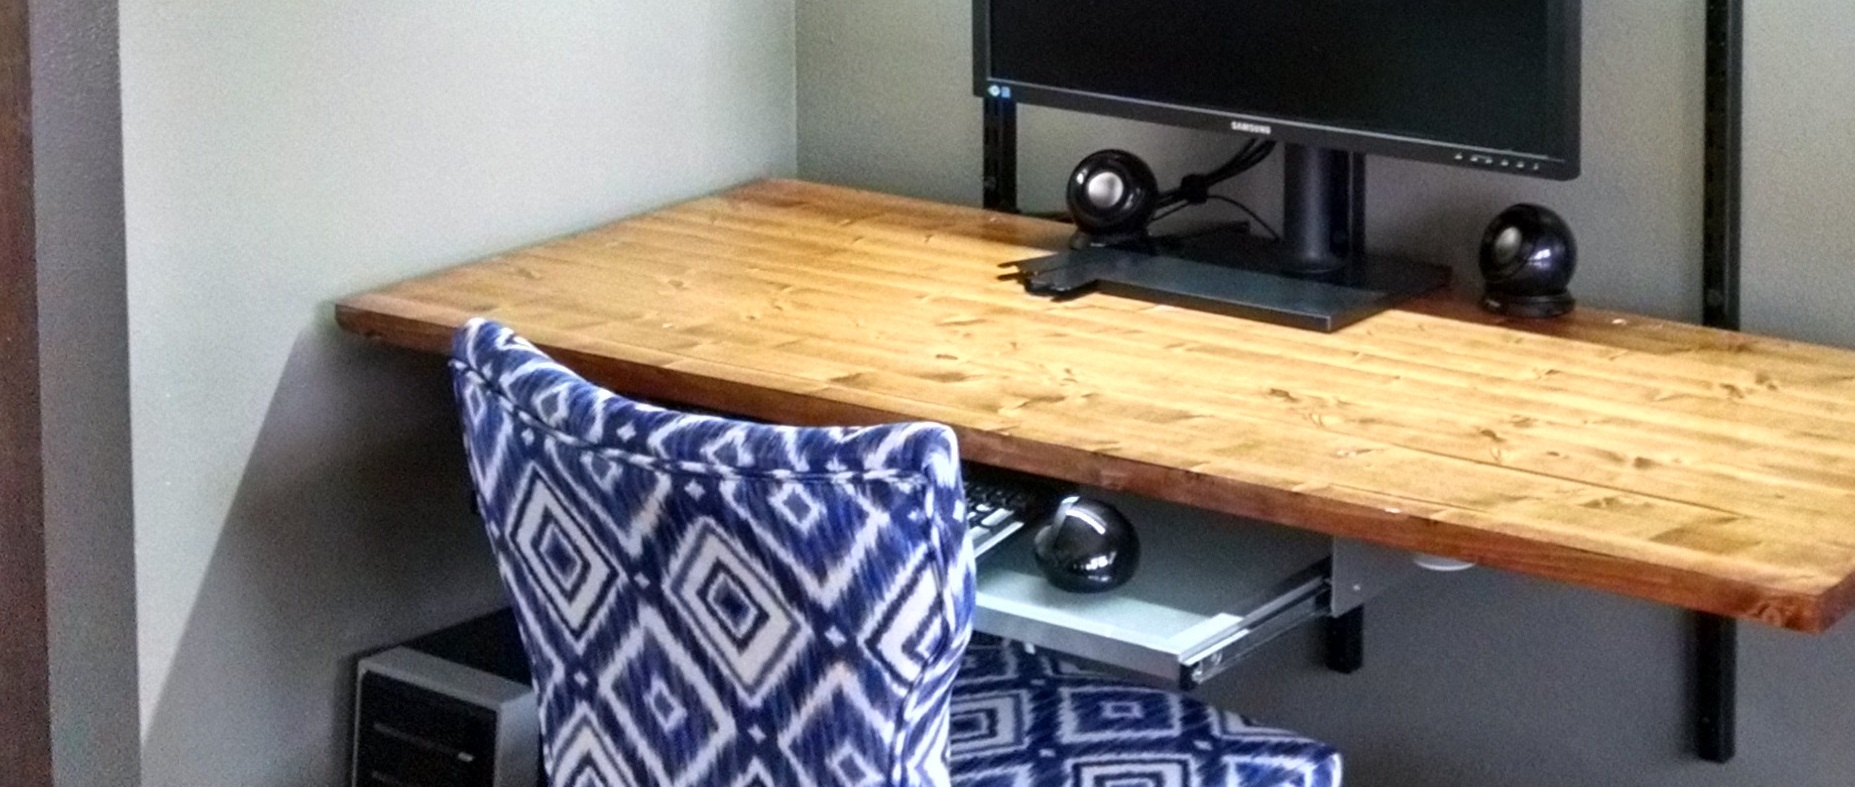
Holly wanted her steel and glass desk out. But it did have a nice feature of a ball-bearing sliding keyboard tray. And it was a module, with attractive-enough flat head hex socket nickel-plated screws and barrel nuts (meaning: they’d look nice enough flush with the desktop), so I just unscrewed it from the desk frame and…
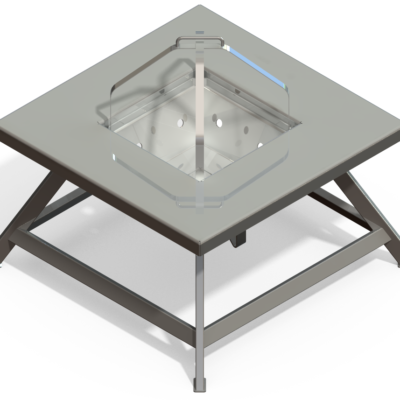
- Set it upside-down on the new desktop board, lined it up square and centered between the brackets underneath the desktop board
- (of course, the tray will need to slide in and out when mounted underneath the desk, and cannot do so while straddling brackets).
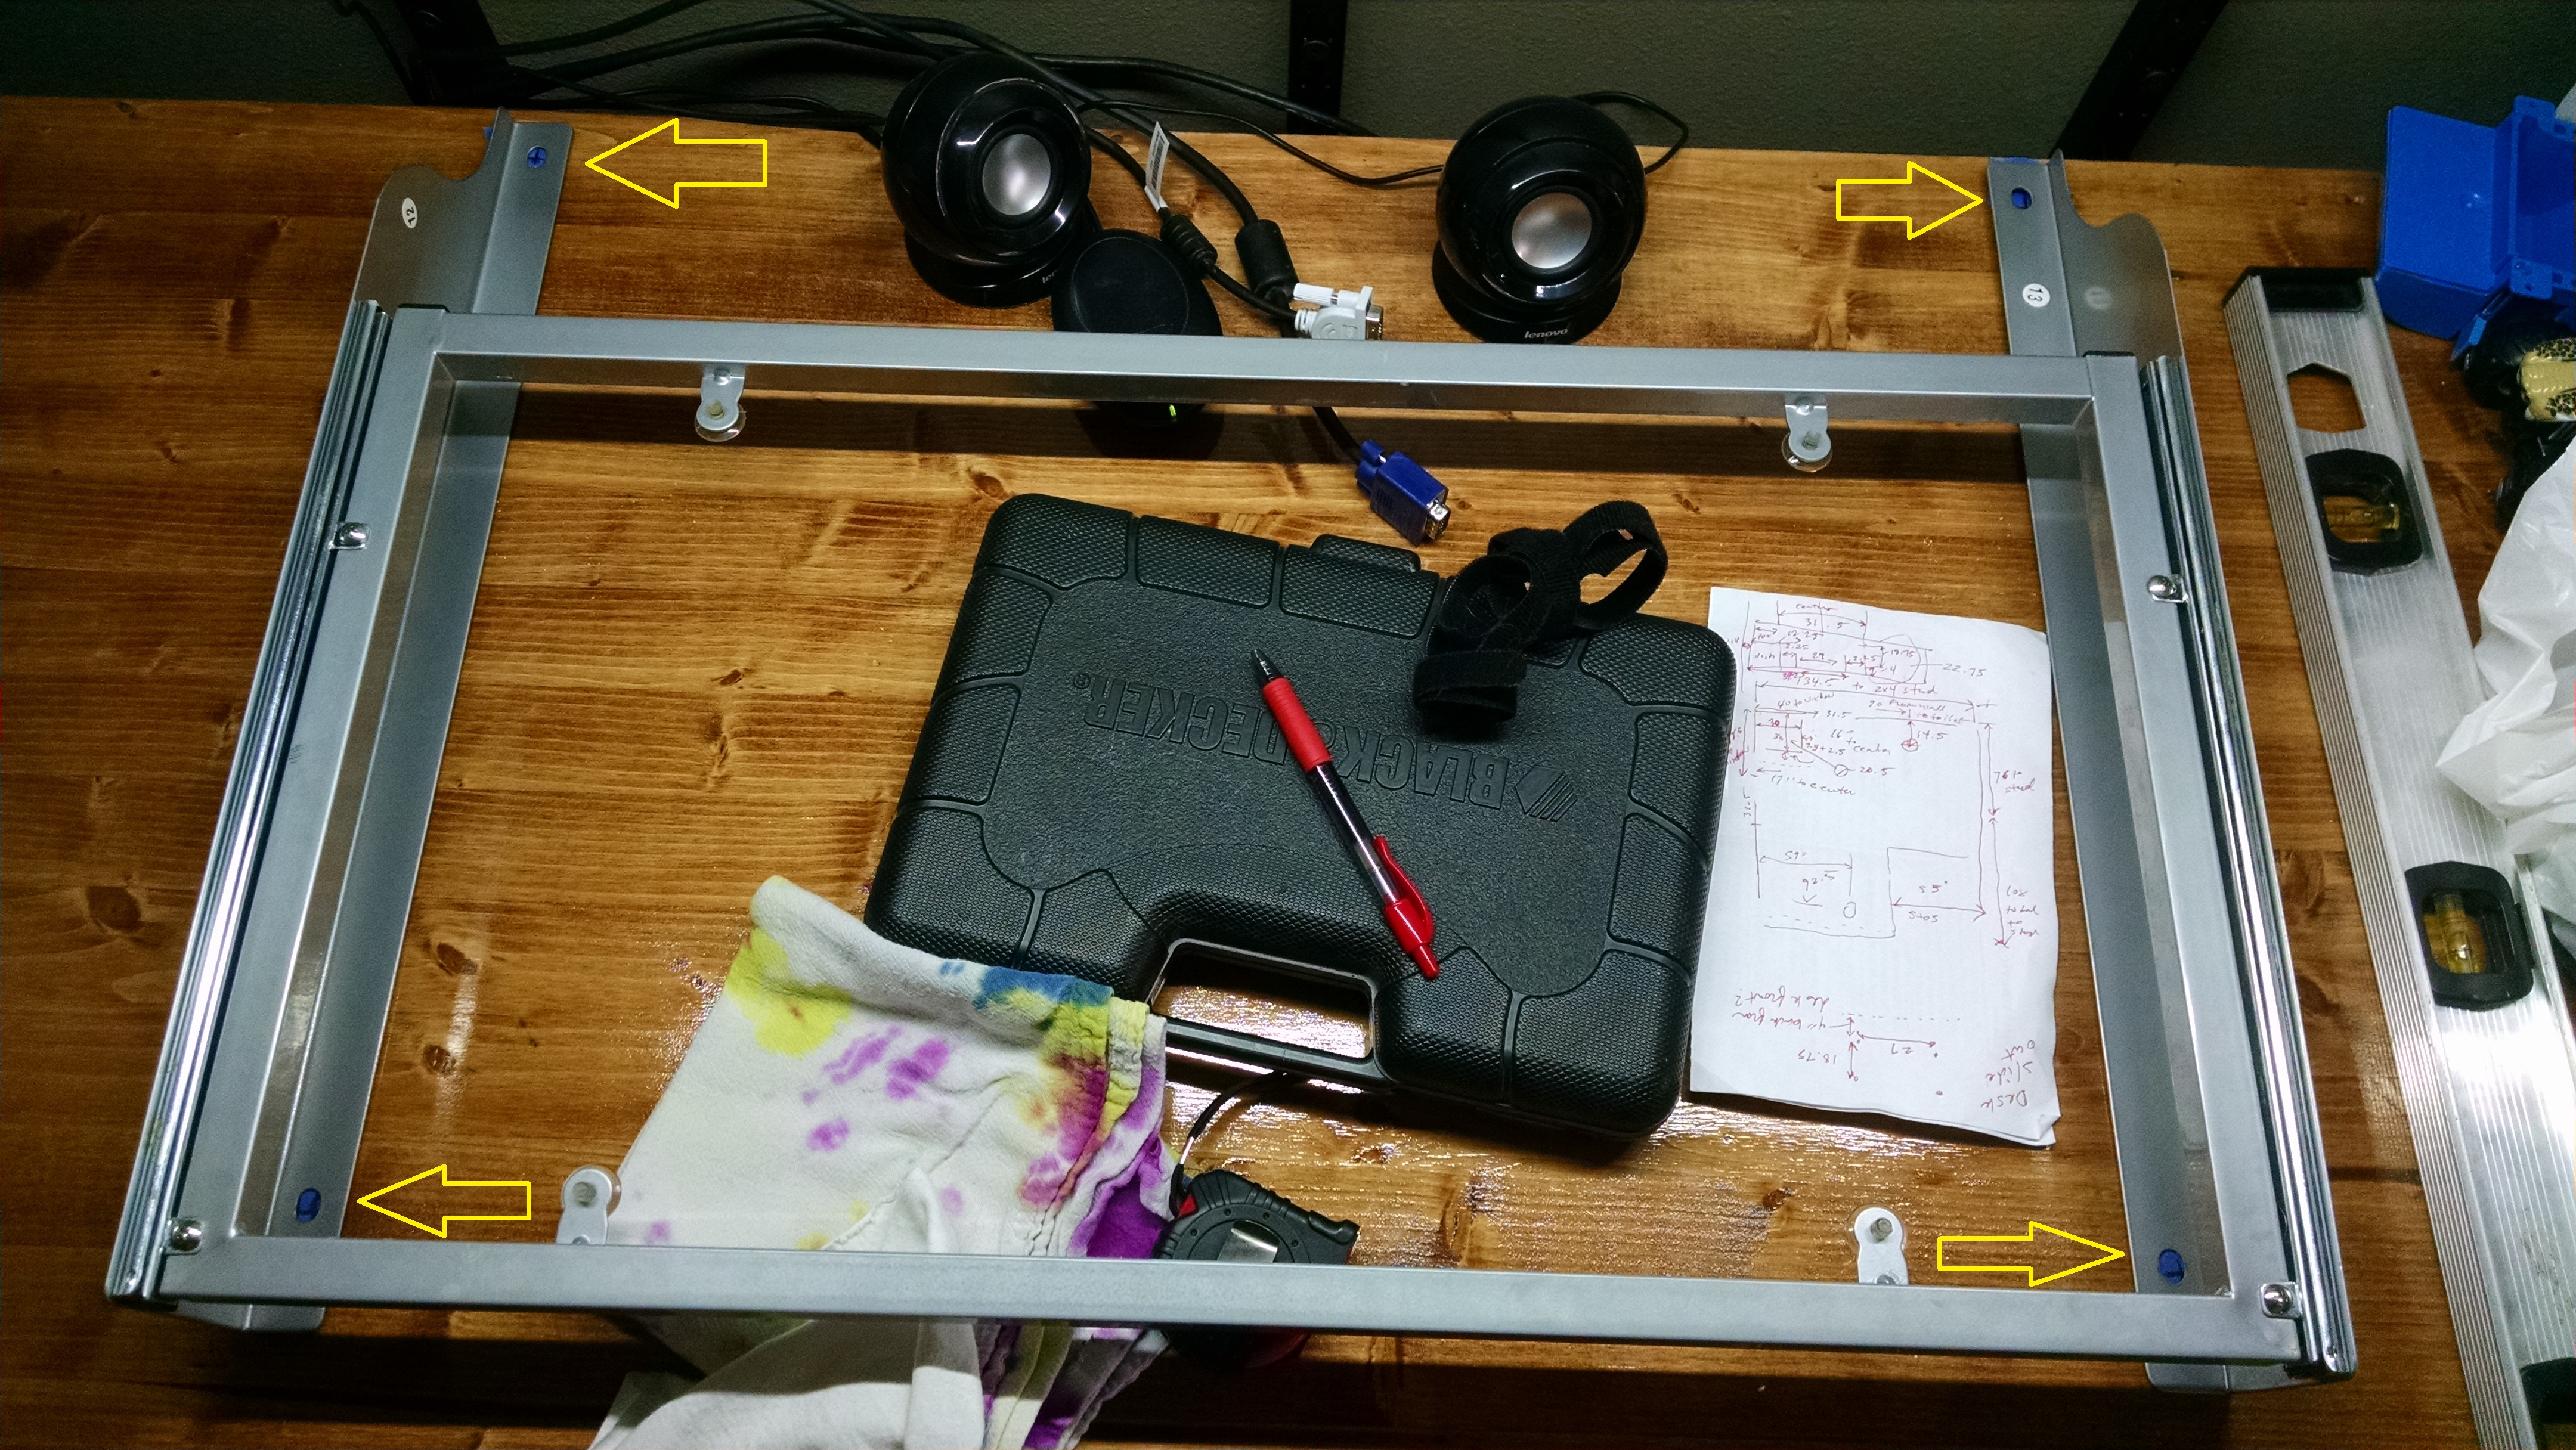
- Placed painter’s tape on desktop approx. where the holes are to be, replaced the tray assembly upside-down to mark its mount holes onto the painter’s tape squares.

- Drilled–starting with small bits–straight down through the board, progressively changing out for larger bits. It’s important to use the tape to prevent tearout on the top and bottom.
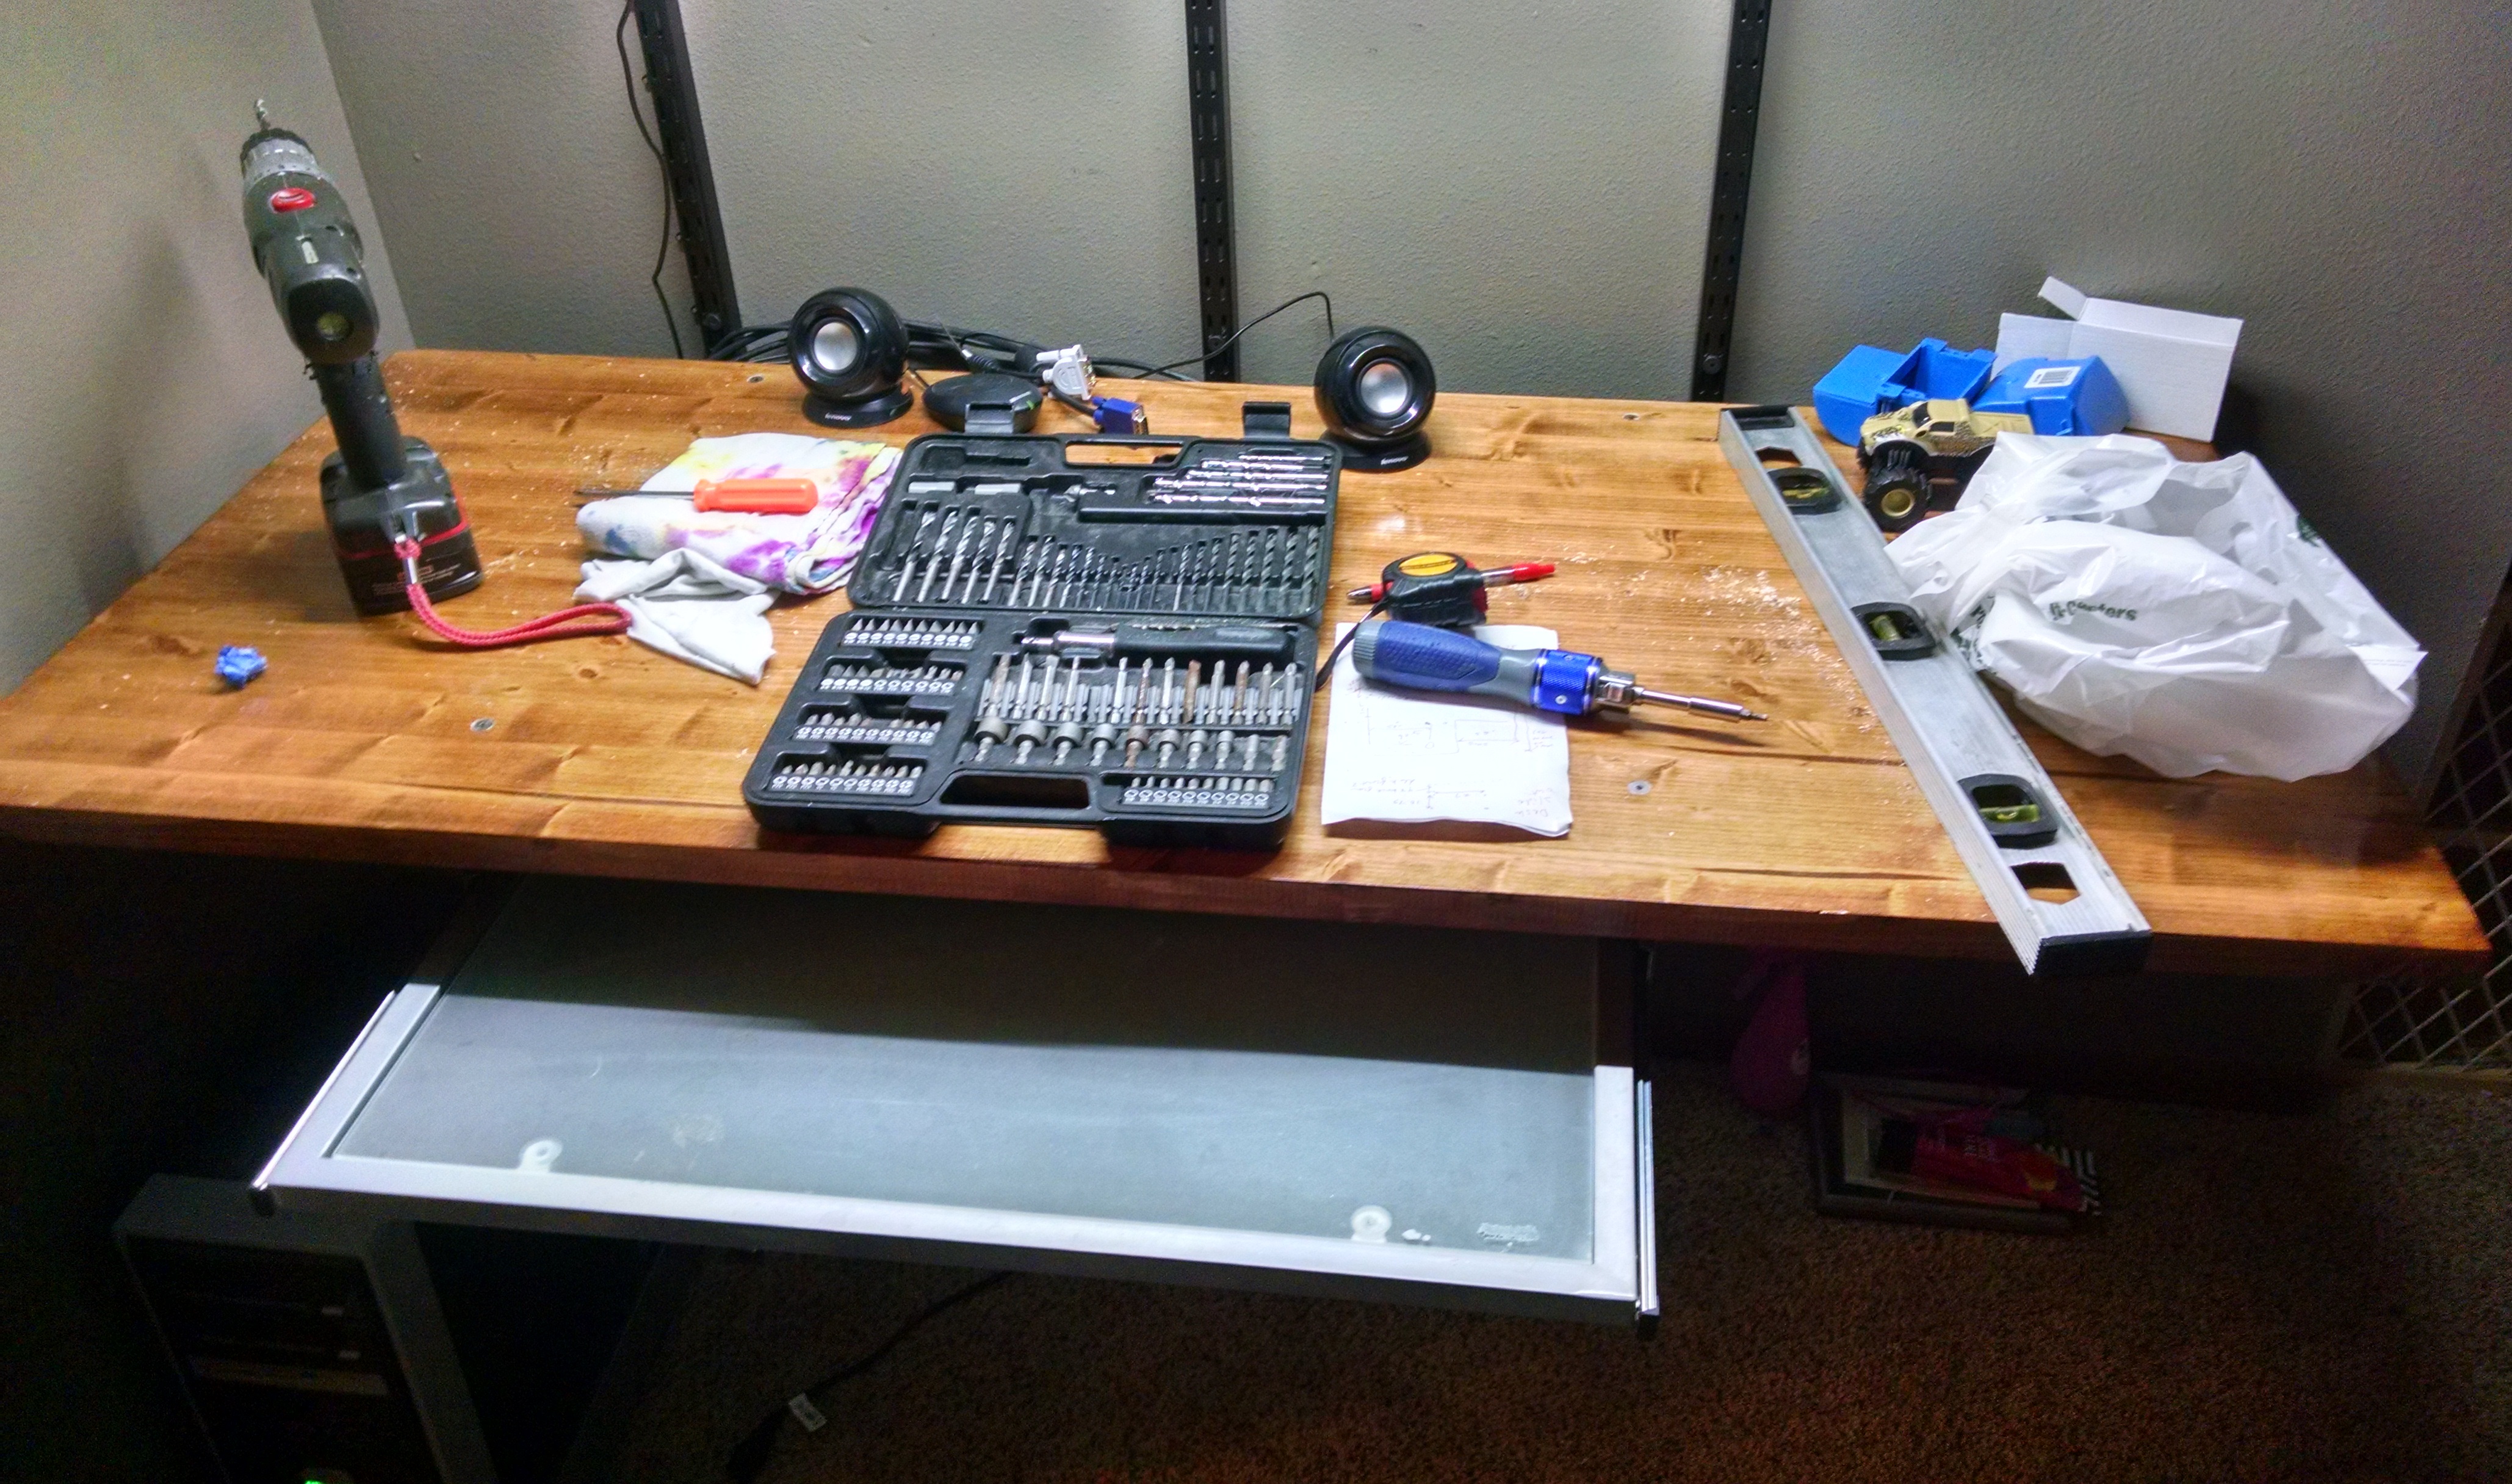
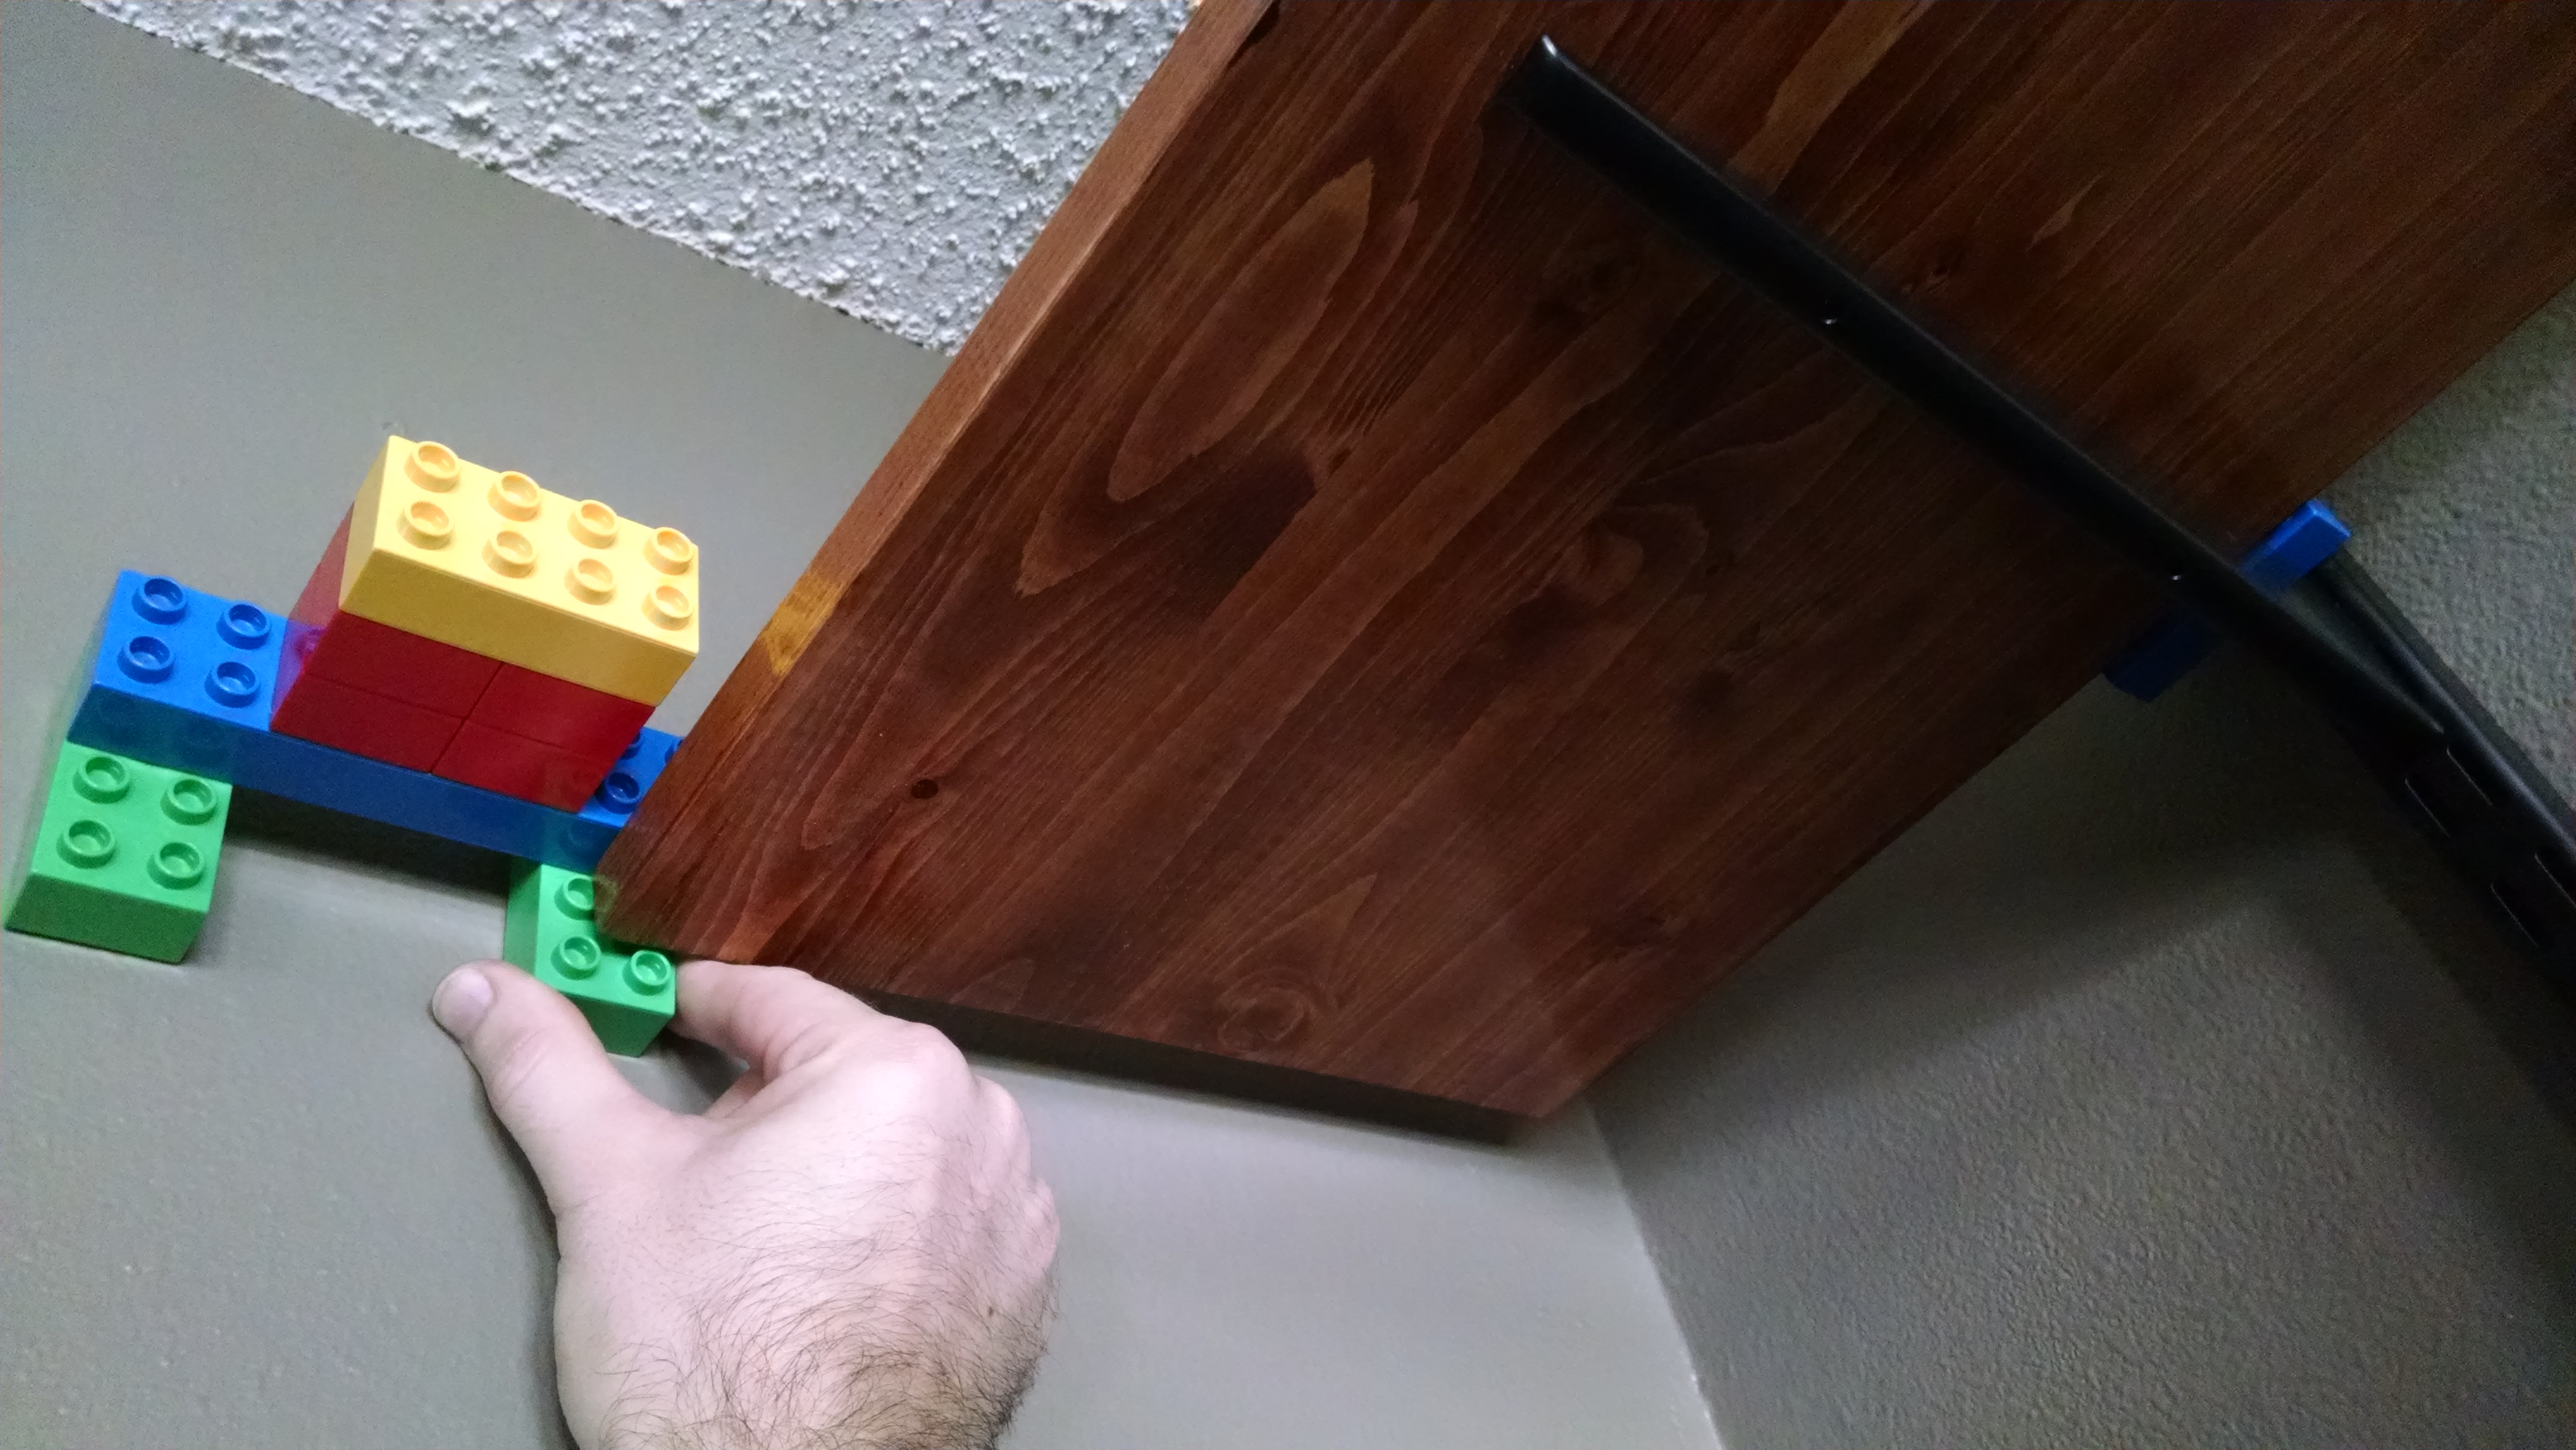
- Countersink the holes: I wanted the screwheads to look flush with the desktop. I usually end up overdoing it, but close enough.
- Free advice: even if you use a harder wood, when hand-counterboring, it’s best to under do it than overdo it, since you can’t get that material back.
- If your bores are close, try leaving it at that. When you screw the pieces down, it’s likely heads will get flush just by hand tightening than needing to remove
Hardly notice the screw heads on top, even if they’re over-bored.
- It’s difficult to see, but I also screwed a surge protector
 /power strip with USB outlets to the bottom of the desktop.
 - This is a quick and accessible (yet still hidden-away) feature that gets used for temporary tools like a sewing machine, vacuum, or even the kids use it to plug in their USB-rechargeable toys.
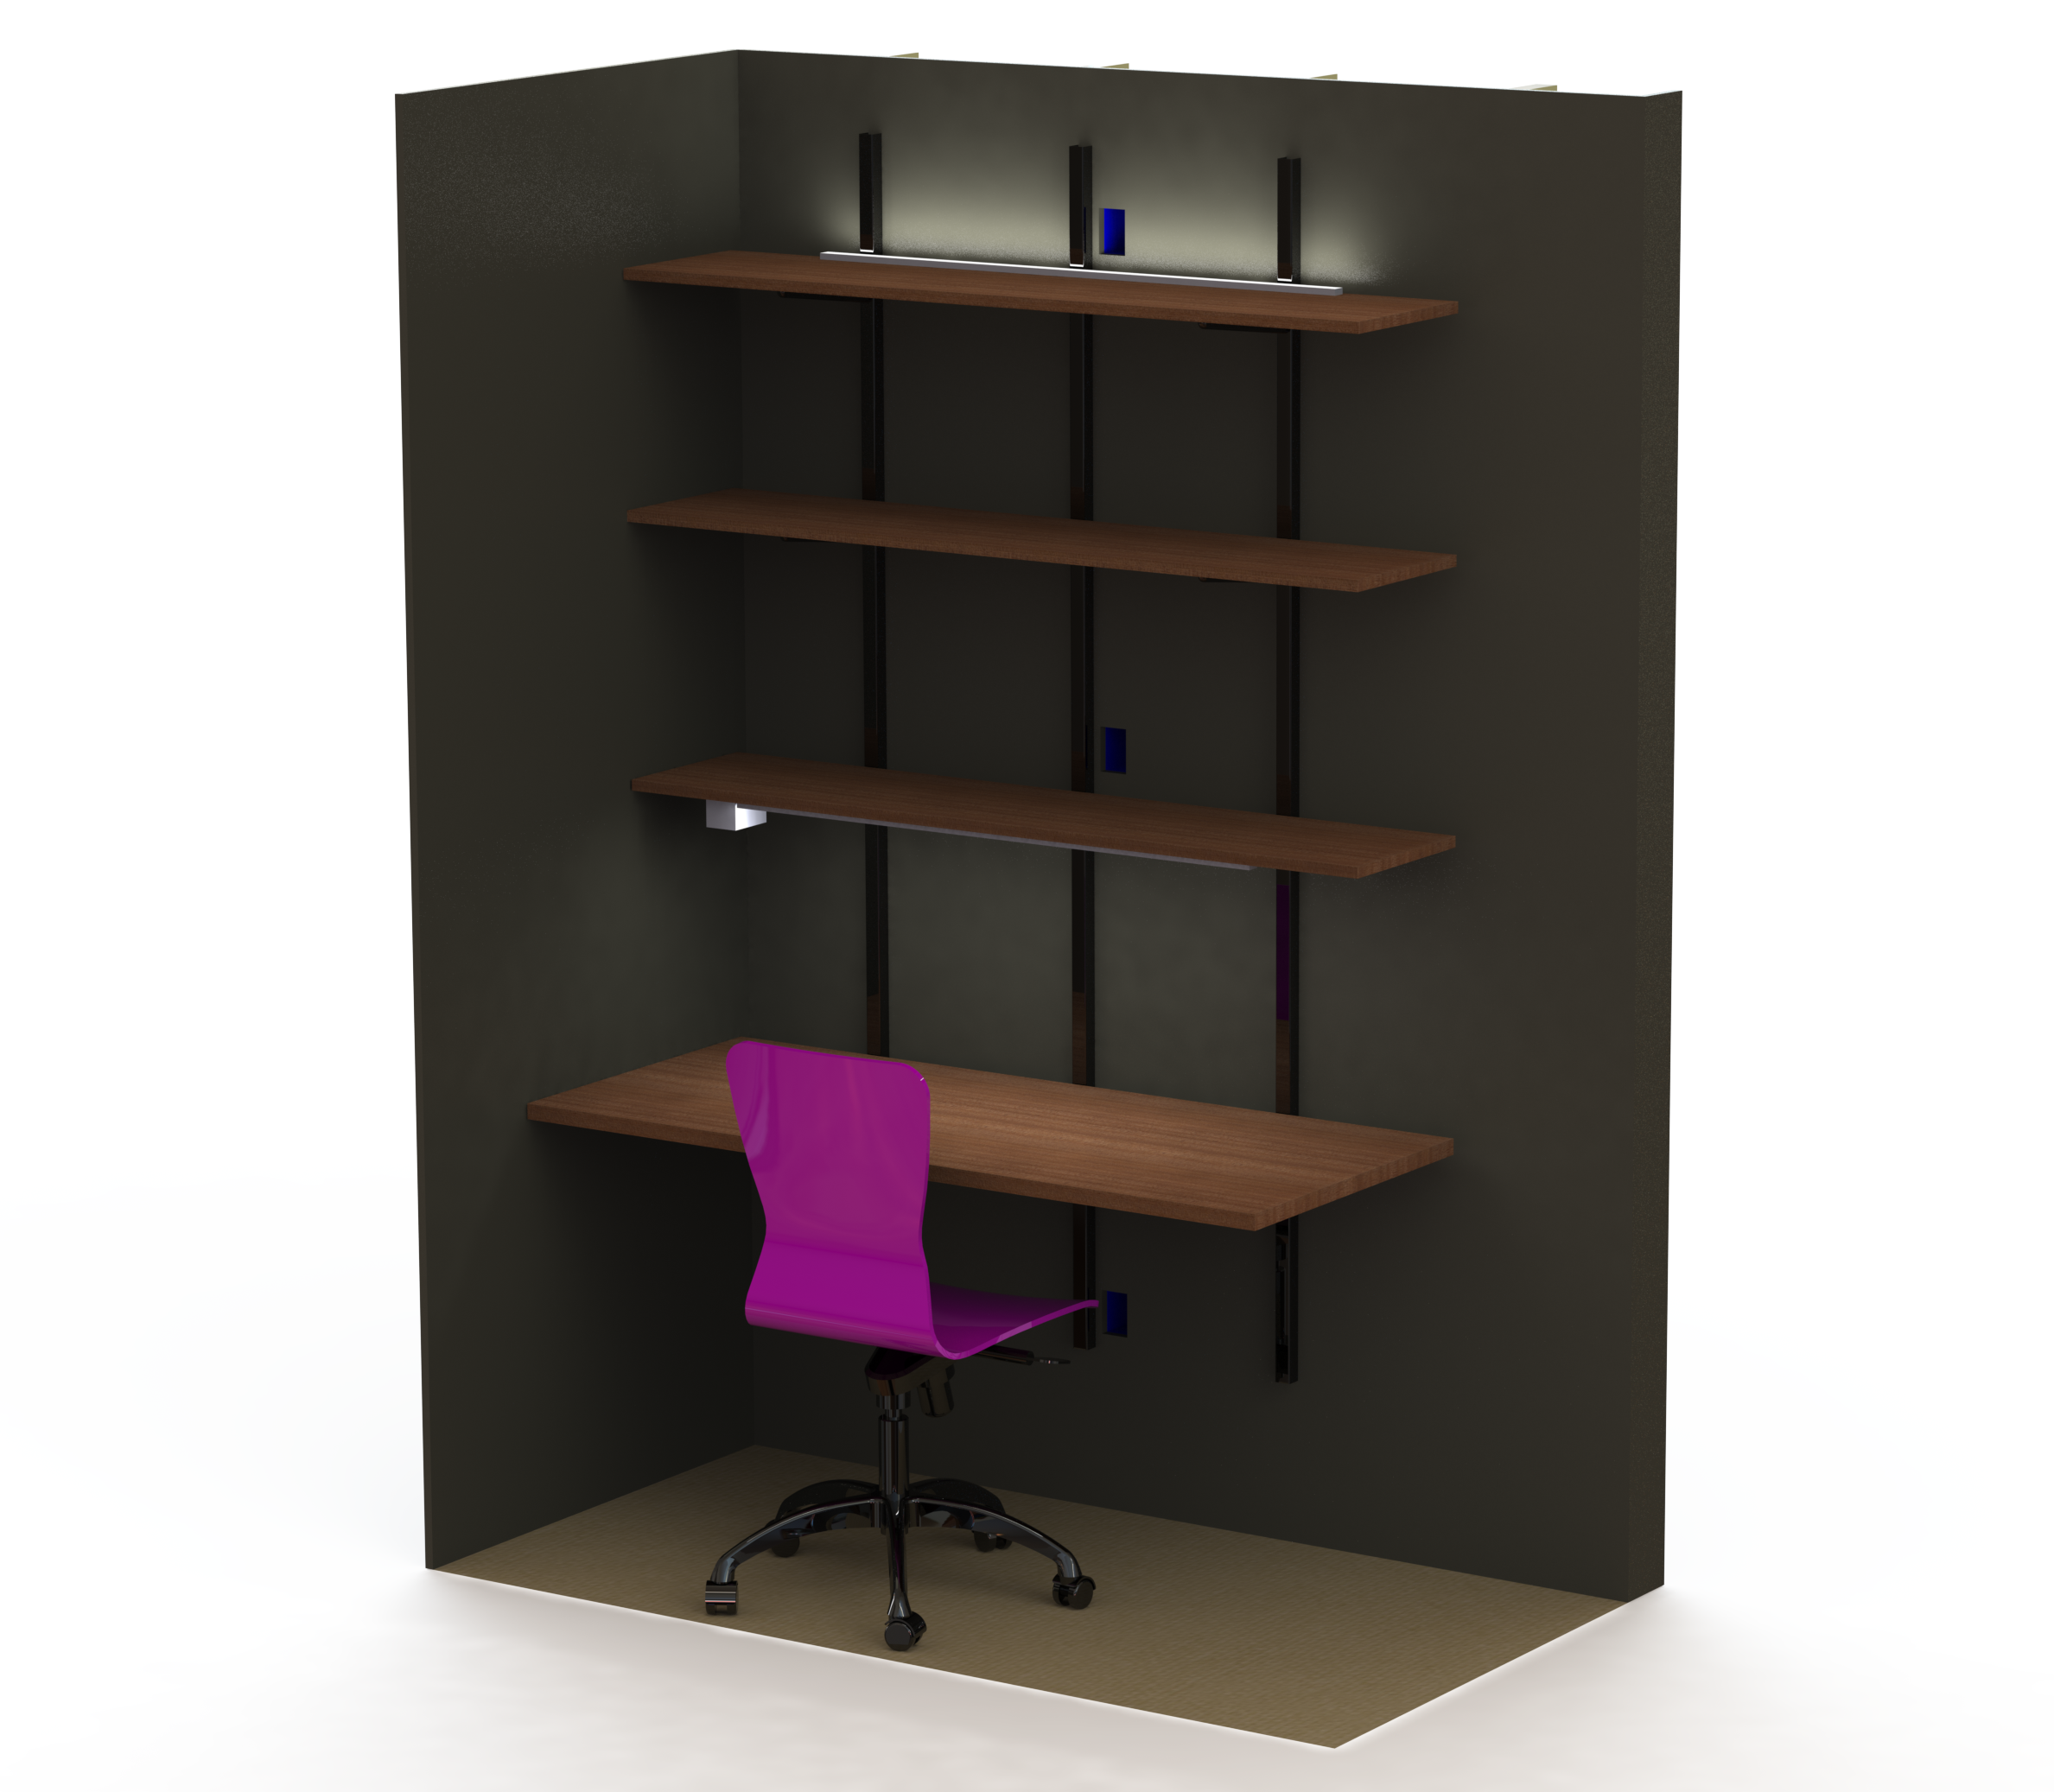
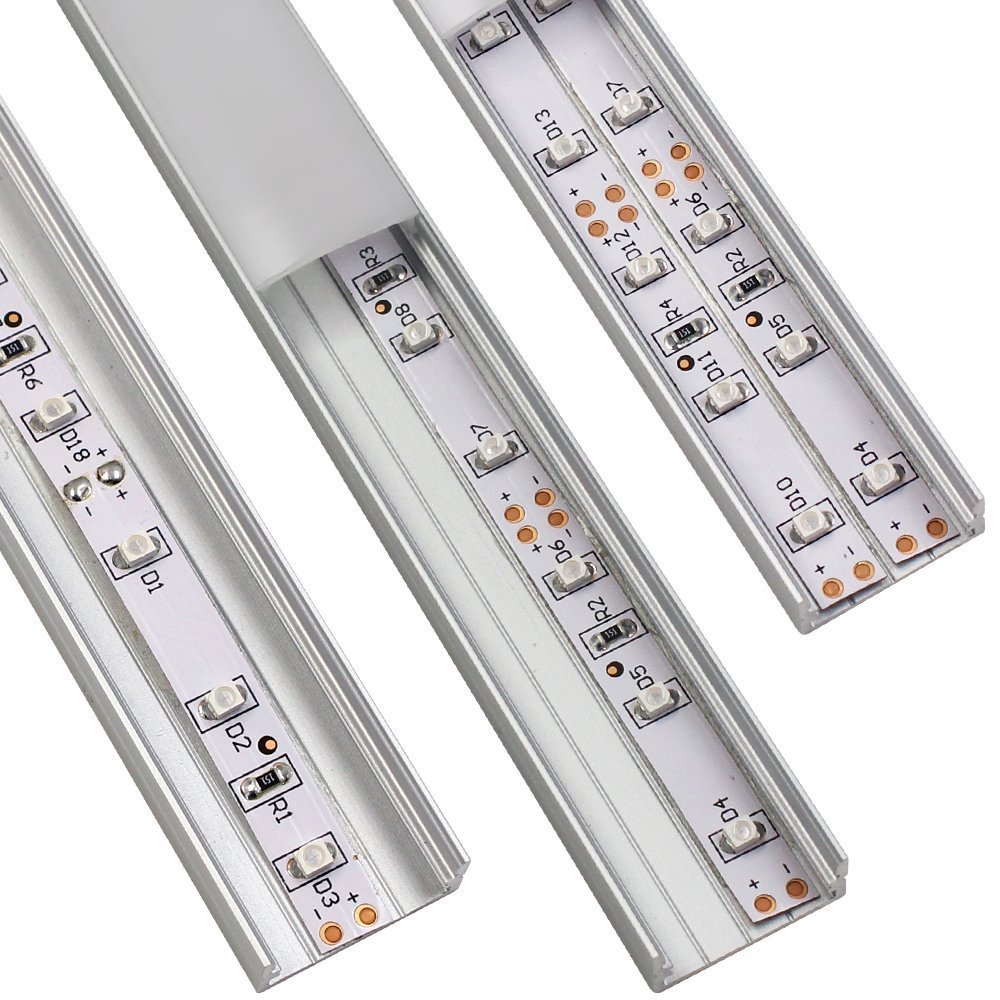
- Another good place to put a handy strip would be underneath the 1st shelf, the surface with the LED strip mounted on it.
 /power strip with
  to the bottom of the desktop.
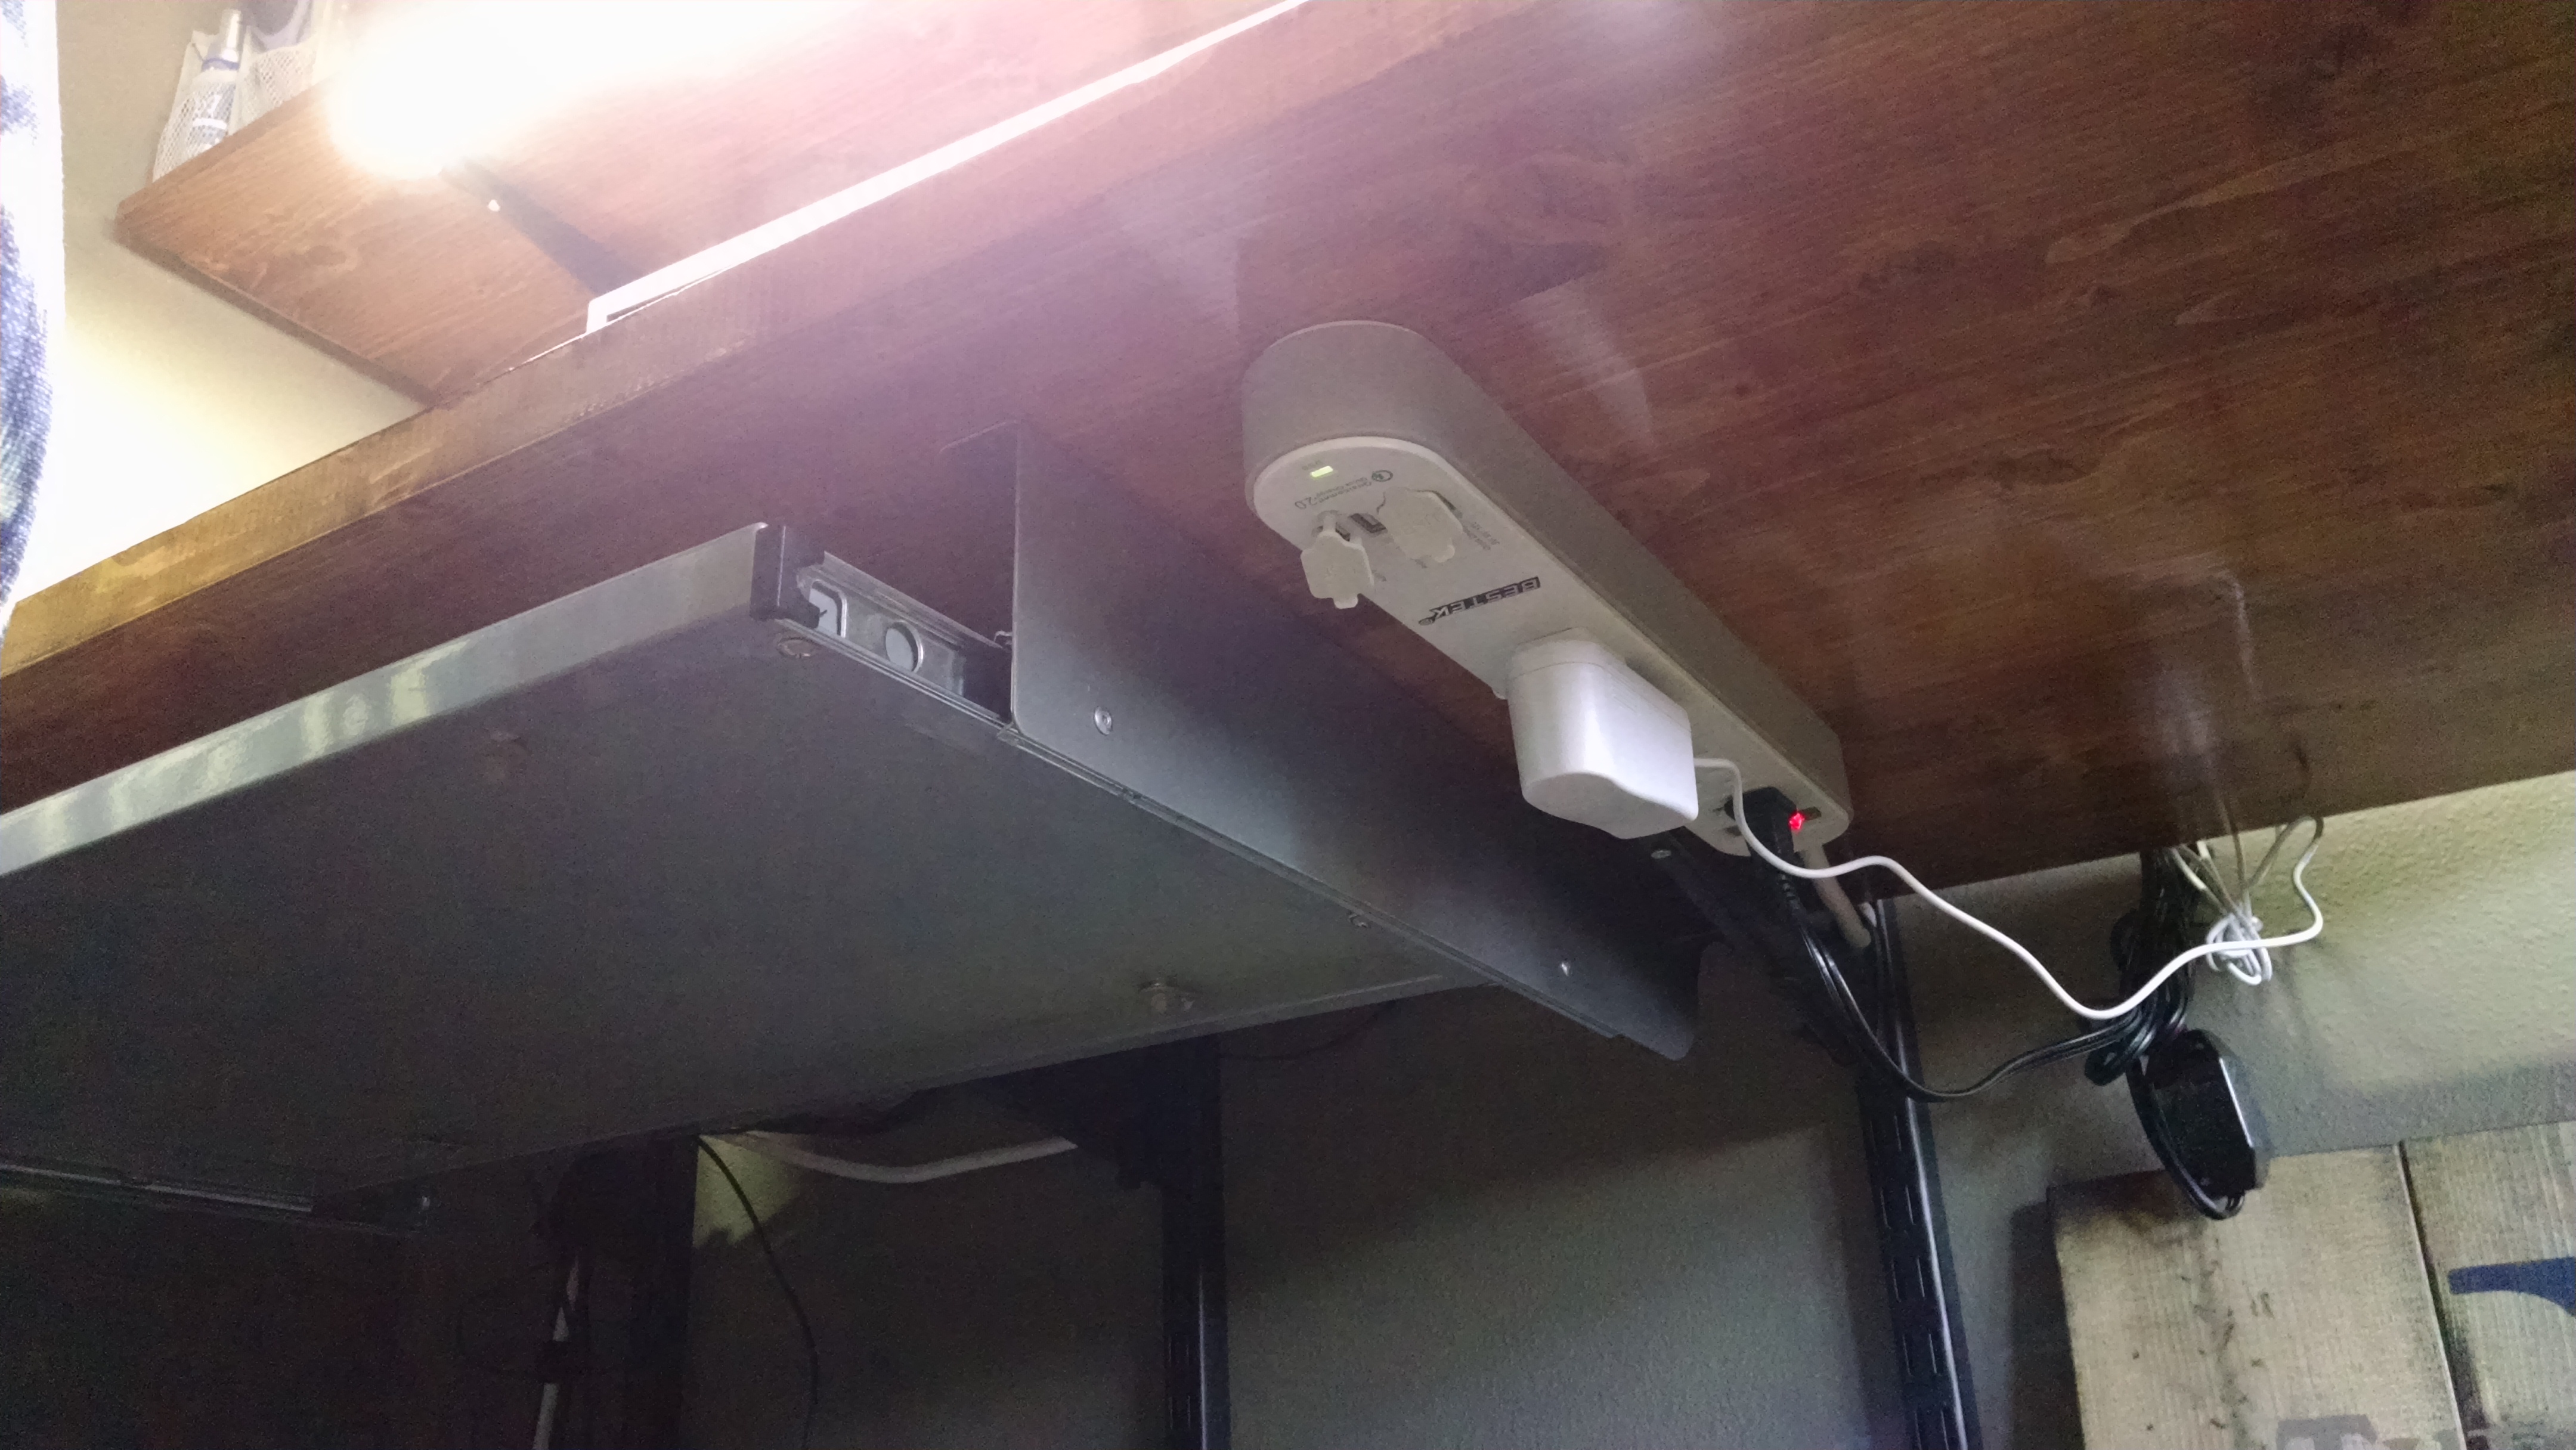
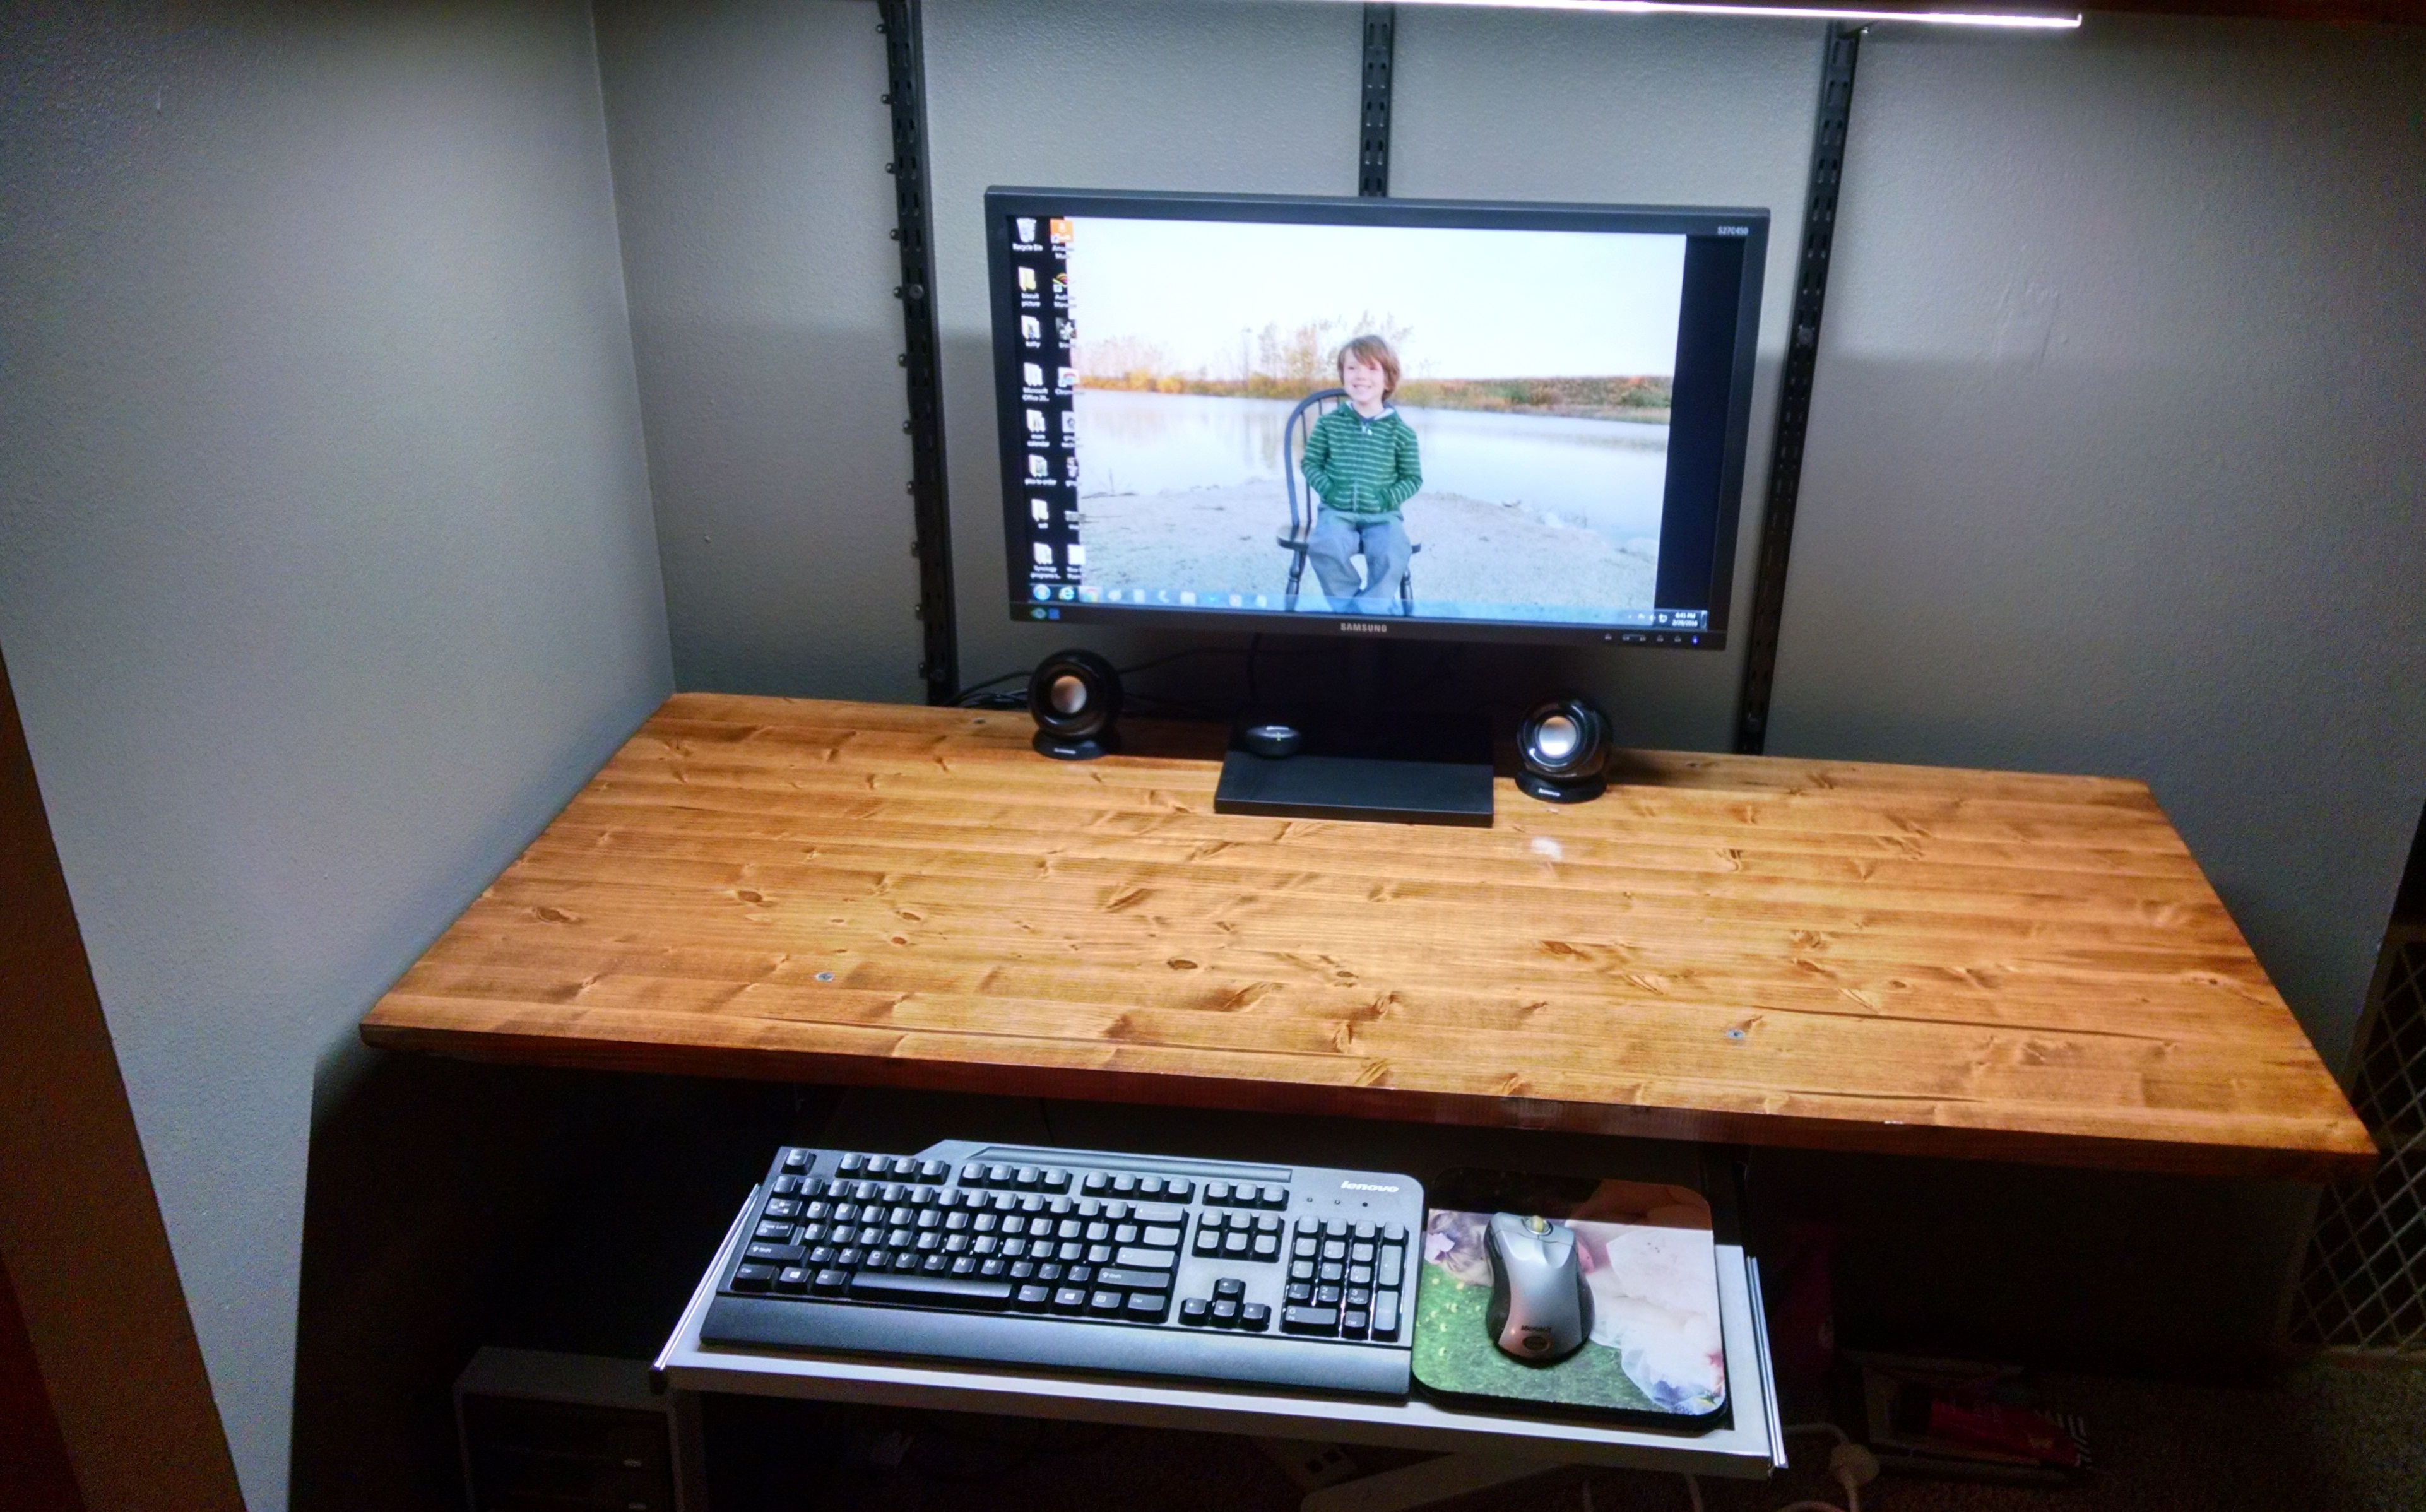
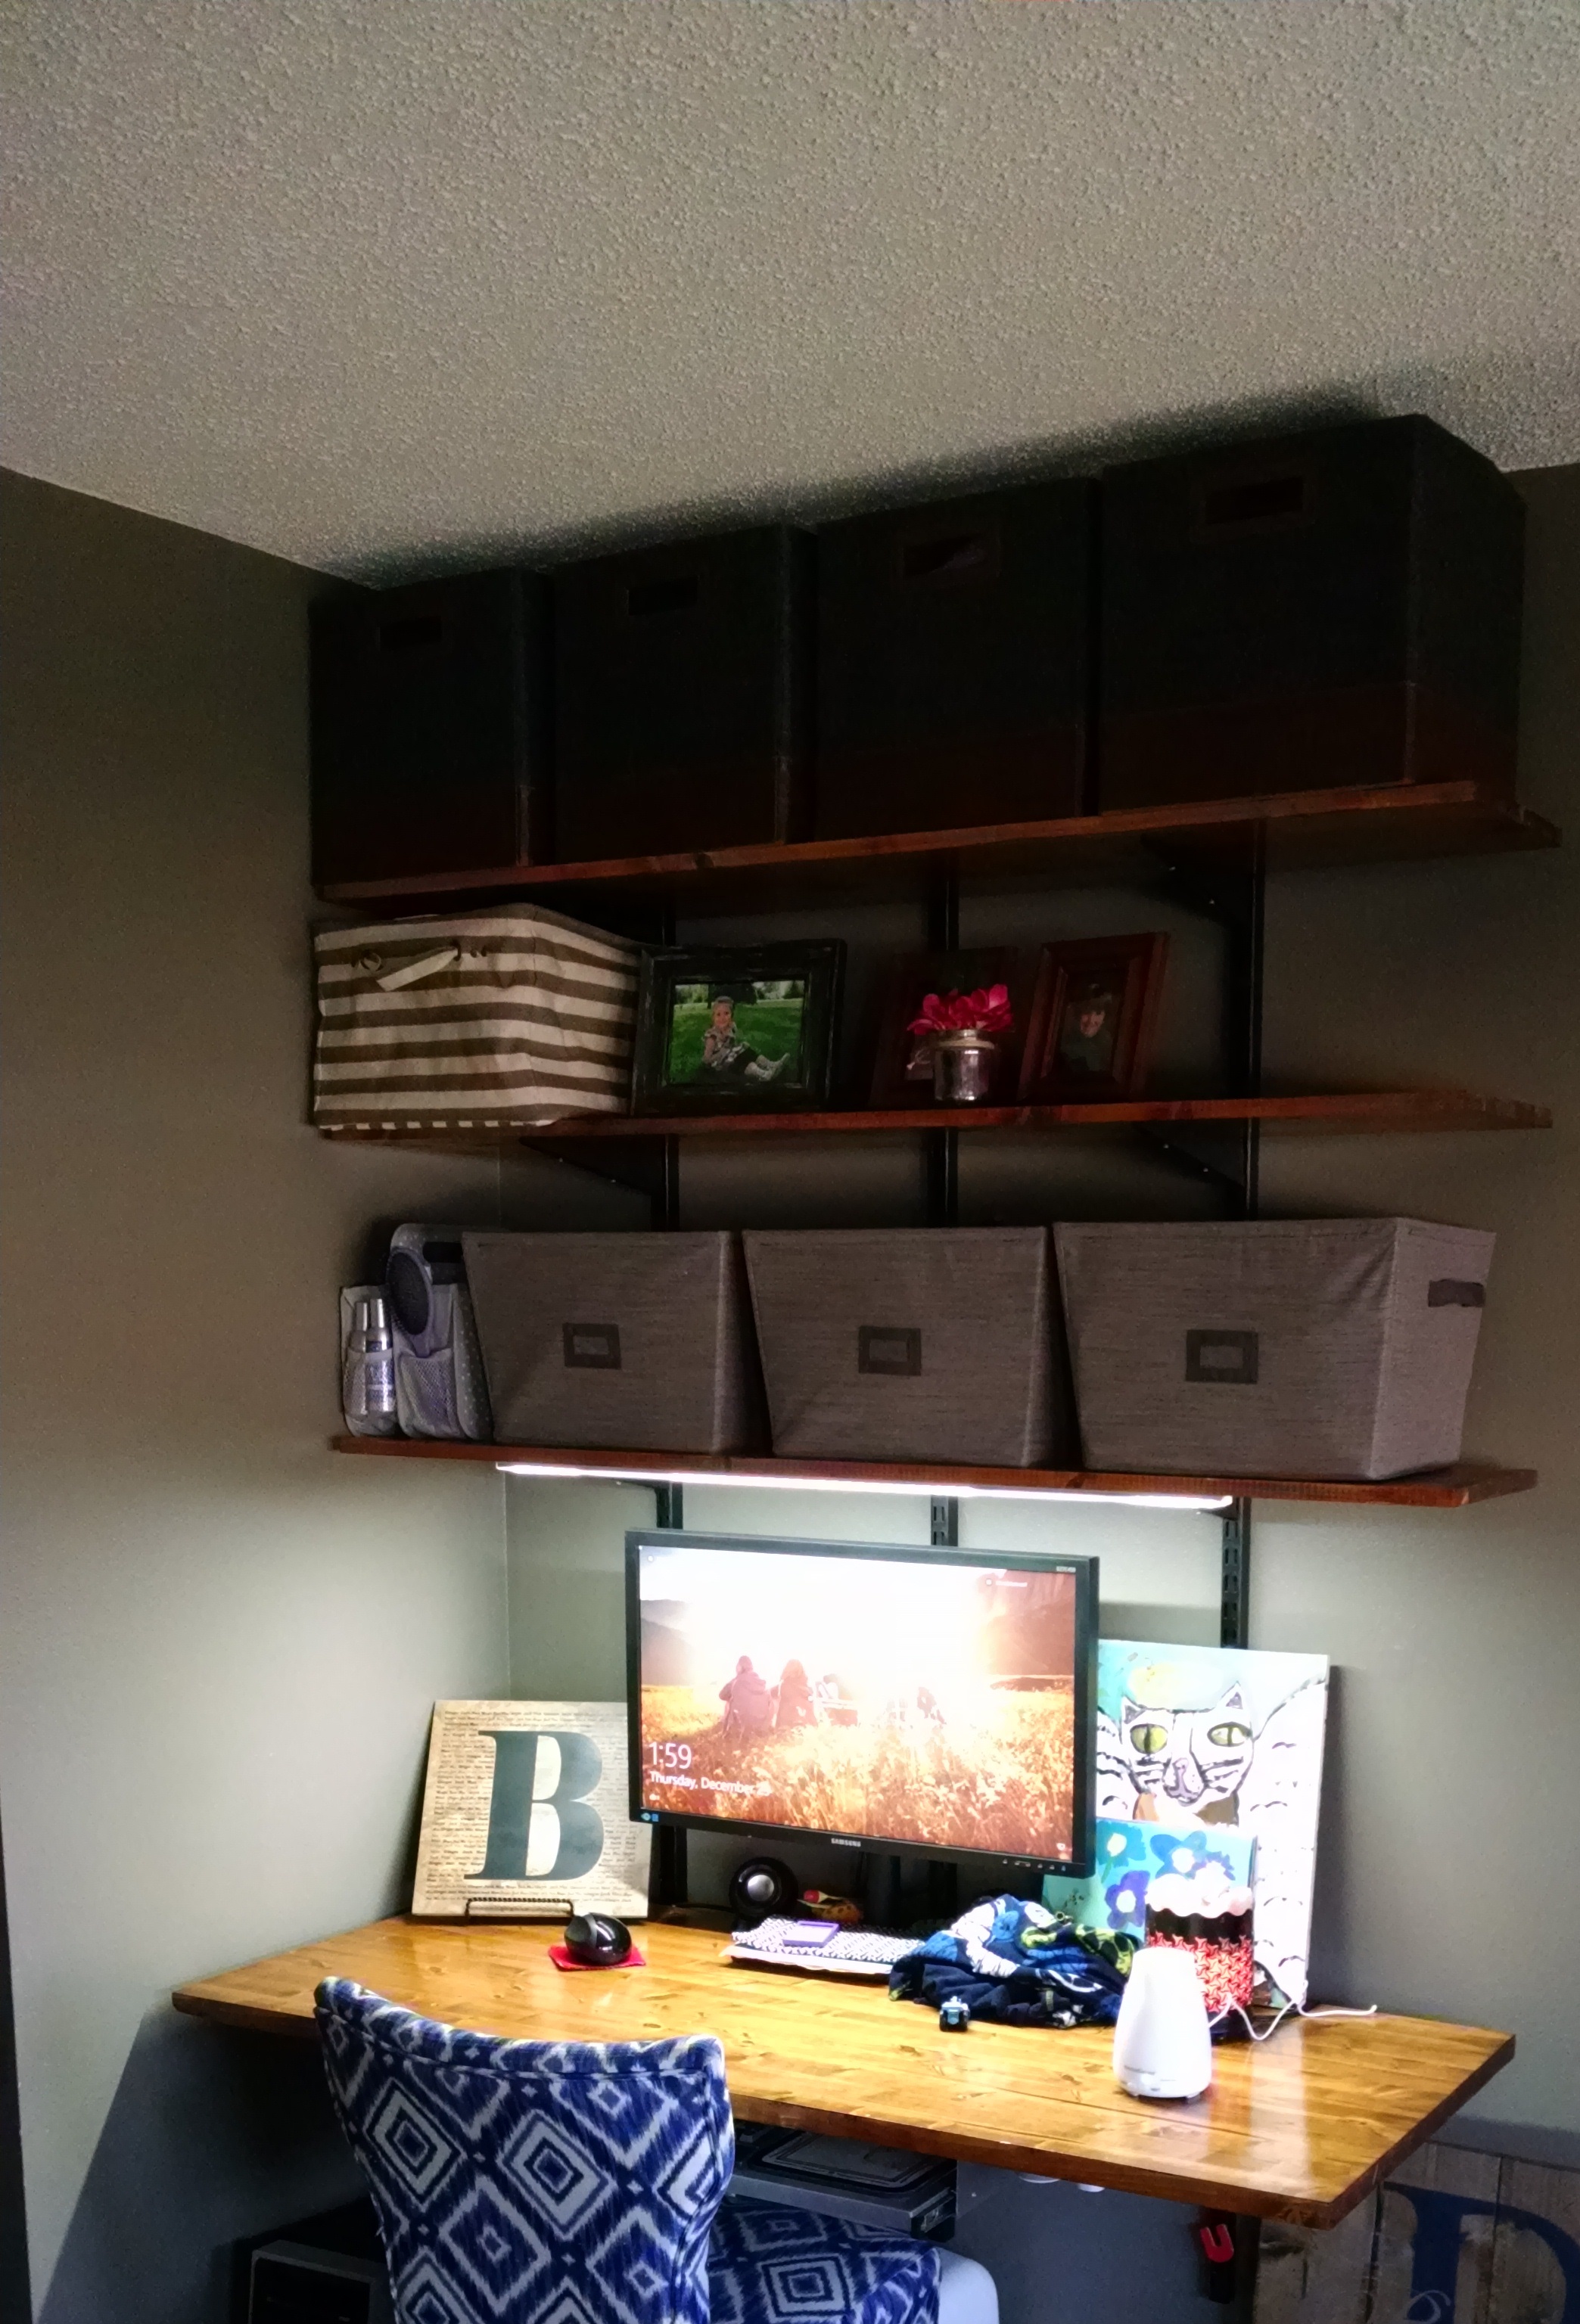
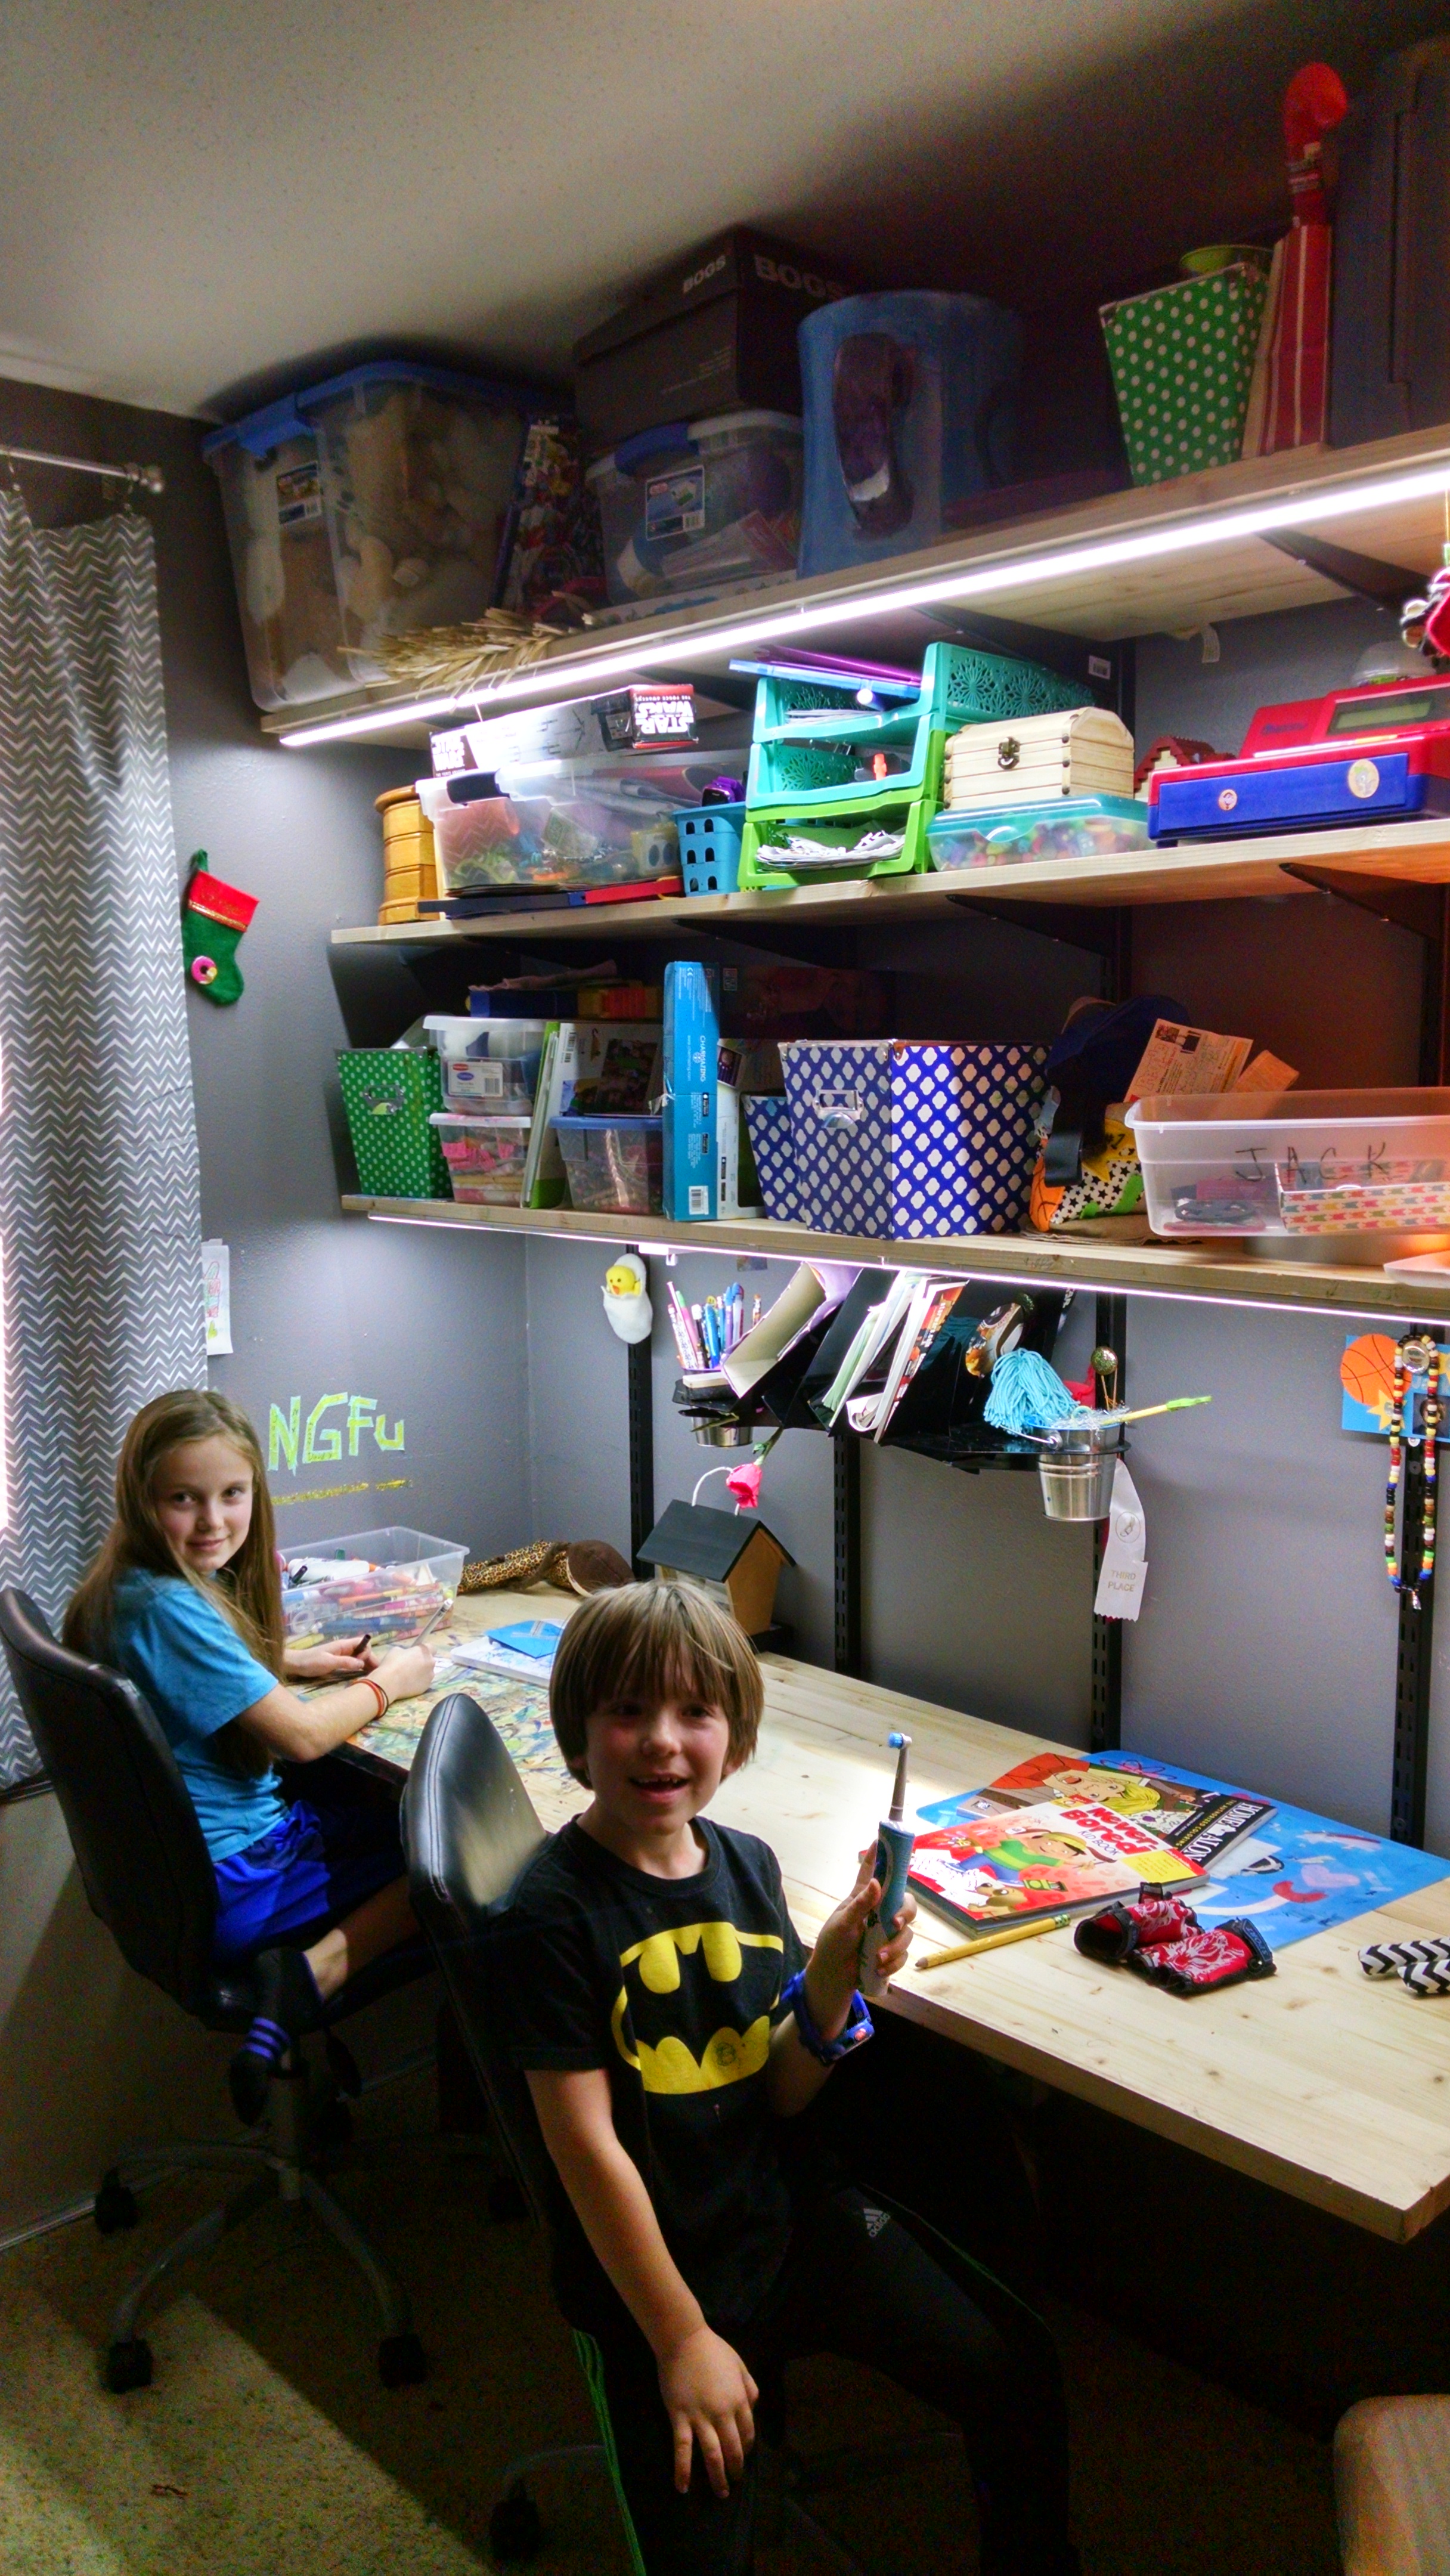
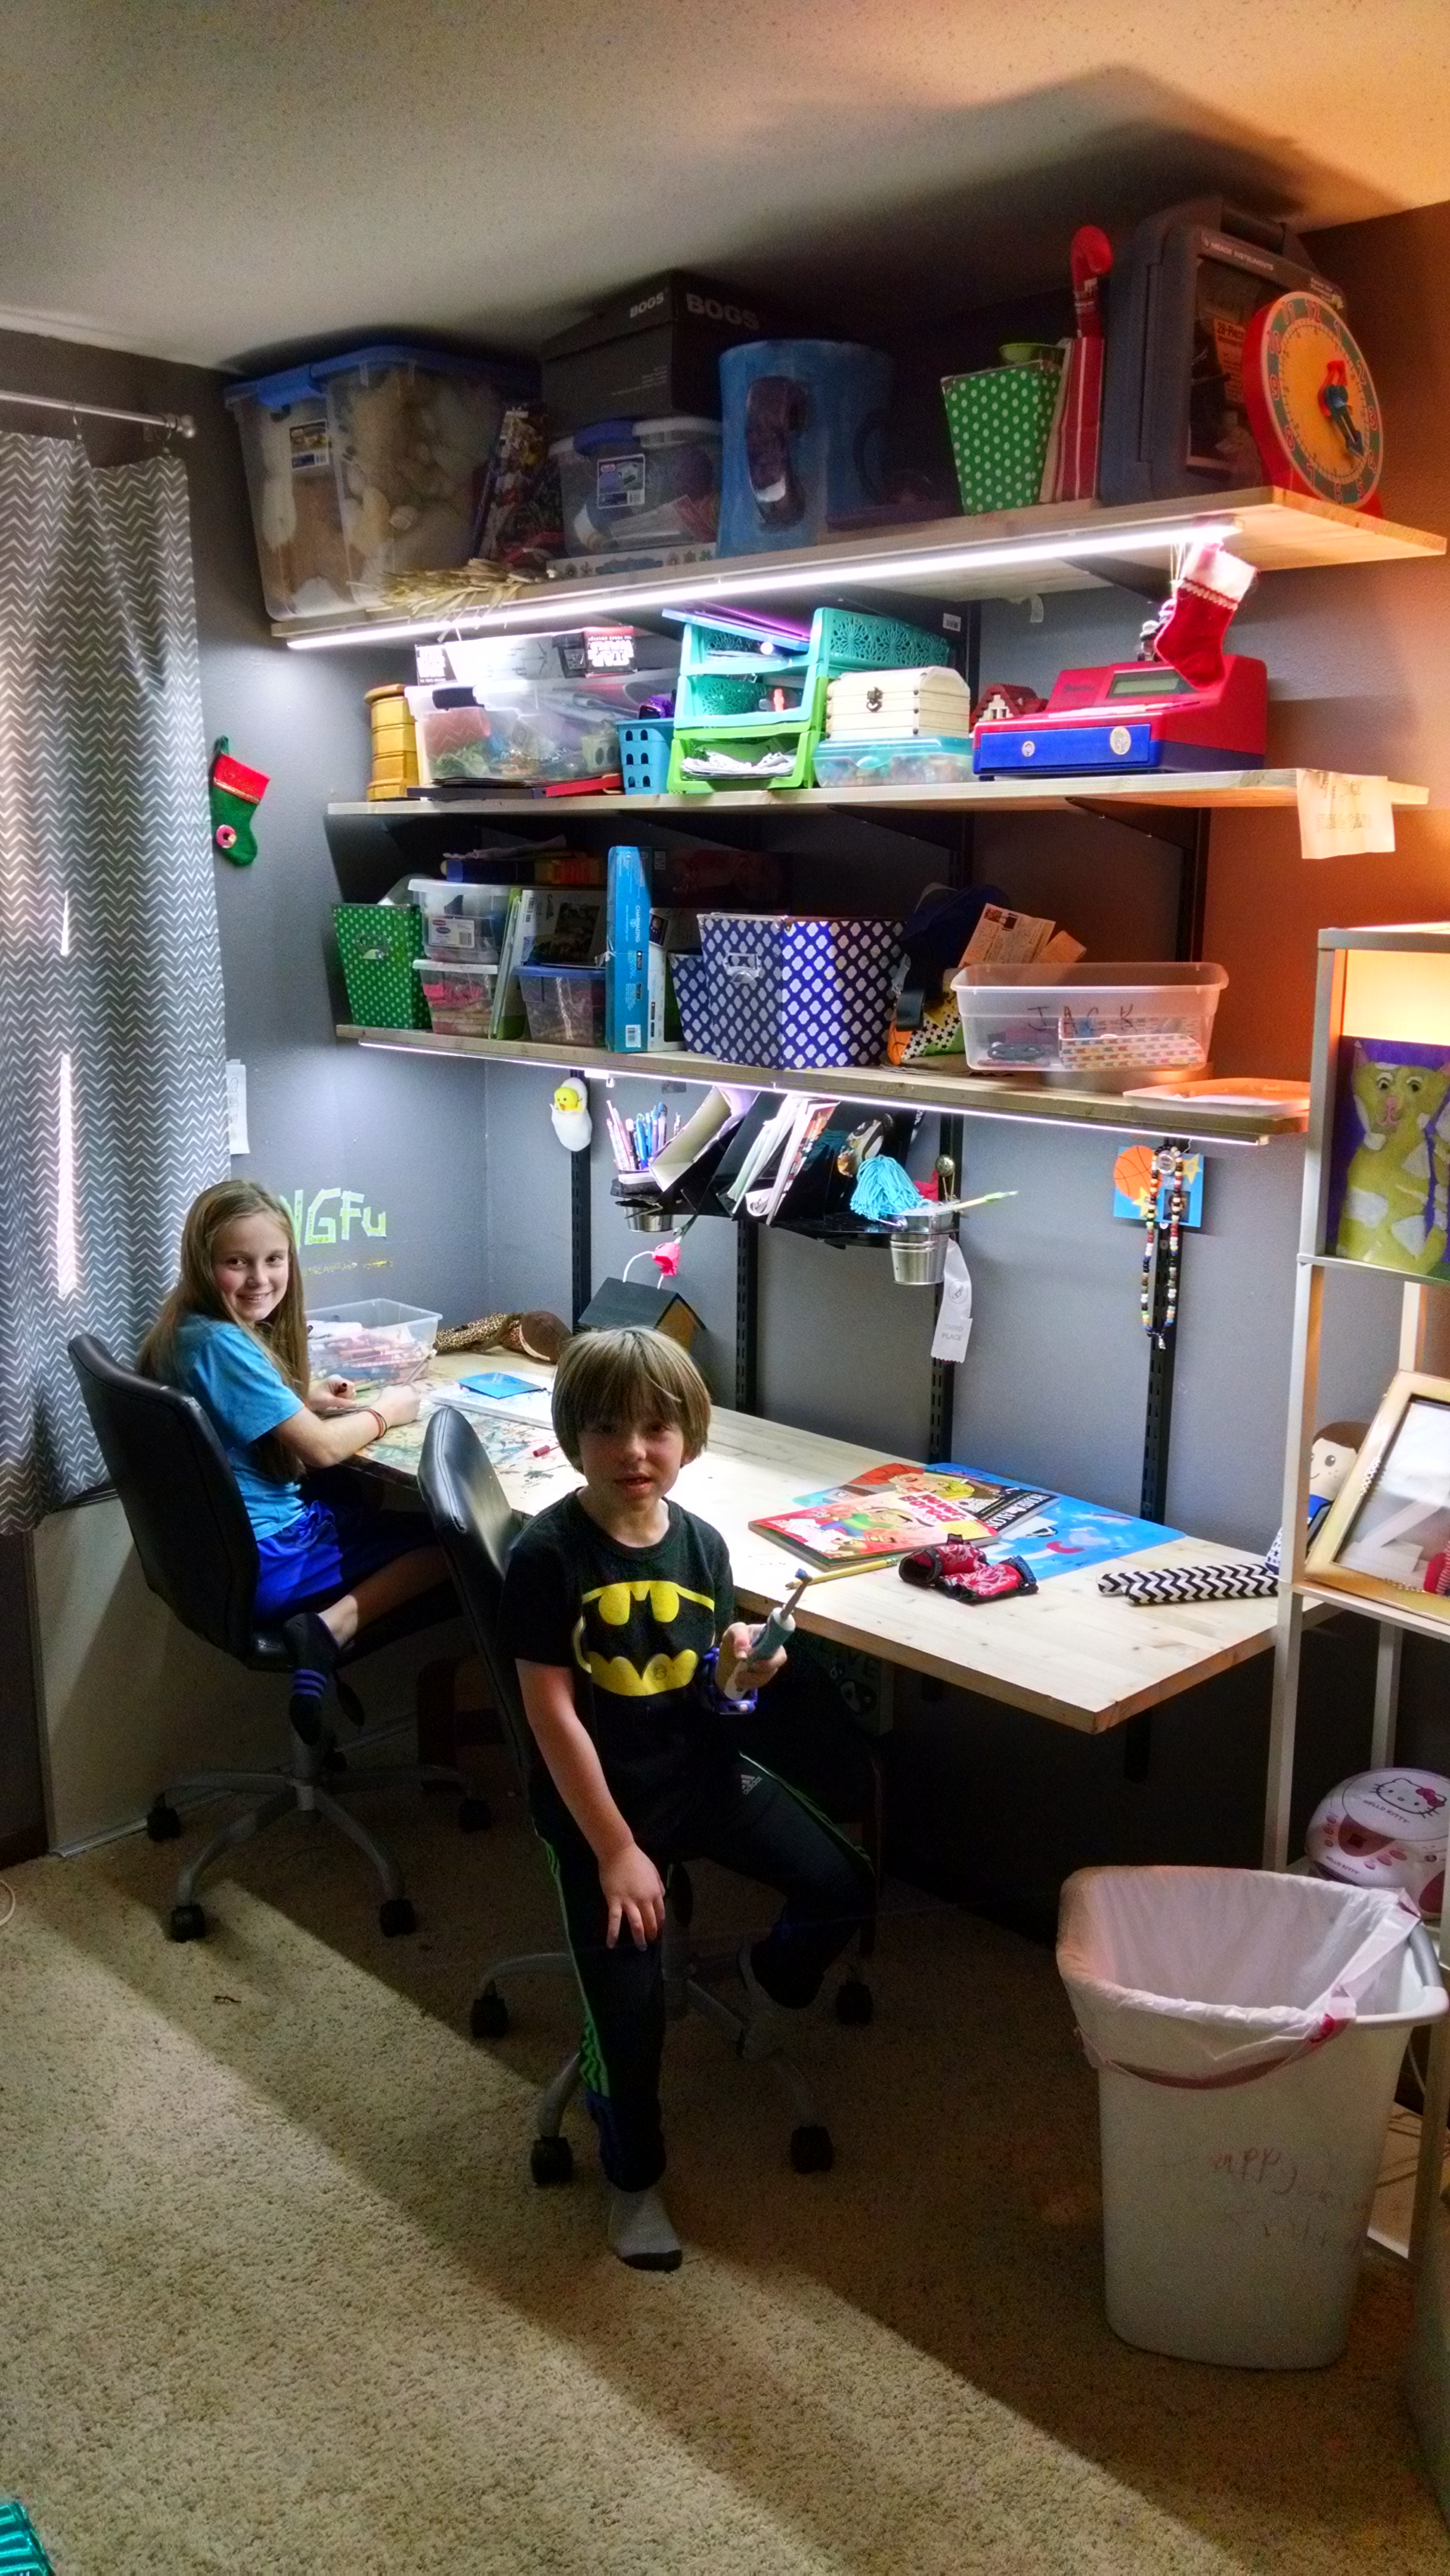
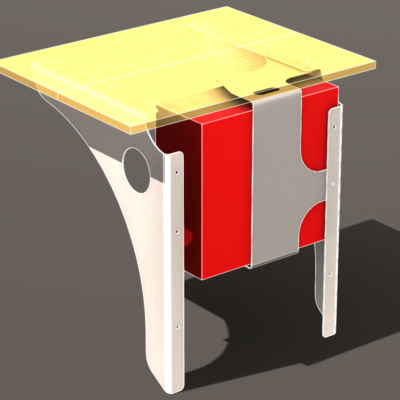
How They Look Now (with some actual use)
What I Would Do Differently (or In the Future)
- Add peg board, painted & screwed to the section between the desktop and 1st shelf. And maybe a couple strips of cork board for the kids to pin up on.
- This would be a great place to get all sorts of little tool organizers and utensil holders.
- And it would cover up the standards, making a slightly more “built in” look.
- This would be a great place to get all sorts of little tool organizers
- Take a jigsaw to the outside corners of the boards for a more finished look and safer edges. Then sand it before staining.
- Create an original design of a paper organizer/mini shelf system that attaches to the standards.
- I got this done, and is detailed in a separate ‘Build Your Workstations Part 2’ post.
 , painted & screwed to the section between the desktop and 1st shelf. And maybe a couple strips of cork board for the kids to pin up on.
 and
and  .
. to the outside corners of the boards for a more finished look and safer edges. Then
  before staining.
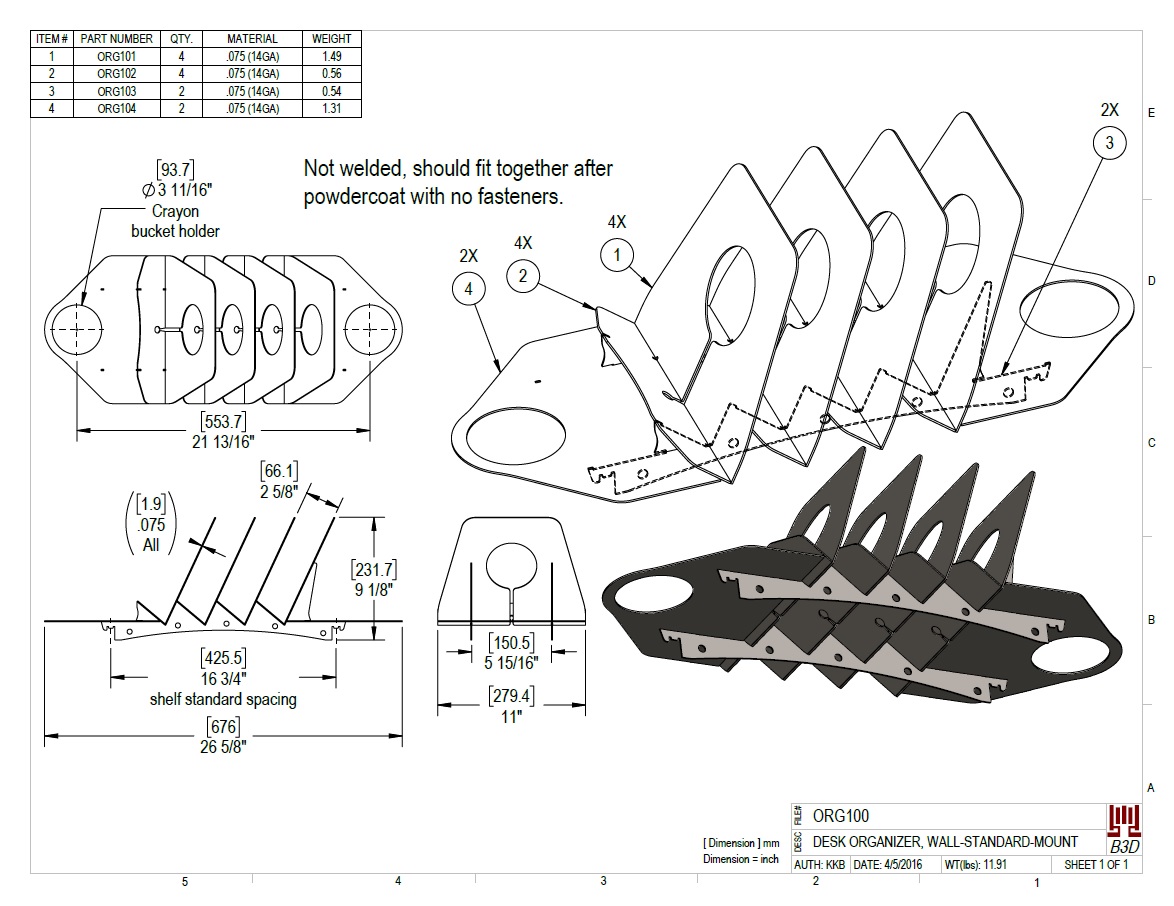
Next Post: How to Make: LED Strips Task Lighting & Custom Desk Organizer
This post got long so I separated into 2 Parts:
- Design & Build the Desks (this post), and
- Design & Build LED Lights, and a Custom Desk Organizer Design & Fab


Leave a Reply about how this blog changed your life.